48
9 Software Guide
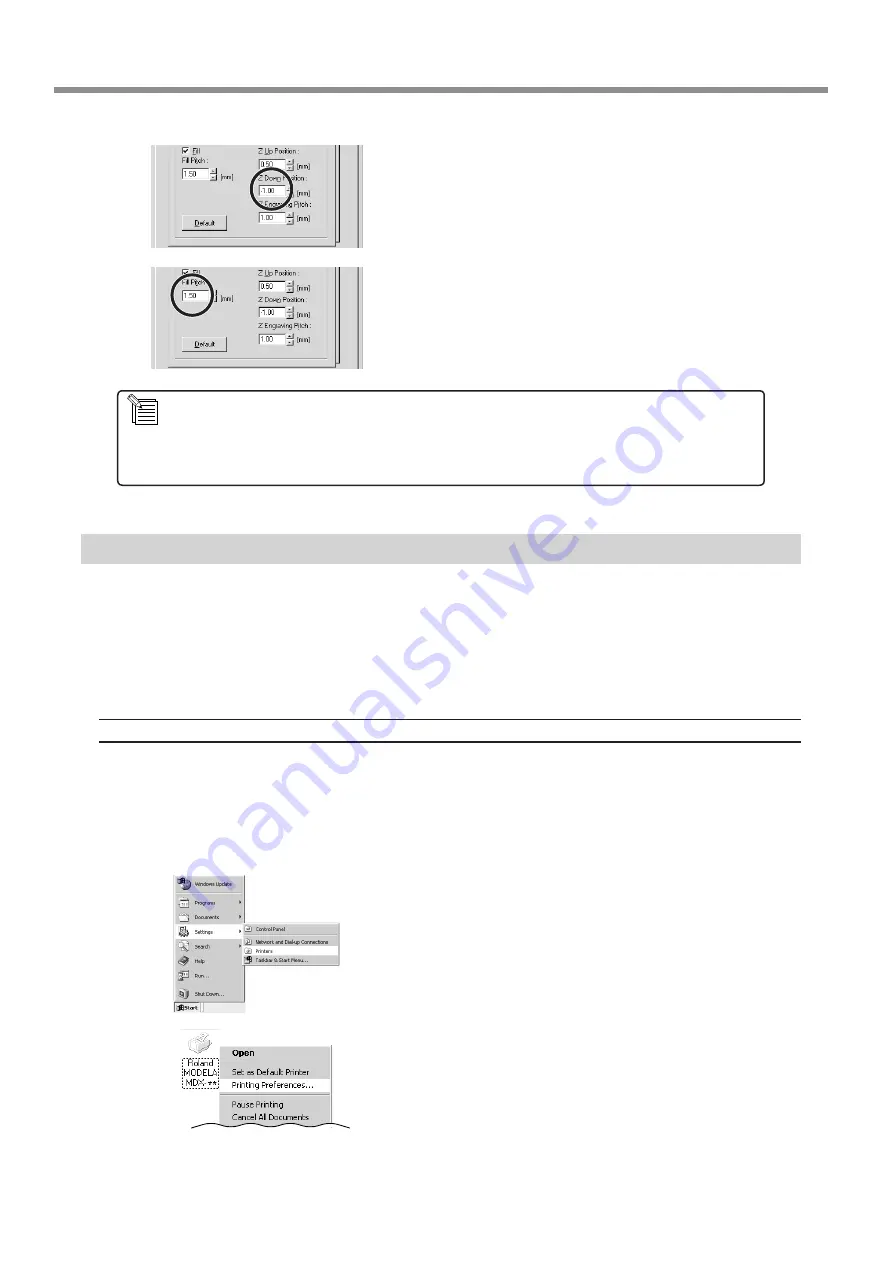
For [Z Down Position], enter the cutting-in depth.
For [Fill Pitch], enter the diameter of the tool tip.
To achieve an attractive finish, enter a value narrower than the
actual diameter.
Driver for Windows NT4.0/2000/XP
This section explains how to make the settings for the engraving parameters.
When sending data from Dr. Engrave or a commercially available drawing program, the driver sets engraving parameters such
as the tool’s operating speed, depth, and pitch. When sending data from MODELA Player or 3D Engrave to MODELA, the data
is sent to the driver’s output port. At this time, all driver settings other than the port are ignored, and do not affect cutting.
To make the settings for the Windows NT4.0/2000/XP driver, log on to Windows as "Administrators" or "Power Users" ac-
count.
Display the Driver Setting Screen
To make the settings for the driver, open Properties. You can use either of the two methods described below to open Prop-
erties.
Method 1
When you use this method to make the settings, any changes you make in Properties also affect other Windows-based
programs.
Open the [Printers] folder.
Windows NT4.0/2000:
Click [Start]-[Settings]-[Printers].
Windows XP:
Click [Start]-[Control Panel]. Click [Printers and Other
Hardware], then click [Printers and Faxes].
Windows NT4.0:
Right-click the [Roland MODELA MDX-20] icon, then click
[Document Defaults].
Windows 2000/XP:
Right-click the [Roland MODELA MDX-20] icon, and click
[Printing Preferences]. Then, click [Advanced].
For [Fill Pitch] and items other than [Fill Pitch], suitable values are set for engraving the composition you chose in
step 2. However, these values are only suggestions. If the results of actual engraving are not as expected, adjust
the values accordingly.


