Creating a Song
Editing the Part Settings
For each part of a song recorded on the 16 part recorder or an
internal song, you can edit the volume and tone of each part, or
mute it.
Commercially available Roland SMF music files also consists of 16
parts, each playing a different instrumental sound, and you can edit
the settings for each part of such data in the same way.
* Before you continue, select the song that you want to edit (p. 31).
1.
Use the cursor [
] [
] buttons to select the part that
you want to edit, and press the [ ] button .
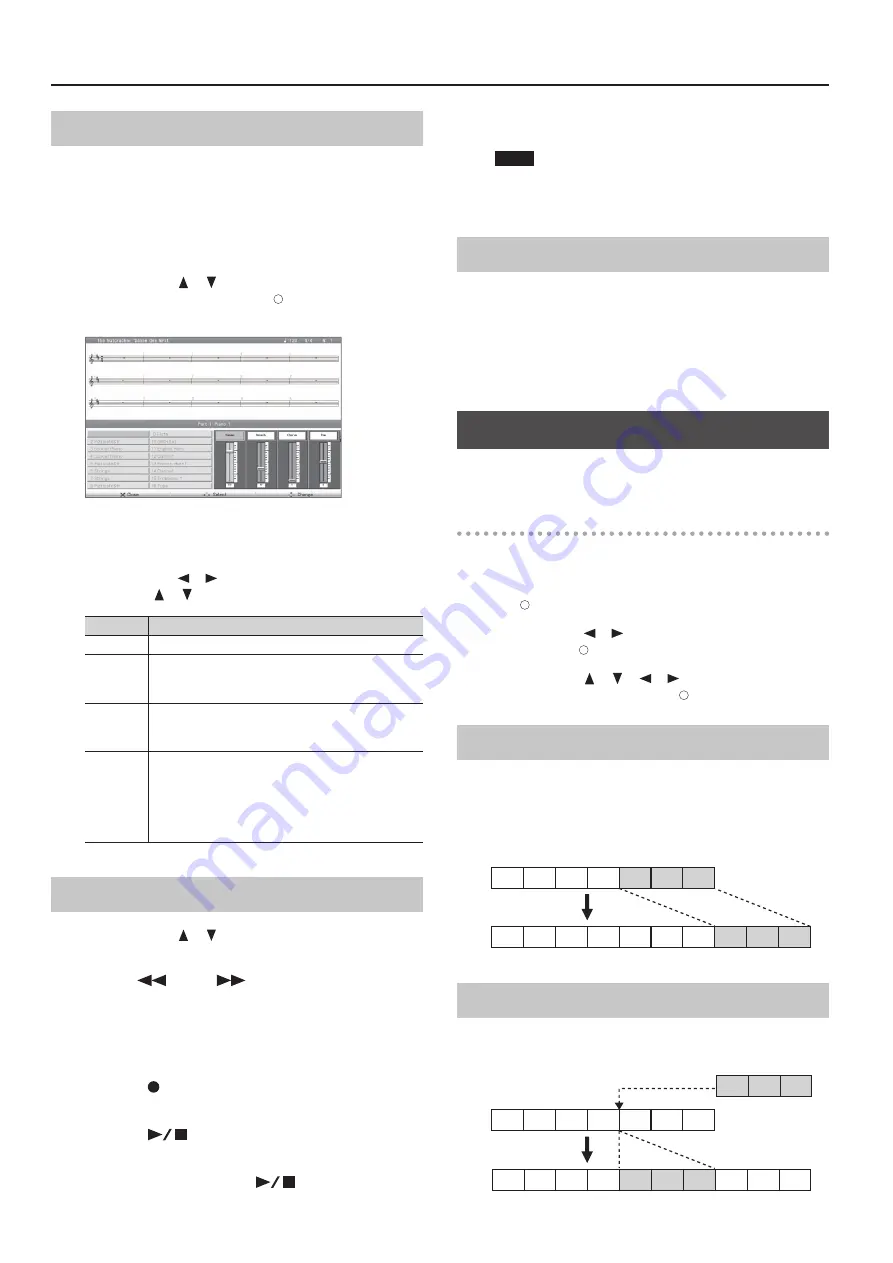
A “Part” screen like the following will appear.
The part name and tone name are shown in the center of the
screen. When this screen is shown, you can use the tone buttons to
switch the tone of this part.
2.
Use the cursor [
] [
] buttons to select an item, and use
the cursor [
] [
] buttons to edit the setting .
Item
Explanation
Volume
Adjusts the volume
Reverb
Adjusts the depth of the reverb effect.
The reverberation that is typical of a concert hall will be
added, giving the sound a greater spatial spread.
Chorus
Adjusts the depth of the chorus effect.
A slightly pitch-shifted sound will be added, giving the sound
depth and spaciousness.
Pan
Adjusts the stereo position at which the sound is heard.
By editing the pan setting you can specify the perceptual
location from which the sound will be heard between the left
and right speakers.
Raising the setting will move the sound toward the right, and
lowering it will move the sound toward the left.
Recording Each Part
1.
Use the cursor [
] [
] buttons to select the part that
you want to edit .
2.
Use the [
] (Bwd) [
] (Fwd) buttons to move to the
measure at which you want to record .
3.
Specify the recording tempo (p . 47) and metronome
settings (p . 30) . Also select the tone (p . 20) you’ll use when
recording .
4.
Press the [
] (Rec) button .
The HPi-50e will enter recording-standby mode.
5.
Press the [
] (Play/Stop) button to start recording .
A count will be heard, and then recording will start.
6.
To stop recording, press the [
] (Play/Stop) button .
7.
If you want to record additional parts, repeat step 2 and
following as many times as necessary .
NOTE
The song you recorded will disappear when you turn off
the power. If you don’t want to lose your song, save it to the
Favorites or to USB memory.
Saving Your Multitrack Recording
Here’s how to save a song that you’ve multitrack-recorded or whose
part settings you’ve edited.
1.
In the “16 part recorder” screen, press the [×] button .
The 16 part recorder will close, and the song save screen will
appear.
For details, refer to “Saving a Song” (p. 38).
Editing a Song
Here’s how to edit the performance you’ve recorded using the part
buttons (p. 39) or the 16 part recorder (p. 43).
Basic operation
1.
Select the song that you want to edit (p . 31) .
2.
Press the [Lesson] button, select “Song Editor,” and press
the [ ] button .
3.
Use the cursor [
] [
] buttons to select “Note/Measure”
and press the [ ] button .
4.
Use the cursor [
] [
] [
] [
] buttons to select an
editing function, and press the [ ] button .
Copying Measures (Copy)
You can copy a specified range of measures to other measures or to
another part.
This is a convenient way to create songs in which similar phrases are
repeated.
1
2
3
4
5
6
7
1
2
3
4
5
6
7
8
9
10
Example: Copying measures 5–7 to measure 8 and following
Inserting Blank Measures (Insert)
You can insert blank measures at the specified location.
Example: Inserting three blank measures at measure 5
1
2
3
4
5
6
7
1
2
3
4
5
6
7
8
9
10
44
Содержание HPi-50e
Страница 1: ......
Страница 78: ...For EU Countries For China 78...
Страница 80: ...5 1 0 0 0 3 6 7 7 7 0 1...


