122
Editing a Sample
6.
Press
or
, then select the file that you want to
import.
If you want to select two or more files, select the file and press
[INC]. A check mark (
✔
) will be added to the selected file. To
remove the check mark, press [DEC].
To add a check mark to all files of the selected folder, press
[SHIFT] so it lights and then press [INC]. To remove the check
mark from all files of the selected folder, press [SHIFT] so it
lights and then press [DEC].
7.
Press [ENTER].
A message will ask you for confirmation.
8.
Press [ENTER] to execute.
*
To cancel, press [EXIT].
The imported file will be added to the sample list as a sample.
This sample is temporary, and will be lost when you turn off the
power. If you want to keep it, be sure to save the data (p. 131).
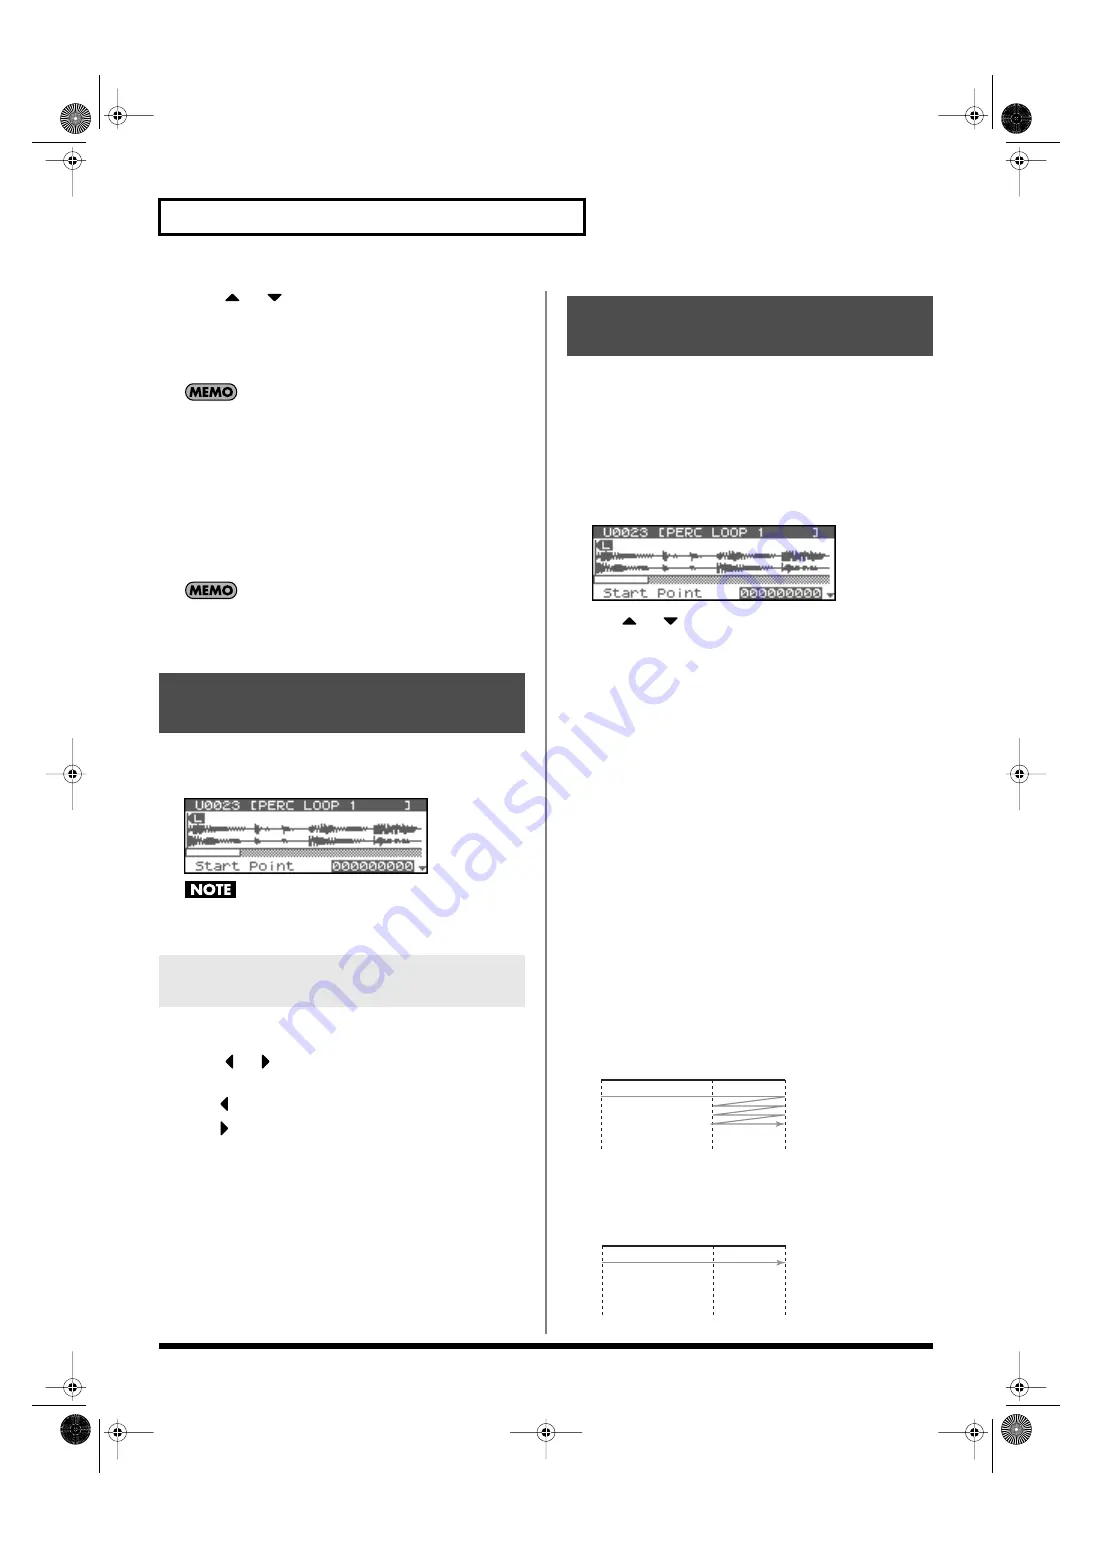
1.
Press [SHIFT] so it lights, and then press [SAMPLING].
The Sample Edit screen will appear.
fig.15-001
Samples that you edit will be lost when you turn off the power.
If you want to keep them, you must Save them (p. 131).
Here’s how to change the magnification of the sample display.
1.
Press
or
to magnify or shrink the waveform display.
• Horizontal axis (time axis): 1/1–1/65536
Press
to decrease the display magnification.
Press
to increase the display magnification.
You can specify the portion of the sample that will actually sound.
You can also specify the region that is to be looped.
1.
In the Sample List screen, select the sample you wish to
edit.
2.
Press [ENTER], or hold down [SHIFT] so it lights and then
press [SAMPLING].
The Sample Edit screen will appear.
fig.15-001
3.
Use
or
to select the parameter and turn the VALUE
dial or use [INC][DEC] to get the value you want.
It’s convenient to zoom in when you need to make small
changes, and zoom out when you need to make major changes
(p. 122).
•
Start Point:
This is the point at which playback will start. Set this so that any
unwanted portion at the beginning of the sample will be
skipped, and the sound will begin at the desired moment.
•
Loop Start:
This is the point at which loop playback (second and
subsequent times) will start. Set this if you want to loop the
sound from a point other than the start point.
•
End Point:
This is the point at which playback will end. Set this so that any
unwanted portion at the end of the sample will not be heard.
•
Loop Mode
Specifies how the sample will be played.
Value
FWD (Forward)
After the Sample played back from the Start point to the End
point, it will then be repeatedly played back in the forward
direction, from the Loop Start point to the End point.
fig.15-005
ONE-SHOT
The sample will be played back only once, from the Start point
to the End point.
fig.15-006
Displaying Sample Edit
Screen
Magnifying/Shrinking the
Waveform Display (Zoom In/Out)
Setting the Start/End Points
of the Sample
Start P.
Loop
Start P.
End P.
Start P.
Loop
Start P.
End P.
Fantom-XR_r_e.book 122 ページ 2006年4月4日 火曜日 午前10時14分
Содержание Fantom XR
Страница 20: ...20 Getting Ready Fantom XR_r_e book 20 ページ 2006年4月4日 火曜日 午前10時14分 ...
Страница 21: ...21 Quick Start Fantom XR_r_e book 21 ページ 2006年4月4日 火曜日 午前10時14分 ...
Страница 31: ...31 Advanced Use Fantom XR_r_e book 31 ページ 2006年4月4日 火曜日 午前10時14分 ...
Страница 175: ...175 Appendix Fantom XR_r_e book 175 ページ 2006年4月4日 火曜日 午前10時14分 ...
Страница 281: ...281 MEMO Fantom XR_r_e book 281 ページ 2006年4月4日 火曜日 午前10時14分 ...


