


117
Sampling
1.
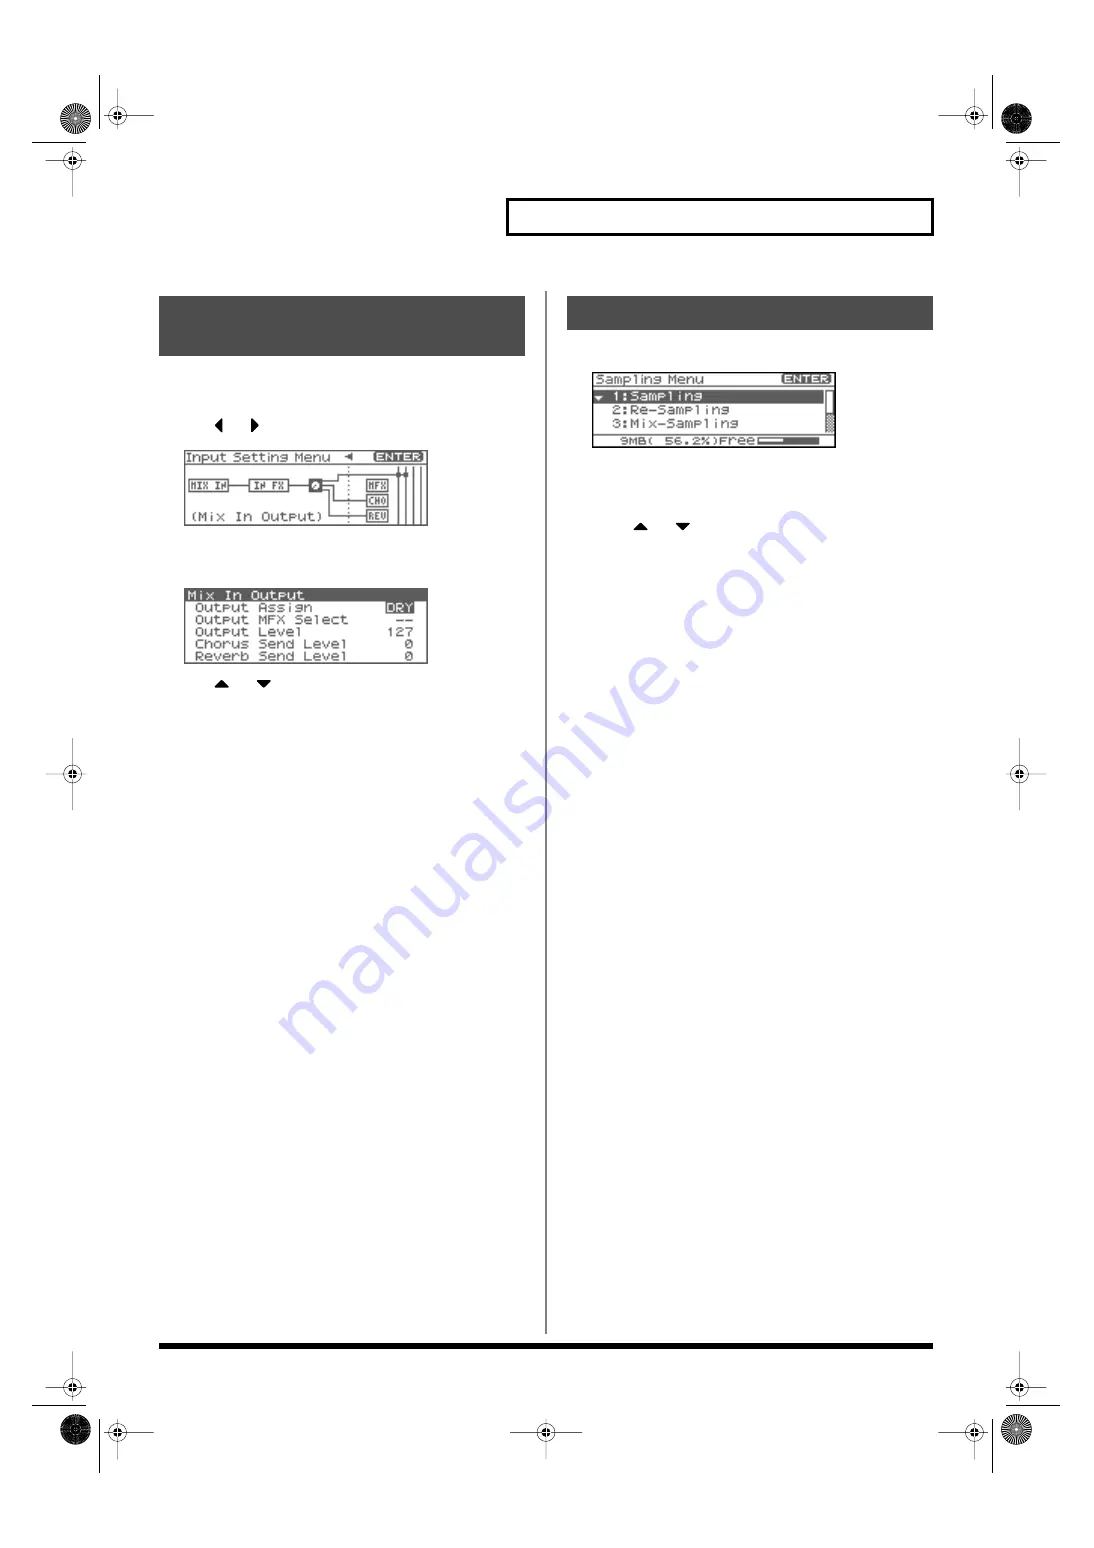
In the MixIn/InputFX Switch screen, press [MENU].
The Input Setting Menu screen will appear.
2.
Use
or
to select Mix In Output.
fig.14-012
3.
Press [ENTER].
The Mix In Output screen will appear.
fig.14-012a
4.
Use
or
to move the cursor to each parameter, and
turn the VALUE dial or use [INC][DEC] to make the setting.
•
Output Assign (Mix In Output Assign)
Output destination of the external input sound that is mixed in
Value
DRY:
Output to OUTPUT (A) jacks without
passing through effects
MFX:
Output through multi-effects
When you select “MFX”, selects which of the three multi-effects
(1–3) will be used.
•
Output Level (Mix In Output Level)
Volume level of the external input sound.
Value:
0–127
•
Chorus Send Level (Mix In Chorus Send Level)
Adjusts the depth of chorus that will be applied to the external
input source. Set this to “0” if you do not want to apply chorus.
Value:
0–127
•
Reverb Send Level (Mix In Reverb Send Level)
Depth of reverb applied to the external input sound. Set this to 0
if you don’t want to apply reverb.
Value:
0–127
5.
Press [EXIT] to return to the previous screen.
1.
Press [SAMPLING] to access the Sampling Menu screen.
fig.14-004
The lower part of the screen will show the amount of free
memory. If the free memory reaches 0%, no further sampling is
possible.
2.
Press
or
to select Sampling mode
•
Sampling
Sample a sound from an external input source.
•
Re-Sampling
Resample the sound of the internal sound generator. The
external audio source will not be input.
*
The volume of a phrase that you resample may be less than the volume
of the original phrase. If necessary, execute the Normalize command
(p. 128) to raise the volume.
•
Mix-Sampling
Sample the combined sounds of the internal sound generator
and an external input source.
•
Auto Divide (Auto Divide Sampling)
Sample an extended source, and automatically divide it into
several samples at silent regions. If the sample contains silence,
it will be divided at that point, and the subsequent portion will
be assigned to the next sample number.
•
Solo sampling
While playing the internal sound generator as usual, sample
only the sound from the external input.
*
Effects cannot be applied to the external input sound.
3.
Press [ENTER].
The sampling-standby screen will appear.
To cancel, press [EXIT].
*
You cannot sample the sound that is output from the OUTPUT B
jacks. You’ll need to set things up so that the sound you want to
sample is output from the OUTPUT A (MIX) jacks.
Output settings for the
External Input (Mix In Output)
Sampling Procedure
Fantom-XR_r_e.book 117 ページ 2006年4月4日 火曜日 午前10時14分
Содержание Fantom XR
Страница 20: ...20 Getting Ready Fantom XR_r_e book 20 ページ 2006年4月4日 火曜日 午前10時14分 ...
Страница 21: ...21 Quick Start Fantom XR_r_e book 21 ページ 2006年4月4日 火曜日 午前10時14分 ...
Страница 31: ...31 Advanced Use Fantom XR_r_e book 31 ページ 2006年4月4日 火曜日 午前10時14分 ...
Страница 175: ...175 Appendix Fantom XR_r_e book 175 ページ 2006年4月4日 火曜日 午前10時14分 ...
Страница 281: ...281 MEMO Fantom XR_r_e book 281 ページ 2006年4月4日 火曜日 午前10時14分 ...


