38 • Charging an Instrument in a Docking Station
Recharging the Batteries Without Performing Any Operations
1. Confirm that the AC adapter is connected to the back panel of the SDM-2009
and to an AC wall socket.
2. Insert the instrument into the instrument cradle.
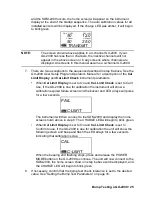
3. Press and hold the SDM-2009’s POWER button. The LEDs will turn amber.
4. When the BUMP
and CAL
LEDs turn off, release the POWER button.
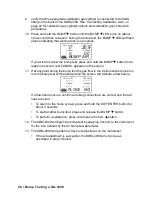
5. The CHARGE LED will be blinking amber.
6. If the batteries are fully charged, then the blinking amber LED will turn solid
green in a few minutes.
If the batteries are drained enough for the SDM-2009 to charge them, the
CHARGE LED will continue to blink amber while charging is taking place. The
SDM-2009 will take approximately 3 hours to charge a fully discharged
GX-2009.
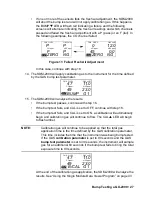
If the charging process encounters a fail condition, the CHARGE LED will turn
steadily red.
7. When the charge is complete, the CHARGE status LED will turn solid green.
Batteries Too Drained for Standalone Operation
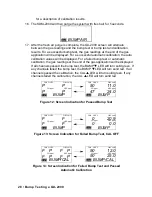
If the NiMH batteries do not have enough power to keep the instrument on, it will go
into a 5 minute charge cycle and the following screen will be displayed on the
instrument screen.
It will not connect to the docking station. The instrument cannot be bump tested or
calibrated in the charge cycle. Once the 5 minute charge cycle has ended, the unit
will automatically turn back on and connect to the docking station. The unit can now
be bump tested or calibrated.
04.59
CHARGING


