Advanced Features
Automatic Sorting into Groups [Program]
43
6
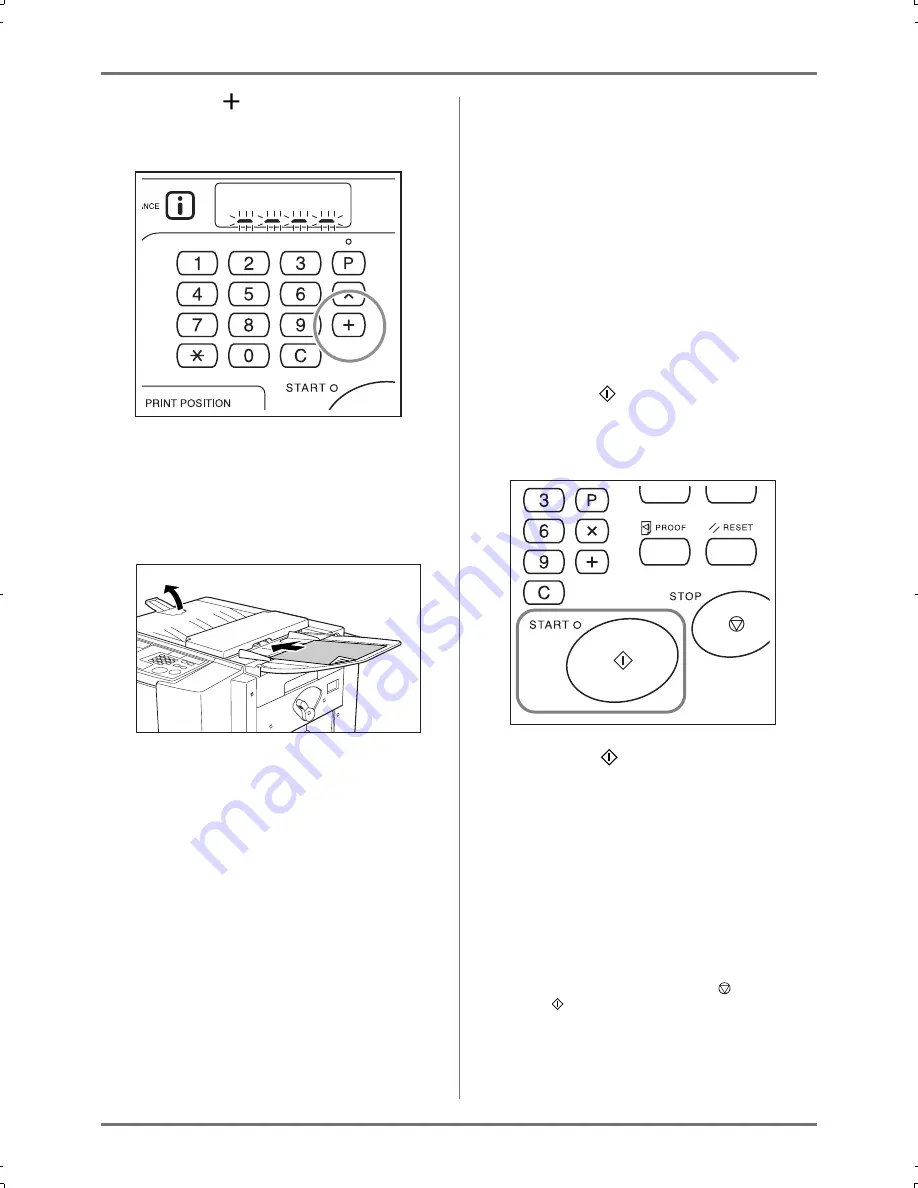
Press the key.
The print quantity entry mode for the second
group is started.
Repeat steps 3 through 6 to specify the number of
pages and sets for each group.
7
Place an original.
Adjust the Original Guide to the width of originals,
and place the originals face down.
Note:
• If you place multiple originals in the ADF unit
and select ON for Auto-Process, the programed
routine is repeated for each original.
8
Make necessary settings.
Make various settings as necessary.
You can set the following functions:
• Image Processing Mode
• Pencil
• Scanning Level Adjustment
• Enlargement/Reduction
• Auto-Process
Important!:
• To save the current program settings, see “Sav-
ing Programs” (
)
p.46) for further information.
Once printing is finished, the settings cannot be
saved.
9
Press the
key.
A proof copy is printed.
Check the print result, and if necessary adjust the
print position and other items.
10
Press the
key again.
Printing is started with the first programed group.
Important!:
• When printing is finished for all groups, the pro-
gram content is cleared. However, it is not
cleared if “Auto-Process” has been set to ON.
Note:
• Printing is stopped each time a routine for one
set is finished. If you do not use the Job Sepa-
rator (option), remove printed pages from the
Paper Receiving Tray or put separation paper.
• To interrupt printing, press the
key. Press
the
key to resume printing.
CZ180_UG.book Page 43 Wednesday, October 31, 2007 6:19 PM
Содержание CZ180 Series
Страница 19: ...Before Starting to Use Basic Process 19...
Страница 27: ...Basic Operations Printing Data You Have Created on a Computer Optional Kit Required 27...
Страница 39: ...Functions for Printing Changing the Print Speed Print Speed Adjustment 39...
Страница 83: ...Troubleshooting Troubleshooting Tips 83...
Страница 89: ...Appendixes Specifications 89...
Страница 92: ...Index 92...


