Ricoma Quick Start Guide
36
Figure 80
See Figure 80.
Now, press “OK.” The logo on your screen should now appear in the customized
angle you selected.
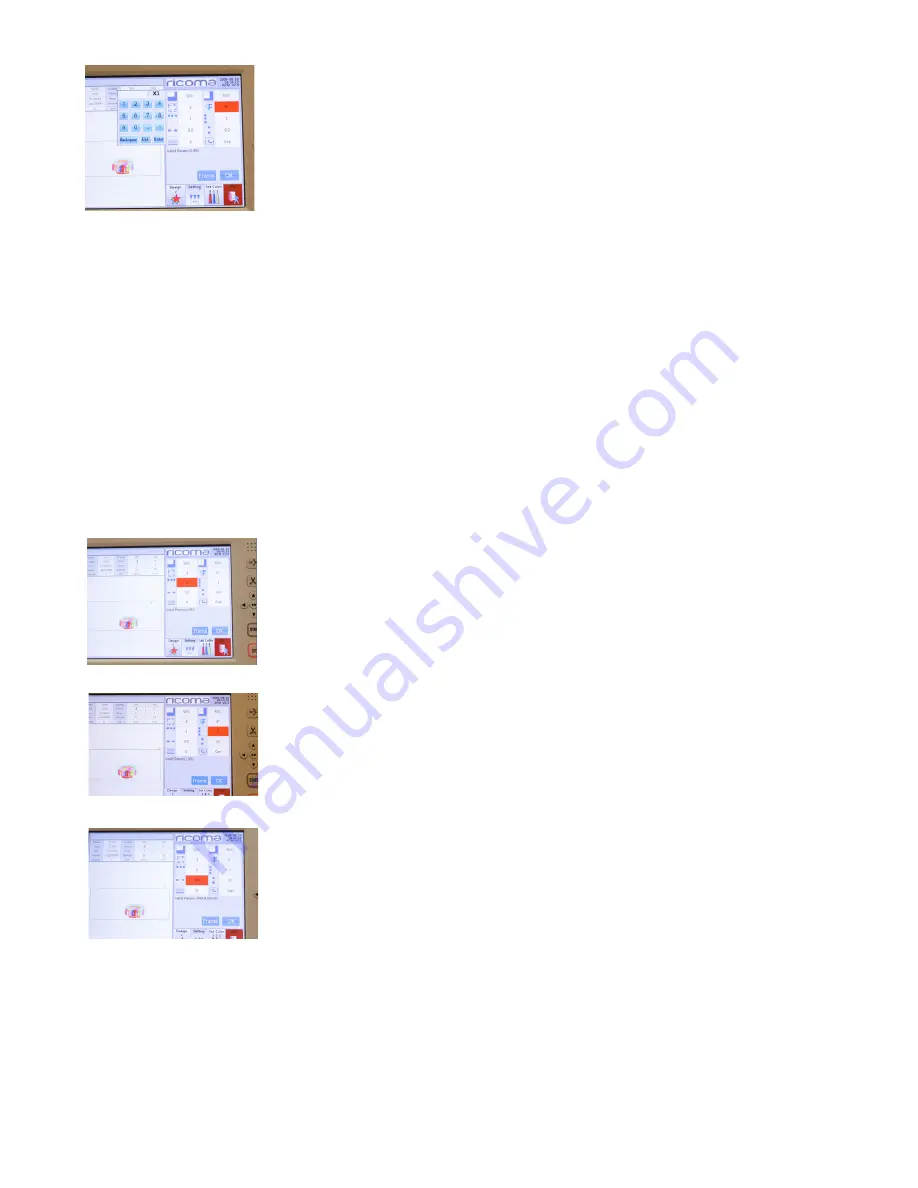
1. Select the third icon in either the first or second column depending
on whether you want to stitch vertically or horizontally.
2. Input the number of logos you would like to repeat, and press “Enter.”
3. When repeating a design, you will need to select the space in
between each of the designs by choosing the fourth icon on either
the first or second column depending on whether you are repeating
the design horizontally or vertically.
4. Next, input the amount of space you wish to place between your
designs. These values will be represented in millimeters (“mm”).
Once you’ve input the measurement, press “Enter,” and then “OK.”
See Figure 83.
5. Your repeated designs will now appear on the screen.
HOW TO REPEAT DESIGN AND SELECT THE SPACE BETWEEN REPEATED DESIGNS
Your machine is capable of repeating the same design in one job. Embroiderers use this method to
save time when running projects such as multiple patches. To do so, you will need to use the largest
hoop possible, and repeat the logo as many times as it fits in your hoop area. To begin the process, you
will have to choose whether you want to repeat your designs vertically or horizontally.
To stitch the design horizontally, select the third and fourth icon on the first column of your Design
Settings menu. See Figure 81.
To stitch the design vertically, select the third and fourth icon on the second column of your Design
Settings menu. See Figure 82.
Figure 81
Figure 82
Figure 83


