Ricoma Quick Start Guide
35
RESIZING A DESIGN
HOW TO ROTATE A DESIGN
HOW TO ADJUST THE ROTATION ANGLE OF YOUR DESIGN
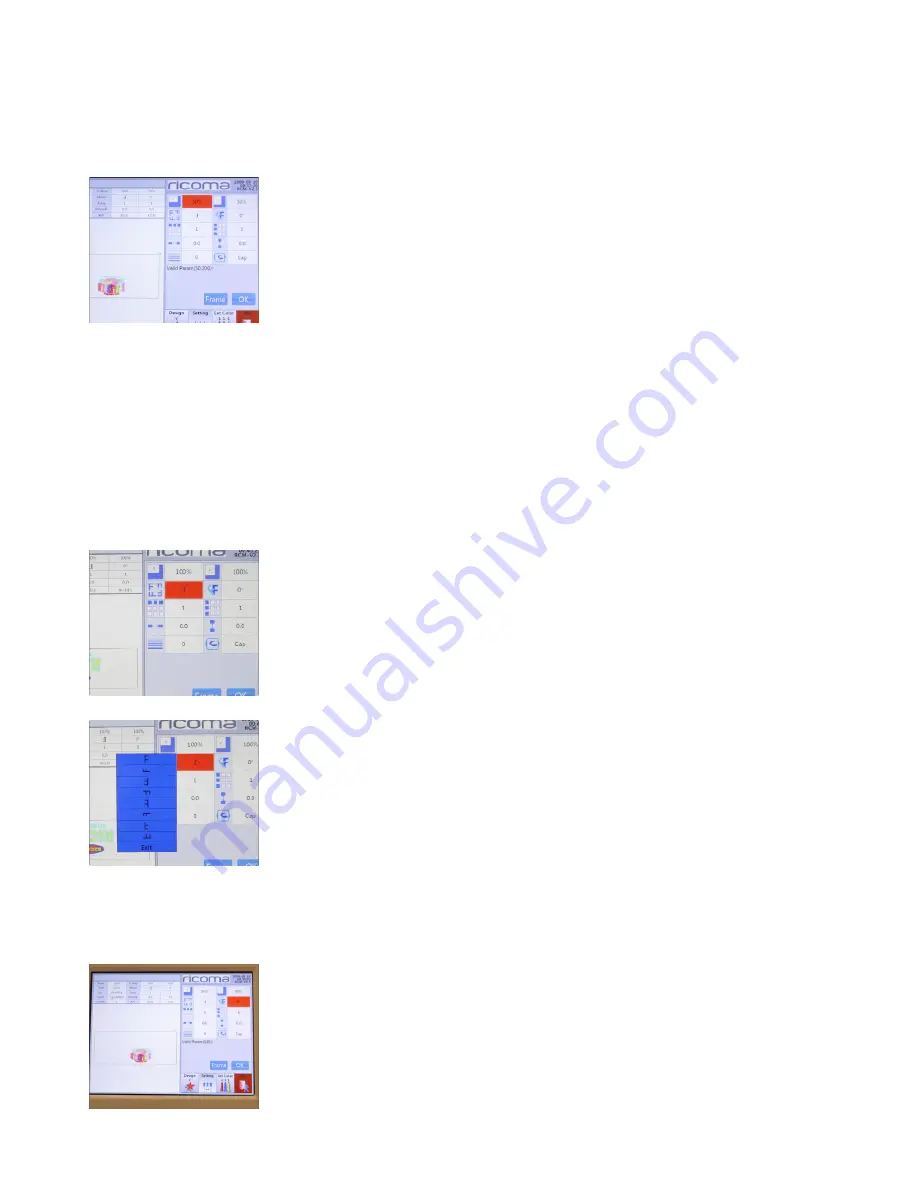
The X & Y axes are represented by the number 100. This means, the logo will be embroidered at
100 percent. These measurements can range from 50 percent to 200 percent. You can increase or
decrease the logo size by changing the X & Y measurements.
To do so, click on the “X” icon and input the new value you’d like to resize your
design to.
Then, click on the “Y” icon and input the same value you input into the X axis.
See Figure 76.
Note:
If you change the measurements of either axis, you will need to change the measurements of the
opposite axis by the same amount to avoid distorting the logo.
Tip:
When making these changes, keep in mind the machine will not increase or decrease the number of
stitches on your design. A big difference in the percentage (%) may distort the embroidery. We recommend
adjusting this setting to no more than 115% and no less than 85%.
Figure 76
Figure 77
Figure 78
The rotate designs function allows the user to rotate the design in eight
different directions.
To do so, select the design rotation key represented by the F icon on your
design settings menu. See Figure 77.
When you select this key, a variety of options will appear. See Figure 78.
Select the desired position and press OK. The design will then appear on the
screen with the changes you’ve made.
Figure 79
After you’ve rotated your design to a desired setting, you may also customize
the rotation angle anywhere from 0 to 89°. To do so, select the icon with one
‘F’ and one slanted ‘F’ to add a specific angle to your design. See Figure 79.
Once you select this option, a numbered keypad will appear. Select the
desired degrees in which you would like to position your design, and press
“ENTER.”


