Ricoma Quick Start Guide
33
Follow these steps to divide your design into separate designs.
1. With embroidery mode unlocked, select the Design key to enter the
USB/embroidery machine’s memory interface.
2. Select the embroidery machine’s memory, making sure the
embroidery machine icon is highlighted blue.
3. Select the design you wish to delete from the list of designs in the
machine’s memory.
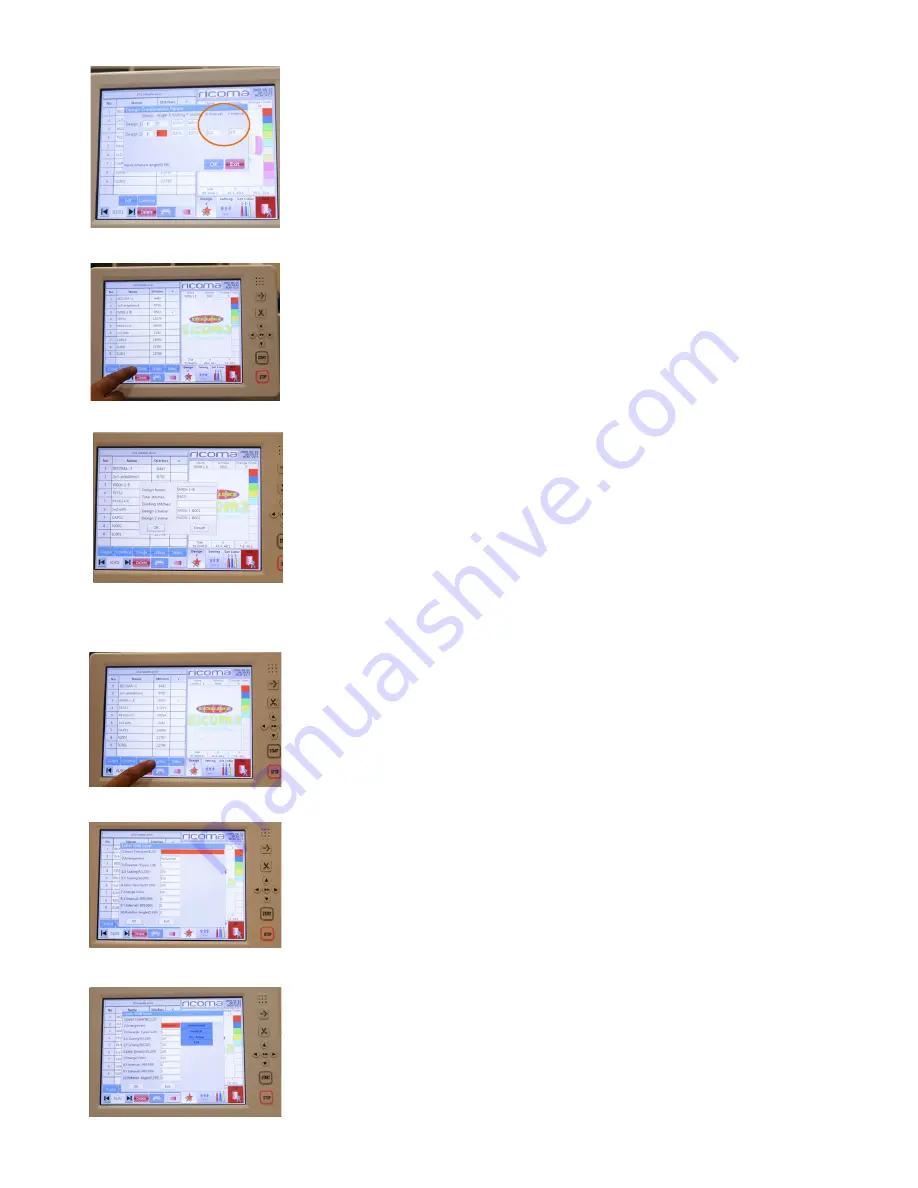
4. Select the “Divide” option along the bottom row of keys. See Figure
69.
5. A menu will appear. Under the “dividing stitches” option, input the
number of stitches you wish to be the cut-off point to divide the
design. See Figure 70.
6. Press “Enter,” then press “OK.”
7. You will now see your divided design in the menu.
Figure 68
Figure 70
Figure 69
You can create personalization directly on your machine using the
machine’s on-board lettering feature. Follow these steps to add a name
or title to a design.
ON-BOARD LETTERING
1. With embroidery mode unlocked, select the Design key to enter the
USB/embroidery machine’s memory interface.
2. Select the embroidery machine’s memory, making sure the
embroidery machine icon is highlighted blue.
3. Select the “Letters” option along the bottom row of keys. This will
open the on-board lettering interface. See Figure 71.
4. In the lettering menu, click on the “Input Characters” option and type
in the word you wish to embroider. See Figure 72.
5. The second option in the on-board lettering interface reads
“Arrangement.” Select this option and choose from the list to arrange
your letters horizontally or vertically. See Figure 73.
Figure 71
Figure 72
Figure 73


