Ricoma Quick Start Guide
32
4. Then, select the “output” key to transfer the file to your USB’s memory.
HOW TO DELETE A DESIGN FROM YOUR MACHINE’S MEMORY
The machine’s memory holds 50 million stitches. To clear space, delete the designs you’ll no longer
need. Follow these quick steps to delete a design from your machine’s memory.
1. 1. With embroidery mode unlocked, select the Design key to enter the USB/embroidery
machine’s memory interface.
2. Select the embroidery machine’s memory, making sure the embroidery machine icon is
highlighted blue.
3. Select the design you wish to delete from the list of designs in the machine’s memory.
4. Then, select the “delete” key to remove the file from your machine’s memory.
HOW TO COMBINE AND DIVIDE DESIGNS
In some cases, you may want to combine two designs or divide a design into separate designs.
Follow these steps to combine two designs in a single run.
1. With embroidery mode unlocked, select the Design key to enter the
USB/embroidery machine’s memory interface.
2. Select the embroidery machine’s memory, making sure the
embroidery machine icon is highlighted blue.
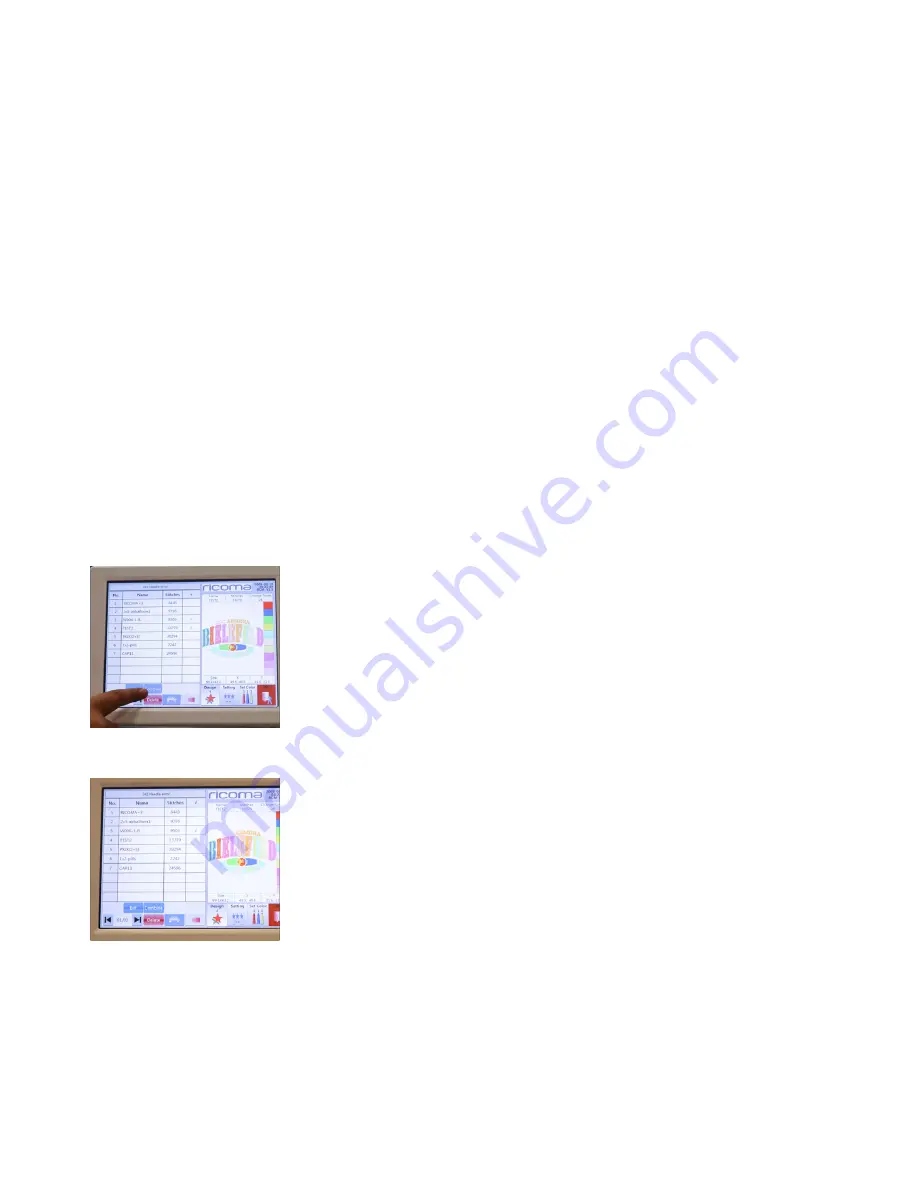
3. Select the “Combine” option along the bottom row of keys. See
Figure 66.
4. Select the designs you wish to combine. Once selected, a check
mark will appear next to the title of the design to verify you have that
design selected. See Figure 67.
5. You can now select the distance between the designs in order to
space them out. Input a value into the X-interval and Y-interval option
in order to space them out. See Figure 68.
Note:
The value will depend on your design and how much space you
want between the design. We recommend starting at 50 and increasing in
increments of 10 until you find the perfect spacing for your designs.
Figure 66
Figure 67


