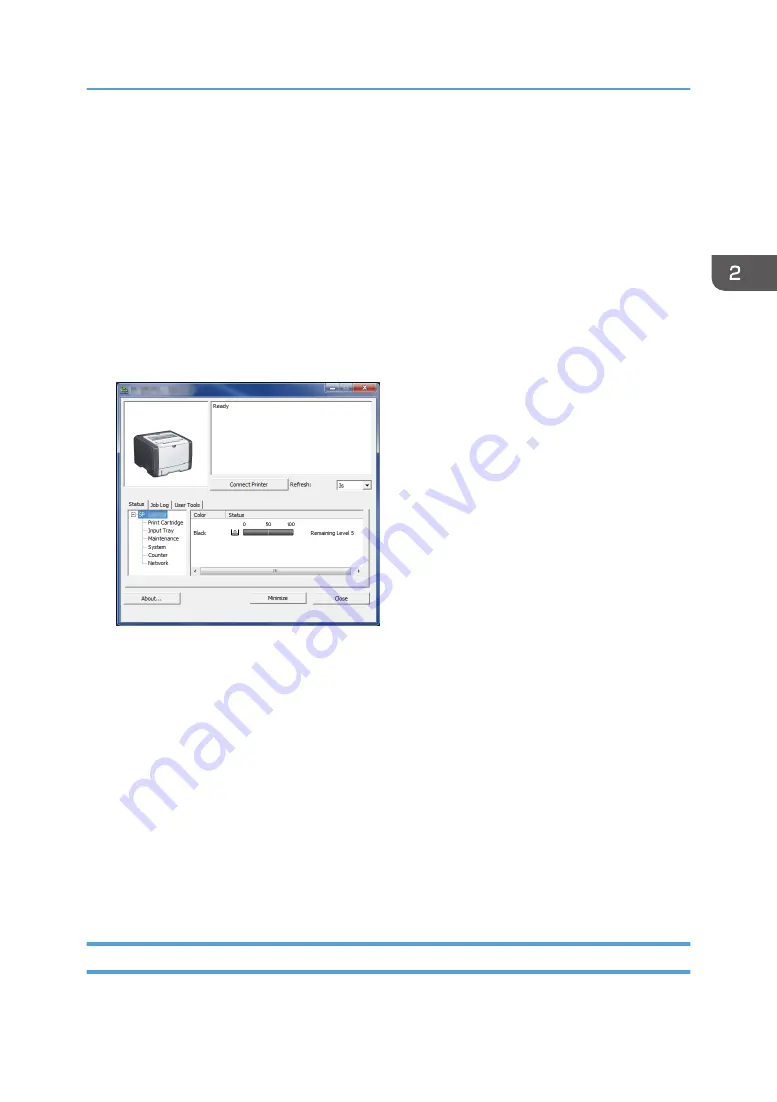
Specifying Paper Type and Paper Size Using
Smart Organizing Monitor
The procedure in this section is an example based on Windows 7. The actual procedure may vary
depending on the operating system you are using.
1.
On the [Start] menu, click [All Programs].
2.
Click [SP 320 Series Software Utilities].
3.
Click [Smart Organizing Monitor].
Smart Organizing Monitor starts.
4.
If the machine you are using is not selected, click [Connect Printer], and then do one of the
following:
• Select the machine's model.
• Enter the IP address of the machine manually.
• Click [Search Network Printer] to search the machine via the network.
5.
Click [OK].
6.
On the [User Tools] tab, click [Printer Configuration].
If you are requested to enter an access code, enter the access code and then click [OK].
The default access code is "Admin".
7.
On the [Paper Input] tab, select the paper type and paper size, and then click [OK].
8.
Click [Close].
Specifying a Custom Paper Size
1.
On the [Start] menu, click [All Programs].
Specifying Paper Type and Paper Size Using Smart Organizing Monitor
29
Содержание SP 320DN/SP
Страница 2: ......
Страница 7: ...INDEX 155 5...
Страница 10: ...DSG251 Smart Organizing Monitor 1 Click Help on the Printer Configuration screen DSG253 8...
Страница 14: ...12...
Страница 20: ...For details about how to use Web Image Monitor see page 52 Using Web Image Monitor 1 Guide to the Machine 18...
Страница 80: ...5 Maintaining the Machine 78...
Страница 156: ...8 Appendix 154...
Страница 159: ...2016...
Страница 160: ...M287 8602 AU EN US EN GB EN...


