


When Paper Is Not Fed or Ejected Properly
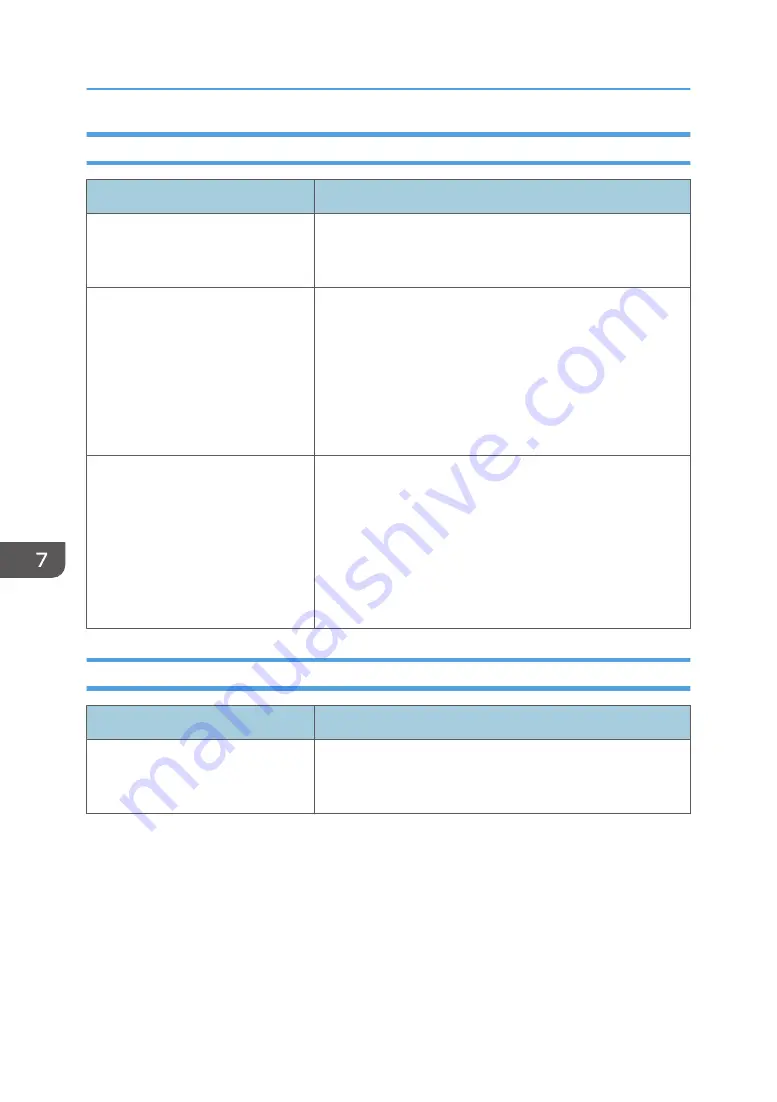
Problem
Solution
Prints fall behind the machine when
they are delivered.
Pull up the appropriate stop fence (forward fence for A4/
Letter, rear fence for Legal size prints). See page 13 "Guide to
Components".
Prints do not stack properly.
• The paper being used may be damp. Use paper that has
been stored properly. See page 40 "Supported Paper".
• Pull up the appropriate stop fence (forward fence for
A4/Letter, rear fence for Legal size prints). See page 13
"Guide to Components".
• Select [Curl Prevented] in [Curl Prevention Mode] under
[System Settings].
The printed paper is curled.
• Load the paper upside down in the paper tray.
• If the paper curl is severe, retrieve prints from the output
tray more frequently.
• The paper being used may be damp. Use paper that has
been stored properly.
• Select [Curl Prevented] in [Curl Prevention Mode] under
[System Settings].
Other Printing Problems
Problem
Solution
The toner has run out and printing
has stopped.
When the toner runs out, pressing the [Stop/Start] key allows
you to print a few more pages, but the print quality of those
pages may be lower.
7. Troubleshooting
184
Содержание P C311W
Страница 2: ......
Страница 82: ...Default Normal Normal Curl Prevented 4 Configuring the Machine Using the Control Panel 80...
Страница 92: ...4 Configuring the Machine Using the Control Panel 90...
Страница 108: ...10 Close the Web browser 5 Configuring the Machine Using Utilities 106...
Страница 134: ...5 Configuring the Machine Using Utilities 132...
Страница 158: ...6 Maintaining the Machine 156...
Страница 165: ...Main unit 1 DUE319 3 2 1 DUE288 2 DUE289 Removing Paper Jams 163...
Страница 166: ...3 DUE290 Waste toner bottle ECC168 Paper feed unit DUE320 1 7 Troubleshooting 164...
Страница 196: ...8 Configuring Network Settings 194...
Страница 222: ...MEMO 220 EN GB EN US EN AU M0EN 8504A...
Страница 223: ......
Страница 224: ...EN GB EN US EN AU M0EN 8504A 2021 2022 Ricoh Co Ltd...