2.
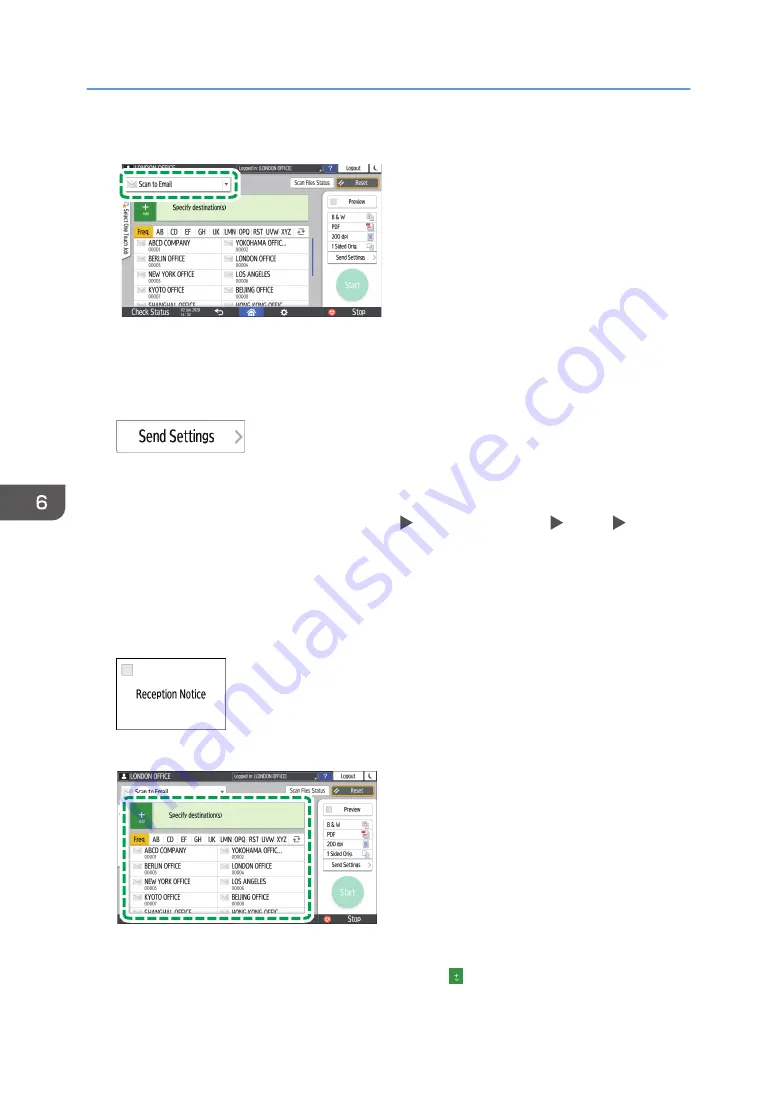
Select [Scan to Email] on the scanner screen.
D0CZPM6701
3.
Place the original on the scanner.
See "Placing an Original to Scan", User Guide (Full Version).
4.
Press [Send Settings] on the scanner screen.
5.
Press [Sender] and specify the sender.
• When a logged in user is operating the machine, the logged in user becomes the sender.
• When [On] is specified in [System Settings] [Send (Email/Folder)] [Email] [Auto
Specify Sender Name], you can send an e-mail even when the sender is not specified. The
administrator's e-mail address that is registered on the machine is used as the sender.
• Specify the sender to receive an opening confirmation.
6.
Select the [Reception Notice] check box to receive an opening confirmation of the e-mail
from the destination.
7.
Specify the destination on the scanner screen.
D0CZPM6702
• To enter the e-mail address manually, select the destination from the destination history, or
search for the destination in the address book, press , and specify the destination.
6. Scan
150
Содержание IM 2500 Series
Страница 2: ......
Страница 12: ...10...
Страница 72: ...DZW181 3 Close the ADF cover DZW182 2 Getting Started 70...
Страница 78: ...You cannot use the Interrupt mode with the staple mode while copying in the staple mode 3 Copy 76...
Страница 108: ...4 Fax 106...
Страница 150: ...5 Print 148...
Страница 184: ...8 Web Image Monitor 182...
Страница 388: ...11 Specifications for The Machine 386...
Страница 398: ...MEMO 396 EN GB EN US EN AU D0CH 7421B...
Страница 399: ...2021 2022...
Страница 400: ...D0CH 7421B AU EN US EN GB EN...


