Page 15 of 91
© Retrotec 2017
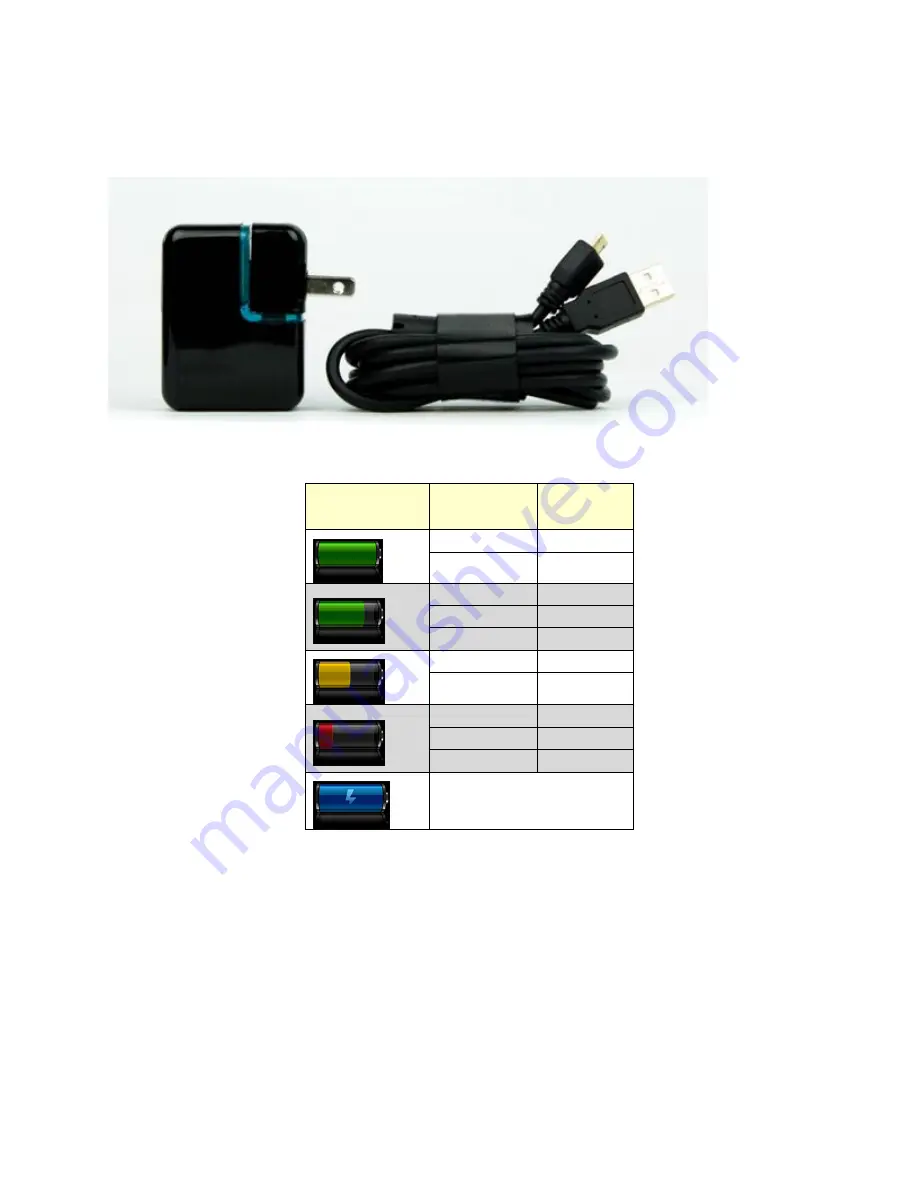
The gauge battery is charged via the USB cable port on the gauge. The fastest way to charge the gauge is to
plug the USB cable into the provided USB-to-mains AC power adapter, as the mains adapter will provide
maximum current. Plugging the USB cable into a USB port on your computer will also charge the gauge,
but at a much slower rate, and will only extend the length of time before needing to use the AC adapter
(the draw can be higher than what most computers normally provide on the USB output).
Figure 11: AC Adapter provided to charge battery via USB connector
Table 3: Gauge battery life indications
Battery life
indicator icon
Battery life
remaining
Electrical
Potential
100 %
≥4.2 V
90 %
4.12 V
80 %
4.04 V
70 %
3.96 V
60 %
3.88 V
50 %
3.80 V
40 %
3.72 V
30 %
3.64 V
20 %
3.56 V
10 %
3.48 V
DM32 is Charging (USB from
DM32 is connected to power)
When the battery is charging, a red light on the front of the gauge (bottom right corner) will be on solidly
(not flashing). Once the light goes off, the gauge is fully charged. Additionally, the battery life indicator on
the Top Bar will be blue when the battery is being charged and the gauge is powered on.
With the gauge plugged into the wall outlet, the battery charges at 1A, and will take approximately 4.2
hours to fully charge a depleted battery. With the gauge plugged into the USB port of a computer, it
charges at around 500mA, not enough to maintain the gauge so will not charge the battery.
When the gauge is plugged into mains power on a completely depleted battery, it may take a few minutes
to gain sufficient charge to have enough power to show the splash screen. If you press the power button
and the screen flashes without showing the splash screen, this indicates the gauge is still in the process of
gaining enough charge and will start shortly. (the gauge may also repeatedly run the Re-calibrate


