Page 21
8. Troubleshooting
Warning! Before machines are dispatched from the factory, they have already
been checked thoroughly. The machine should not be tampered with or
altered. Maintenance must be carried out carefully. If any wire becomes loose
or is misplaced, it maybe potentially dangerous to user! Only professional
maintenance personnel should repair the machine!
Ensure the power is disconnected before working on the machine. Always wait
5 minutes after power switch off before removing the panels.
9.1. Common malfunction analysis and solution
The symptoms listed here may be related to the accessories, gas,
environmental factors, and power supply you use. Please try to improve the
environment and avoid such situations.
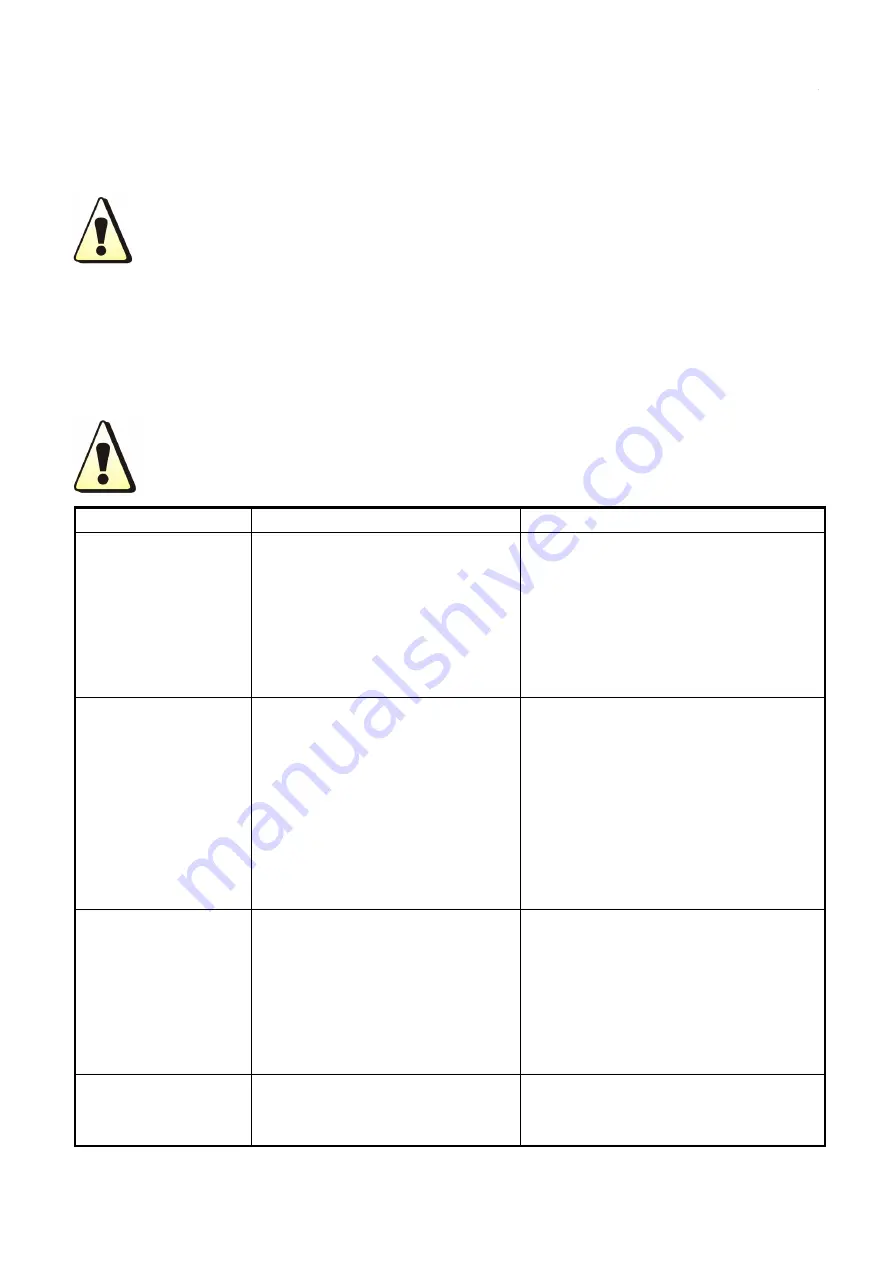
Symptom
Reasons
Troubleshooting
No pilot arc after
pressing the torch
trigger
·The machine is in gas check
mode
·The torch trigger circuit is
blocked
·Compressed air is not
connected
·The pilot arc circuit is damaged
·Turn off the gas check function or
wait 20s to exit automatically
·Check the torch trigger circuit
·Reconnect the compressed air
·Replace or repair the mainboard
Intermittent or
extinguished pilot
arc
·Serious wear and tear on parts
·Input compressed air pressure
too high
·Too much moisture or
impurities in the compressed air
·Pilot arc time exceeds 2s
·Replace with new consumables
·Adjust the pressure of compressed
air to 0.35-0.55MPa through the gas
regulator on the rear panel
·Manually drain the water in the filter
cup of the gas regulator on the rear
panel or replace the regulator
·Don’t press the torch to keep pilot
arc for a long time without cutting.
The pilot arc cannot
be transferred to the
workpiece
·The cutting circuit is blocked
·The distance between the
nozzle of the cutting torch and
the workpiece is too large
·Check whether the earth clamp is
damaged and clean the contact part
of the clamp and the workpiece to
ensure good metal to metal contact
·Ensure that the distance between
the tip of the cutting torch and the
workpiece remains within 3-5mm
Poor cutting quality
·The cutting current and speed
do not match the thickness of
the workpiece
·Select the standard cutting
operation; refer to Table 7.1.3
Cutting Process Quick Reference
Содержание RAZORCUT45
Страница 1: ...RAZORCUT 45 INSTRUCTION MANUAL JRWCUT45di AUGUST 2022 di...
Страница 24: ...Page 24 Appendix 1 Wiring diagram of CUT45PFC...
Страница 25: ...Page 25 Appendix 2 Exploded view drawing of CUT45PFC...
Страница 36: ...JASIC TECHNOLOGIES AMERICA INC 25503 74th AVE A KENT WA 98032 U S A WWW RAZORWELD COM SALES RAZORWELD COM...


