background image

User Manual


18 


Please read 

Chapter 8 

on how to play back your backup file. 

5.25 

Reset Menu


If you select this item, the system will restore all your settings to factory default values. You 

need to enter your password to reset the menu. 

5.26 

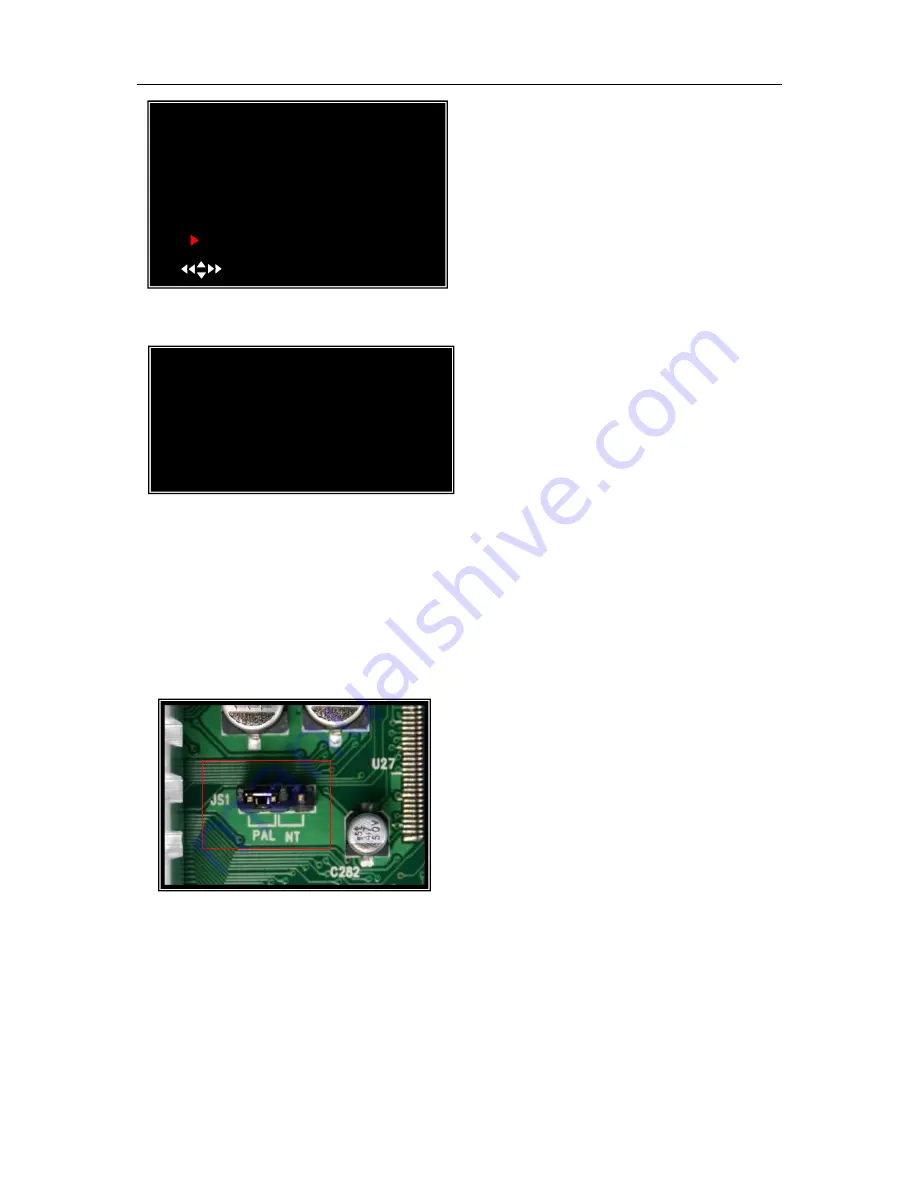
NTSC/PAL Output select 


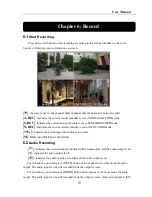
Change the jumper JS1 to select NTSC or PAL 

video output format according to the silkscreen on 

the PCB. 


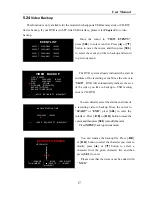
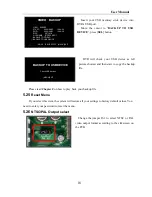
Insert your USB memory stick device into 

DVR’s USB port.   

Move the cursor to “

BACKUP TO USB 

DEVICE

”, press [

SEL

] button

.  

DVR will check your USB device as left 

picture showed and then start to copy the backup 
file. 


BACKUP TO USB DEVICE 


Check USB devices 


(MENU)EXIT 

VIDEO  BACKUP  


VIEW  EVENTS 
START:      2008/08/22    16:20:22 
END:        2008/08/22    16:48:28 
SIZE:        [197] MB 
FILE NAME:  [VID000.MCG] 
BACKUP TO CD/DVD 
BACKUP TO USB DEVICE 
 

(         )MOVE  (SEL)SELECT  (MENU)EXIT 

Содержание D6004

Страница 1: ...User Manual 0...

Страница 2: ...e Rate 7 5 6 Video Quality 7 5 7 Record Schedule 7 5 8 Sensor Setup 8 5 9 H W Sensor Setup 8 5 10 Motion Detector Setup 9 5 11 Hard Drive Setup 9 5 12 Miscellaneous Setup Change Password 10 5 13 Misce...

Страница 3: ...apter 7 Playback 20 8 1 Driver Installation 21 8 2 Program Interface Button Functions 21 8 3 Program Running 22 8 3 1 HDD play mode 22 8 3 2 FILE play mode 23 8 3 3 NET play mode 23 Chapter 9 Specific...

Страница 4: ...Recording Modes z Hard Disk Support up to 500GB z Supports PTZ Control via RS 485 Port z View and Operate over Network Broadband Connection Required z Built in USB 2 0 Port for Backup to Computer or...

Страница 5: ...output 4 CH View previous channel 5 CH View next channel 6 ALL View all channels 7 REW Rewind play Focus 8 PAUSE Pause Auto sequence display 9 PLAY Play recorded file Zoom 10 FWD Forward play Iris 11...

Страница 6: ...deo input1 video input9 5 VGA output Optional 6 USB port Optional 7 POWER Switch 8 LAN Ethernet port 9 RS 485 Sensor Alarm 10 DC Power input jack 11 Grounding 2 3 Remote Control 1 9 Channel Select 1 4...

Страница 7: ...e to hard disk carefully 3 Put the Hard Disk Drive tray back into the DVR and then lock the HDD tray 3 2 Connecting Camera and Monitor There are 4 9 camera inputs and 2 1 Monitor outputs with BNC conn...

Страница 8: ...drive you will be prompted to format the hard drive before using the DVR Press SEL to format or press MENU to cancel After connecting the power adapter and turning on the power button the system will...

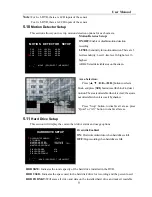
Страница 9: ...n to exit or go back to previous menu Camera Setup allows you to turn cameras on or off Press or button to select a channel and then press SEL to modify the setting ON or OFF Main Menu Change Password...

Страница 10: ...ically adjust the largest frame rate value to a smaller value Video Quality has 4 different settings Highest High Normal and Low The higher the video quality the better quality of images however highe...

Страница 11: ...rm are not included with the DVR system and may be purchased separately The time line indicates 24 hours of a day based on AM PM 0 12 Press or button to select a time point press SEL to modify the rec...

Страница 12: ...vity for motion detection There are 3 levels sensitivity Level 1 low level 2 highe level 3 highest AREA Select detectable area on the screen Area Selection Press or button to select a block and press...

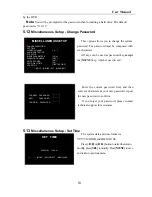
Страница 13: ...YYYY MM DD and HH MM SS Press or button to select the data to modify press SEL to modify Press MENU to save and return to previous menu This option allows you to change the system password The passwor...

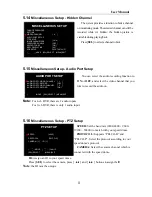
Страница 14: ...ording function to ON or OFF and select the video channel that you like to record the audio on SPEED Set the baud rate 2400 4800 9600 19200 38400 to match with your speed dome PROTOCOL Supports PELCO...

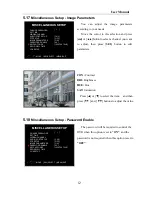
Страница 15: ...ons to adjust the value The password will be required to control the DVR when this option is set to ON and the password is not required when this option is set to OFF MISCELLANEOUS SETUP CHANGE PASSWO...

Страница 16: ...EOUS SETUP CHANGE PASSWORD SET TIME HIDDEN CHANNEL AUDIO PORT SETUP PTZ SETUP IMAGE PARAMETERS PASSWORD ENABLE KEYPAD TONES SEQ DWELL TIME VGA SETUP MOVE SEL SELECT MENU EXIT 4 CH4 OFF ON 05 1024 768...

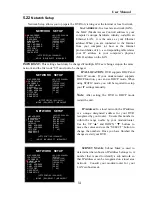
Страница 17: ...hange the numbers Once you have finished the changes restart your DVR SUBNET MASK Subnet Mask is used to determine what subnet an IP address belongs to A number that is used to identify a sub network...

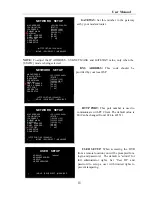
Страница 18: ...RD USER ID USER PASSWORD MOVE SEL SELECT MENU EXIT NETWORK SETUP MAC ADDRESS IP ALLOCATION IP ADDRESS SUBNET MASK GATEWAY DNS1 ADDRESS DNS2 ADDRESS HTTP PORT USER SETUP DDNS SETUP HTTP PORT 80 1024 49...

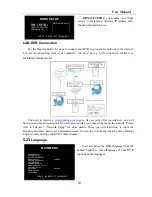
Страница 19: ...ername password and domain name You can log in from anywhere by using Internet Explorer and entering your DVR s domain name 5 23 Language You can change the OSD language from the default English to ot...

Страница 20: ...p Move the cursor to START or END press SEL to enter the interface Press or button to move the cursor and then press SEL to modify the value Press MENU back to previous menu You can rename the backup...

Страница 21: ...C or PAL video output format according to the silkscreen on the PCB Insert your USB memory stick device into DVR s USB port Move the cursor to BACKUP TO USB DEVICE press SEL button DVR will check your...

Страница 22: ...chedule is set to NO RECORD mode 39 indicates the percentage of hard disk space used M HDD info M Master Hard Disk 6 2 Audio Recording indicates this video channel is bundled with an audio port and th...

Страница 23: ...ther way to search video is to directly input time period Press the MENU button then use or button to select the TIME search mode Use SEL button to edit time value press to play the video If the time...

Страница 24: ...se 6 Event List 17 forward playback 7 Change DVR settings 18 Jump forward 10s 8 Remote DVR Control 19 Jump forward 60s 9 Change Storage Device 20 Playback Slider 10 Capture Image 21 Audio Slider 11 Co...

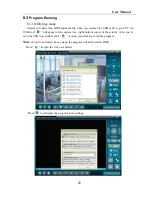
Страница 25: ...to your PC An USB icon will appear in the system tray right bottom corner of the screen After you ve seen the USB icon double click icon on your desktop to run the program Note if you do not follow ab...

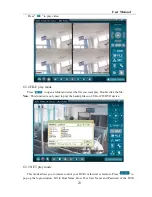
Страница 26: ...want play Double click the file Note This function is only used to play the backup files on USB or CD DVD device 8 3 3 NET play mode This mode allows you to remote control your DVR via Internet or In...

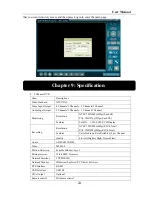
Страница 27: ...720X576 25fps Each Ch Monitoring Features Full D1 1 CH 4 CH 9 CH Display Resolution NTSC 720X240 60fps 4 9Ch Total PAL 720X288 50fps 4 9Ch Total Features Variable Frame Rate Variable QL per Channel Re...

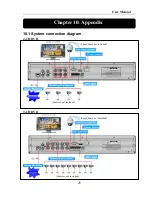
Страница 28: ...User Manual 25 Chapter 10 Appendix 10 1 System connection diagram 4 CH DVR 9 CH DVR Speed dome not included Speed dome not included Cameras not included Cameras not included...

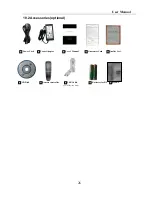
Страница 29: ...User Manual 26 10 2 Accessories optional For PC Backup Only Power Cord Power Adaptor User s Manual Guarantee Card Quality Cert CD Disk Remote Controller USB Cable Batteries for RC Screws...

Страница 30: ...uarantee is given as to the correctness of its contents We do not undertake any responsibility for the harms cause by using our product The model of the products in the user s manual only f recognitio...

Отзывы: