38
E-Series Installation Manual
Fishfinder
Ensure that the transducer cable is inserted and the bayonet connector locked onto the
DSM 300.
GPS
Check that the GPS has a clear view of the sky and is not obstructed e.g. by buildings,
bridges or other equipment fitted on-board.
Other equipment
For details of pre-start checks for other equipment e.g. weather, AIS, please refer to the
relevant handbook.
4.3 Initial power on procedure
Once you have conducted the pre-start checks detailed in the previous
section, you are ready to start the display:
1. Press the
POWER
button until the introductory logo is displayed:
• The keys light up and after a few seconds a navigation warning is displayed.
• If you have networked two or more E-Series displays, you will also hear an
alarm and be asked to select the repeater displays. Press SET AS REPEATER on
the appropriate Display(s).
• At this time the radar scanner (if fitted and powered) is checked for compatibil-
ity with the display. An error message is displayed if the scanner is incompatible.
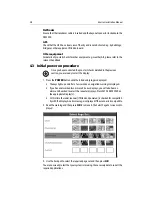
2. Read the warning and then press
OK
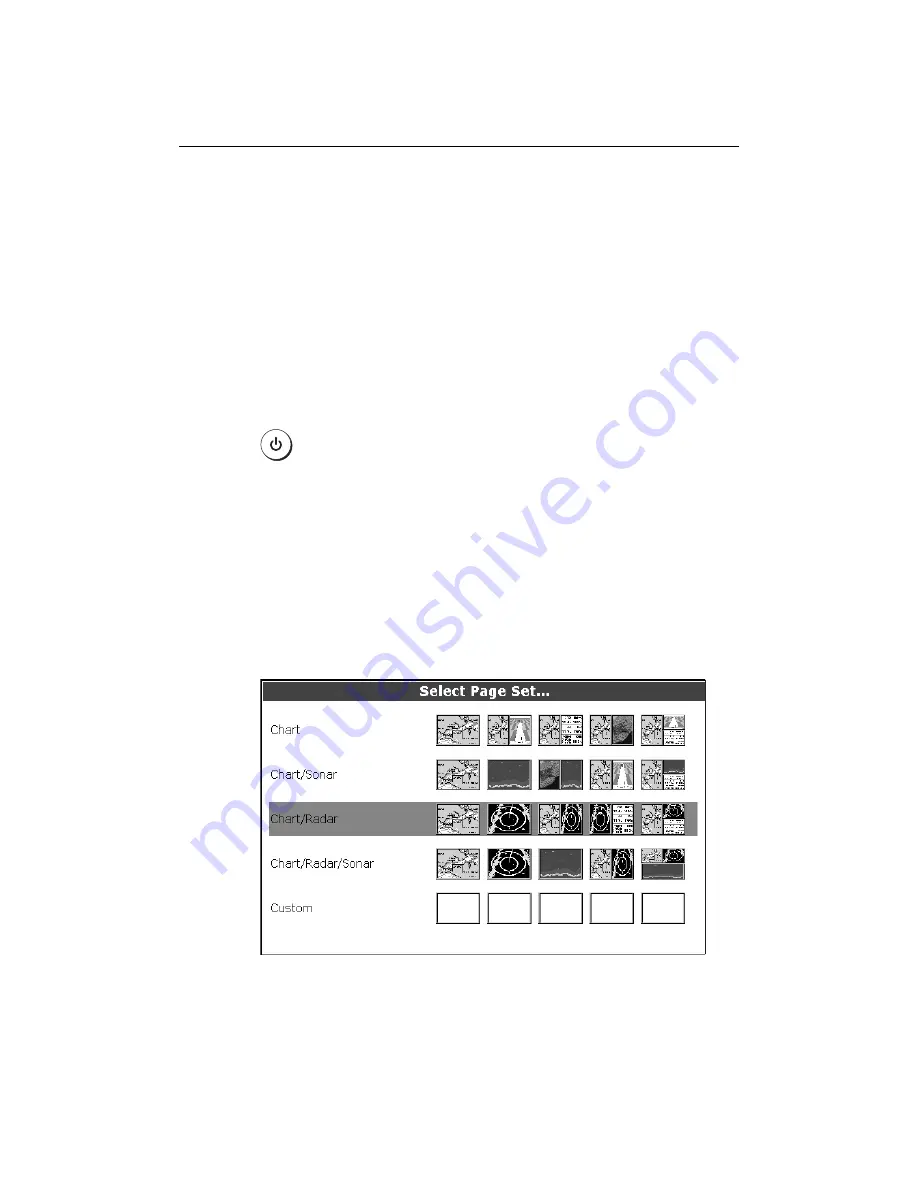
to remove it. The Select Page Set screen is dis-
played:
3. Use the trackpad to select the required page set and then press
OK
.
You are now ready to test that your system is receiving the necessary data to run all the
required applications.
D6577-1
D9109-1
Содержание E120W
Страница 1: ...E Series Networked Display Installation Manual Document Number 87043_2 Date March 2006...
Страница 6: ...iv E Series Networked Display Installation Manual...
Страница 14: ...8 E Series Installation Manual...
Страница 26: ...20 E Series Installation Manual...
Страница 54: ...48 E Series Installation Manual...

