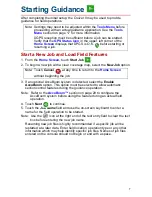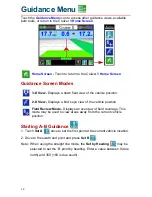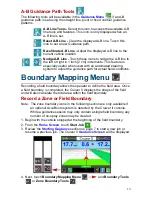
8
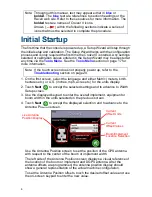
6. The Select Pattern screen also displays the following Guidance Pattern
options:
7. Select the guidance pattern best suited for the field and application or
touch the “Load Job Features” button to use a saved guidance path and/or
field boundary from a previous job.
If a guidance pattern is selected, the Cruizer II
Guidance Screen
is
displayed.
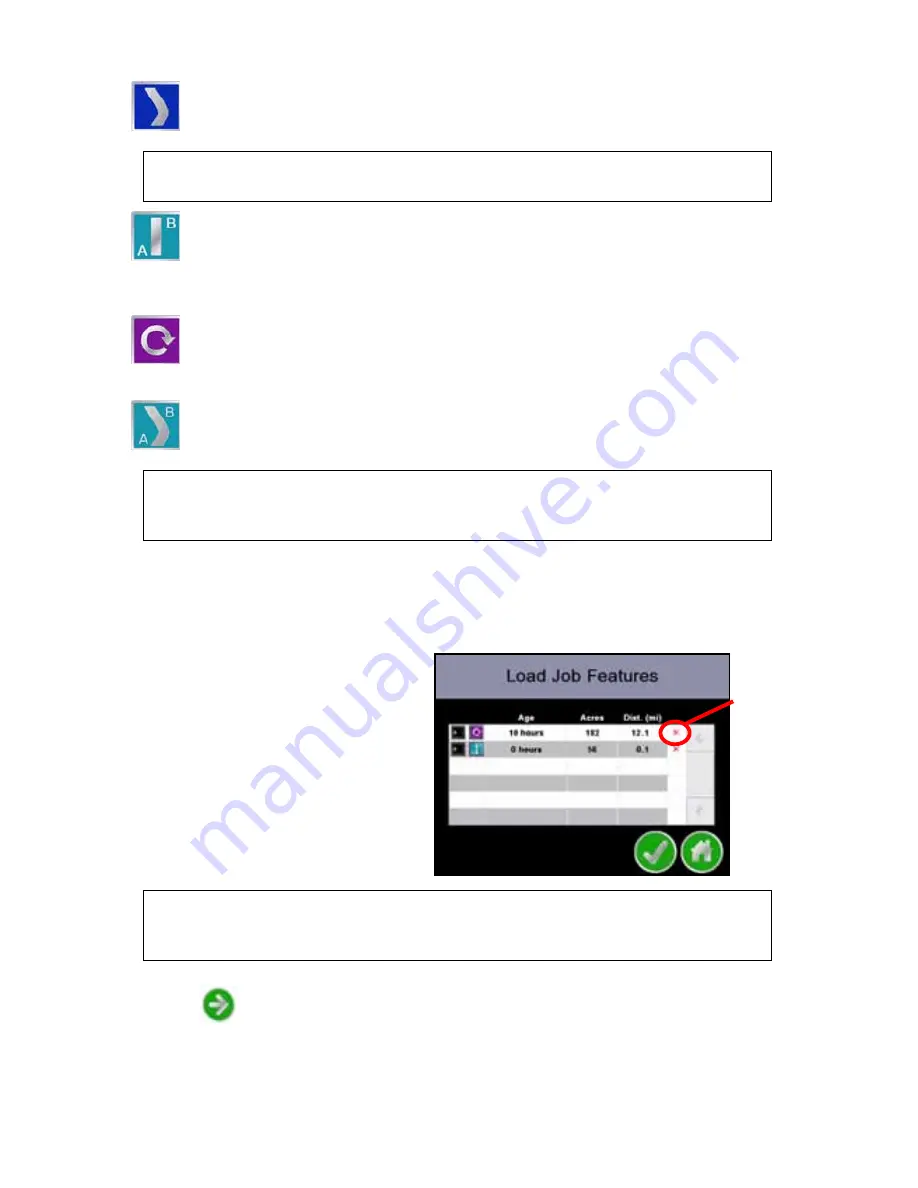
8. If the “Load Job Features” button
is selected, the
Load Job
Features
screen displays a list
of field boundaries and guidance
paths saved on the console or
on a USB flash drive connected
to the Cruizer II. The console
displays the age and coverage
area of each saved job as well
as the distance from the current
vehicle location to the saved
feature.
9. Touch the desired job feature to use with the new job file and touch
Next
to display the Cruizer
Guidance Screen
.
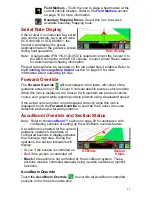
Last Pass -
Uses previously applied or covered areas to provide
guidance. Last Pass provides guidance around curves and within
irregular field areas (implement history must be turned on).
Note: An applied area must be present from a previous swath before
Cruizer II will display the next guidance path in Last Pass mode.
Straight (A-B) Line Mode -
Allows the operator to select a starting
(A) point and an ending (B) point or compass heading through which
Cruizer II draws a straight line as the guidance path. Subsequent
guidance paths will be parallel to the initial A-B line. Check the “Load
Line” box to reload the previous straight A-B line.
Pivot -
Allows the operator to set an A and B point through which
Cruizer II draws a circular guidance path. While in Pivot mode,
Cruizer II provides guidance paths from the outside of the pattern
toward the center in increments of the programmed width.
Fixed Contour -
Allows the operator to record an irregular curved
A-B line pattern. Subsequent guidance paths will be based upon the
initial contour path.
Note: Refer to the
Starting A-B Guidance
section on page 12 for
assistance starting guidance using the straight line, pivot or fixed
contour guidance patterns.
Note: Touch the red ‘x’ displayed at the right of the feature distance to
delete the job. The job coverage map as well as any saved job
features will be deleted.
Delete
Job
Содержание Cruizer II
Страница 1: ... Software Version 3 0 Cruizer II Operation Guide ...
Страница 34: ...3 2 FIGURE 3 Cruizer II with SmartSteer 3D SmartBoom and SCS 440 ...
Страница 35: ...3 3 FIGURE 4 Cruizer II RTK with Slingshot and SmarTrax ...
Страница 36: ...3 4 ...
Страница 37: ......
Страница 38: ......

