


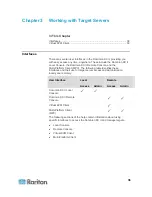


Chapter 3: Working with Target Servers
38
Remote Console.
Depending on your browser and security settings, you may see various
security and certificate warnings. It is necessary to accept these
warnings to launch the Dominion KX II Remote Console.
You can reduce the number of warning messages during subsequent log
ins by checking the following options on the security and certificate
warning messages:
•
In the future, do not show this warning.
•
Always trust content from this publisher.
To launch the Dominion KX II Remote Console:
1. Log in to any workstation with network connectivity to your Dominion
KX II and Java Runtime Environment installed (JRE is available on
the
Java website
http://java.sun.com/).
2. Launch a supported web browser such as Internet Explorer (IE) or
Firefox.
3. Type the following URL:
http://IP-ADDRESS
, where IP-ADDRESS is
the IP address that you assigned to your Dominion KX II. You can
also use https, the DNS name of the Dominion KX II assigned by the
administrator (provided that a DNS server has been configured), or
just simply type the IP address in the browser (Dominion KX II
always redirects the IP address from HTTP to HTTPS.) The Login
page opens.
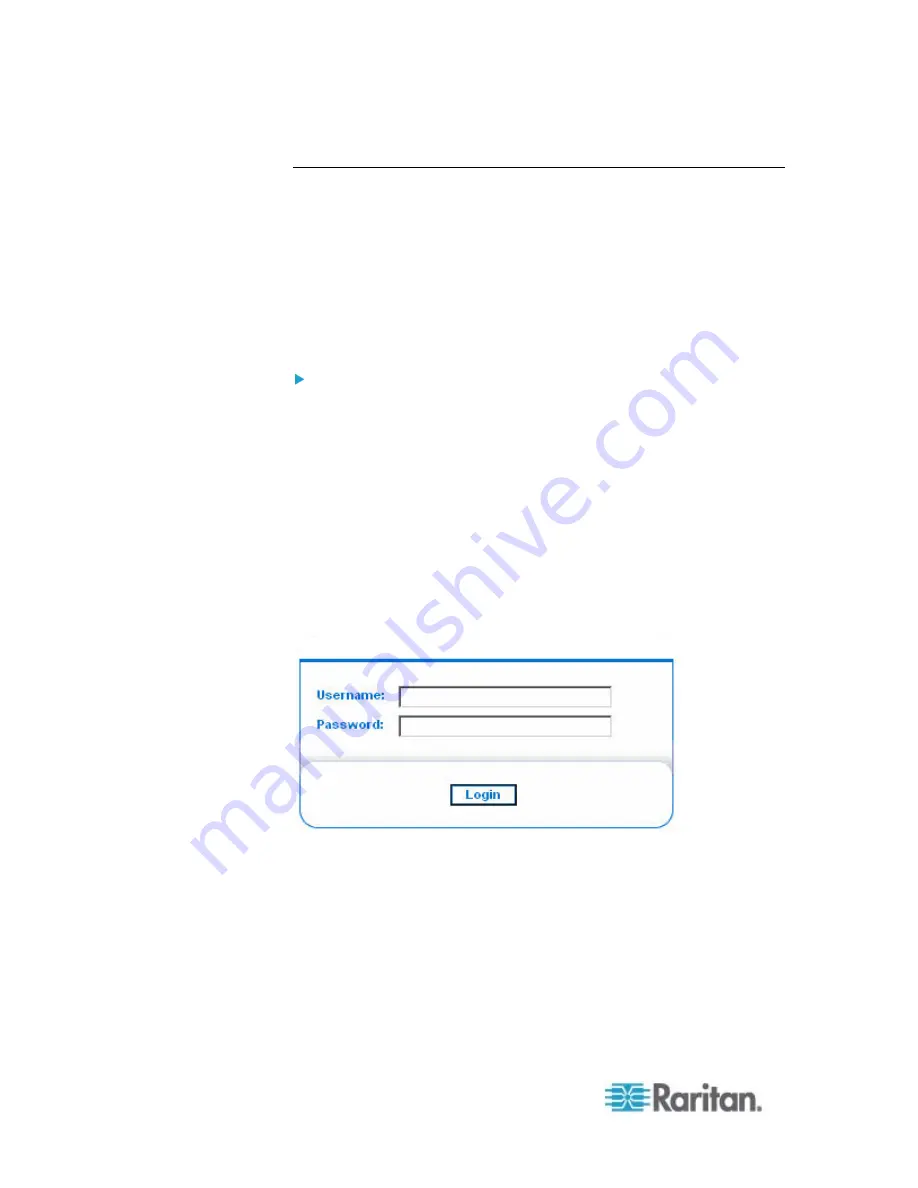
4. Type your user name and password. If this is the first time logging in,
log in with the factory default user name (admin) and password
(raritan, all lower case). You will be prompted to change the default
password. See
Changing the Default Password
(on page 27) for
more information.
5. Click
Login.
6. See
Virtual KVM Client
(on page 50) for information on the
Dominion KX II functions available via the Remote Console.
Содержание Dominion KX II
Страница 10: ......
Страница 14: ...Chapter 1 Introduction 4...
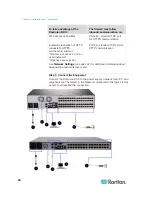
Страница 16: ...Chapter 1 Introduction 6 Product Photos Dominion KX II KX2 832...
Страница 17: ...Chapter 1 Introduction 7 KX2 864...
Страница 89: ...Chapter 4 Virtual Media 79...
Страница 111: ...Chapter 6 User Management 101...
Страница 144: ...Chapter 7 Device Management 134 3 Click OK...
Страница 154: ...Chapter 7 Device Management 144 3 Click OK...
Страница 198: ...Chapter 9 Security Management 188 3 You are prompted to confirm the deletion Click OK...
Страница 277: ...Appendix B Updating the LDAP Schema 267...
Страница 324: ......