9
The oven is protected by a safety cut off, which
reduces the supply of gas to the oven if the flames go
out, e.g. an interruption to the mains supply.
•
Plates can be warmed in the oven on the ‘S’
setting. The ‘S’ setting can be used to keep foods
hot for 3-4 hours after ‘normal’ cooking, without
drying out or overbrowning.
• The Cook & Clean oven liners (see Cleaning
your cooker) work better when fat splashes are
avoided. Cover meat when cooking.
• Sufficient heat rises out of the oven while cooking
to warm plates in the grill compartment.
•
If you want to brown the base of a pastry dish,
preheat the baking tray for 15 minutes before
placing the dish in the centre of the tray.
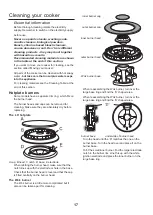
The Main Oven shelves
the shelf guard should be at the back pointing upwards
The oven shelves can be easily removed and refitted.
Pull the shelf forward
until the back of the shelf
is stopped by the shelf
stop bumps in the oven
sides.
Lift up the front of the
shelf so the back of the
shelf will pass under the
shelf stop and then pull
the shelf forward.
To refit the shelf, line up the shelf with a groove in the
oven side and push the shelf back until the ends hit
the shelf stop. Lift up the front so the shelf ends clear
the shelf stops, and then lower the front so that the
shelf is level and push it fully back.
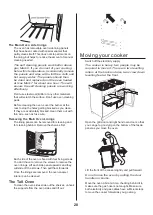
The Handyrack
The maximum weight that can be held by the
Handyrack is 5.5kg (12lb). It should only be used
with the supplied meat tin, which is designed to fit the
Handyrack. Any other vessel could be unstable.
The Handyrack fits to the left hand oven door onl
y.
Food cooking on it is easy to attend to, because it’s
accessible when the door is open. It can be fitted at
two different heights. One of the oven shelves must
be removed and the other positioned to suit.
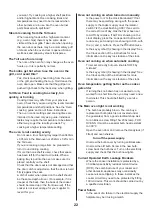
When the Handyrack is used in its highest position,
other dishes can be cooked on the bottom shelf
position of the oven or standing on the base of the
oven
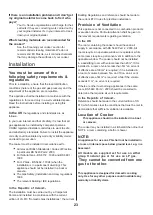
When the Handyrack is used in its lowest position,
other dishes can be cooked on the second shelf
position of the oven or standing on the base of the
oven.
To fit the Handyrack,
locate one side of it on
the door bracket.
Then spring the other
side out to clip it onto
the other bracket.
Содержание Professional 90 Gas FSD
Страница 1: ...90 Gas FSD Users Guide Installation Service Instructions U106130 05...
Страница 35: ...35 Circuit Diagram...
Страница 37: ...37...
Страница 38: ...ArtNo 000 0001 Aga address block...


