3D PRINTER MANUAL
-
RAISE3D PRO2 SERIES
-
28-
www.raise3d.com
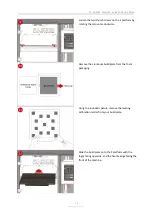
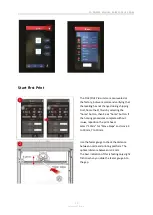
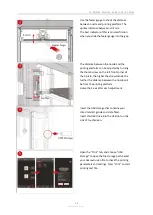
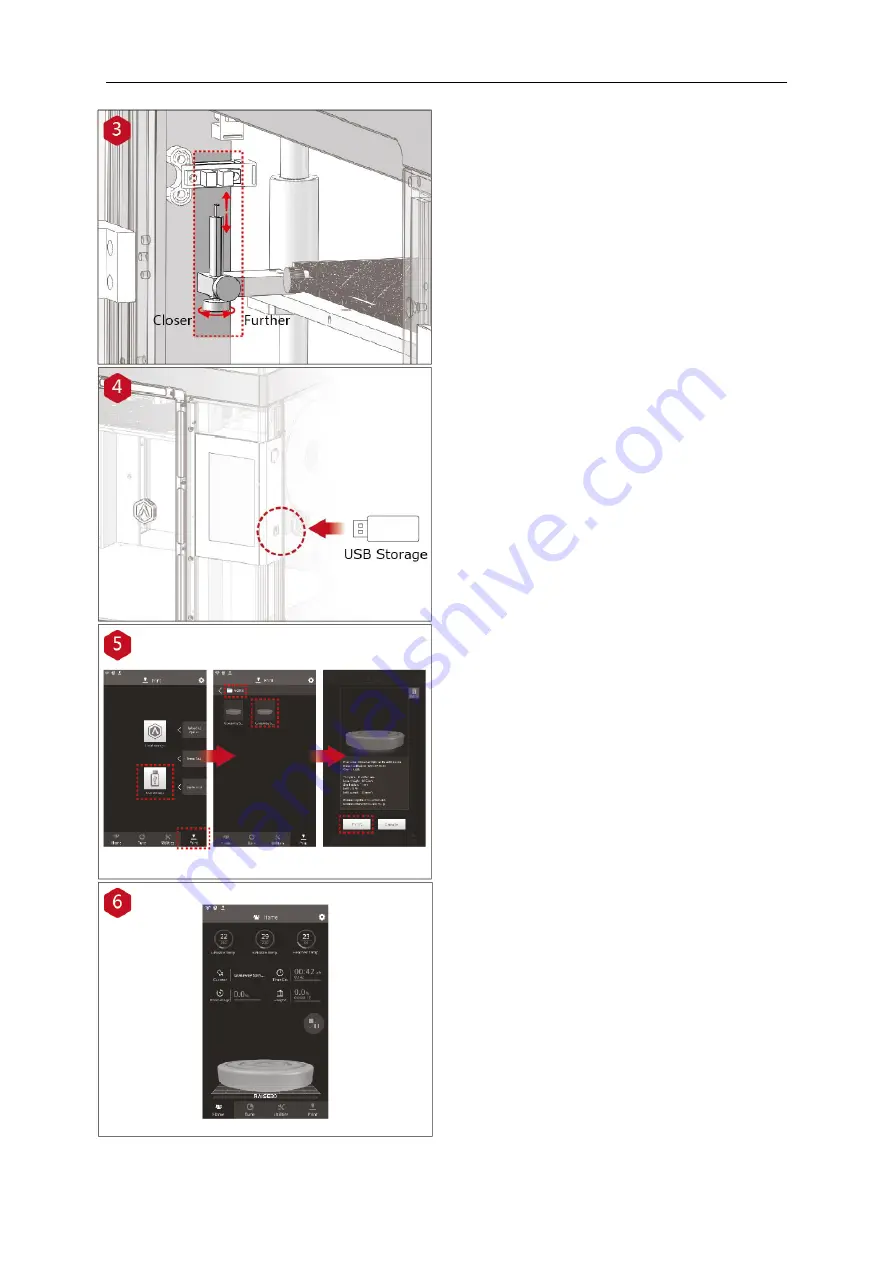
The distance between the nozzle and the
printing platform can be adjusted by turning
the thumb screw on the left-front corner of
the Z-plate, the higher the screw stands out,
the further the distance between the nozzle
to the printing platform becomes.
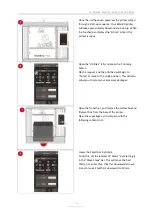
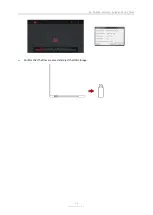
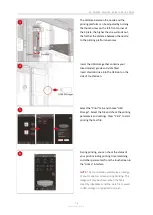
Insert the USB storage that contains your
sliced model (.gcode and .data files).
Insert this USB drive into the USB slot on the
side of touchscreen.
Select the “Print” tab, and choose “USB
Storage”.
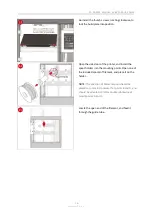
Select the file and check the printing
parameters
and settings. Press “Print” to start
printing the test file
.
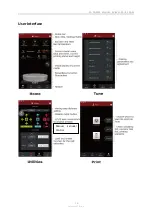
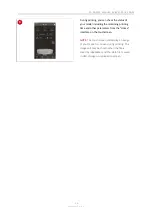
During printing, you can check the status of
your print including printing time remaining
and other parameters from the touchscreen in
the “Home”
interface.
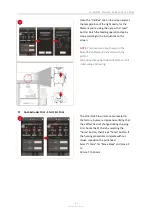
NOTE:
The touch screen will display an image
of your model on-screen during printing. This
image will only be shown when the file is
sliced by ideaMaker and the .data file is saved
in USB storage or uploaded to screen.
Содержание Pro2 Plus
Страница 1: ...3D PRINTER MANUAL RAISE3D PRO2 SERIES REV V1 0 Pro2 Pro2 Plus ...
Страница 11: ...3D PRINTER MANUAL RAISE3D PRO2 SERIES 10 www raise3d com 4 Electrical Parts ...
Страница 12: ...3D PRINTER MANUAL RAISE3D PRO2 SERIES 11 www raise3d com Spare Parts List of Contents ...
Страница 30: ...3D PRINTER MANUAL RAISE3D PRO2 SERIES 29 www raise3d com User Interface Manual Extruder Control ...

