


Current Section:
Manual Watering 79
Navigation:
Set Up MV Water Window
Manual Watering
Next
Start Station
Start Program
MV Water Window
Test All Stations
MV Water Window
Next
Set MV Water Window
Manual MV Open
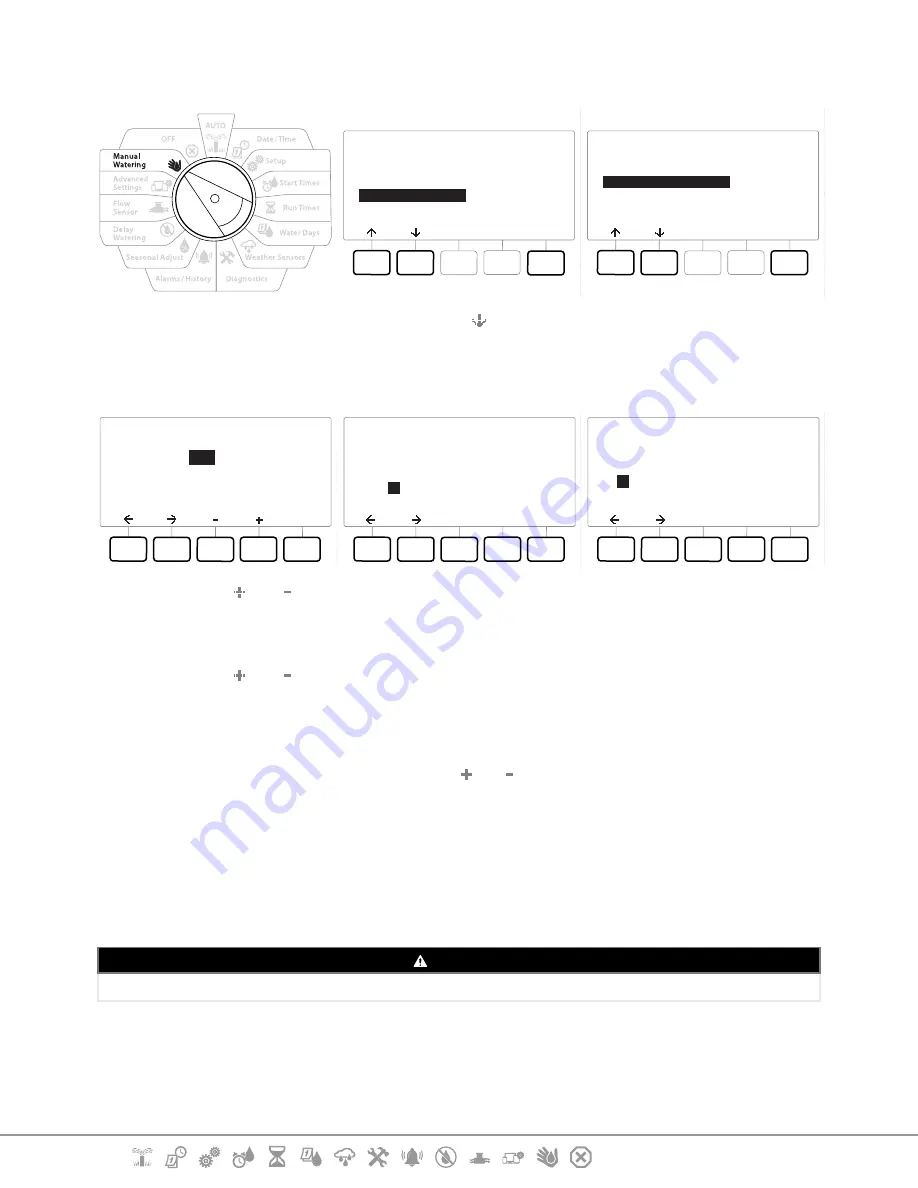
1
At the Manual Watering screen, press the key to select “
MV Water Window
”, then press
Next
.
2
At the MV Water Window screen, with “
Set MV Water Window
” selected, press
Next
.
MV Water Window
Next
OFF
OFF
N/A
HH:MM
Start:
End:
Duration:
MV Water Window Days
Manual Watering
Next
No
Yes
Mo
Y
Tu
N
We
N
Th
N
Fr
N
Sa
N
Su
N
Water Window MVs
MVs Included in
Water Window:
MV
--
Done
No
Yes
1
Y
2
N
4
Press the and keys to set the MV Water Window Start time.
5
Press the Arrow keys to navigate between the number setting fields.
6
Press the and keys to set the time when the End time. The duration of your MV
Water Window calculates automatically, then press
Next
.
•
Press and HOLD keys to accelerate settings.
•
To clear a previously set MV Water Window, press the and keys to set both the Open and Close times to
OFF (between 11:59 PM and 12:00 AM).
7
At the MV Water Window Days screen, press the
Yes
key to allow MV Manual Watering to
occur on a given day or press
No
to exclude that day. Press
Next
to advance past Sunday.
8
At the Water Window MVs screen, press the
Yes
key to include the selected Master Valve
in the Water Window, or press
No
to exclude that MV.
WARNING
If Water Windows are selected for Pump starts the pump will dead head.