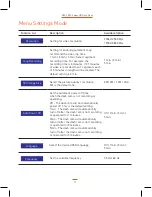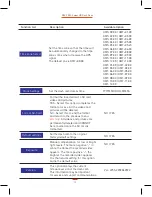
Set the Date / Time
The time and date will automatically update after the Dash Cam has recevied
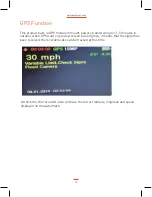
a GPS signal. The letters GPS in the top left of the screen will turn from red to
green once a GPS signal has been acquired. You may need to adjust the time
zone settings in the menu if the displayed time is not correct.
Mode Selection
Using the Dash Cam
Recording Videos
www.proofcam.com
06
Auto Update
Manual Update
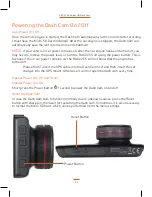
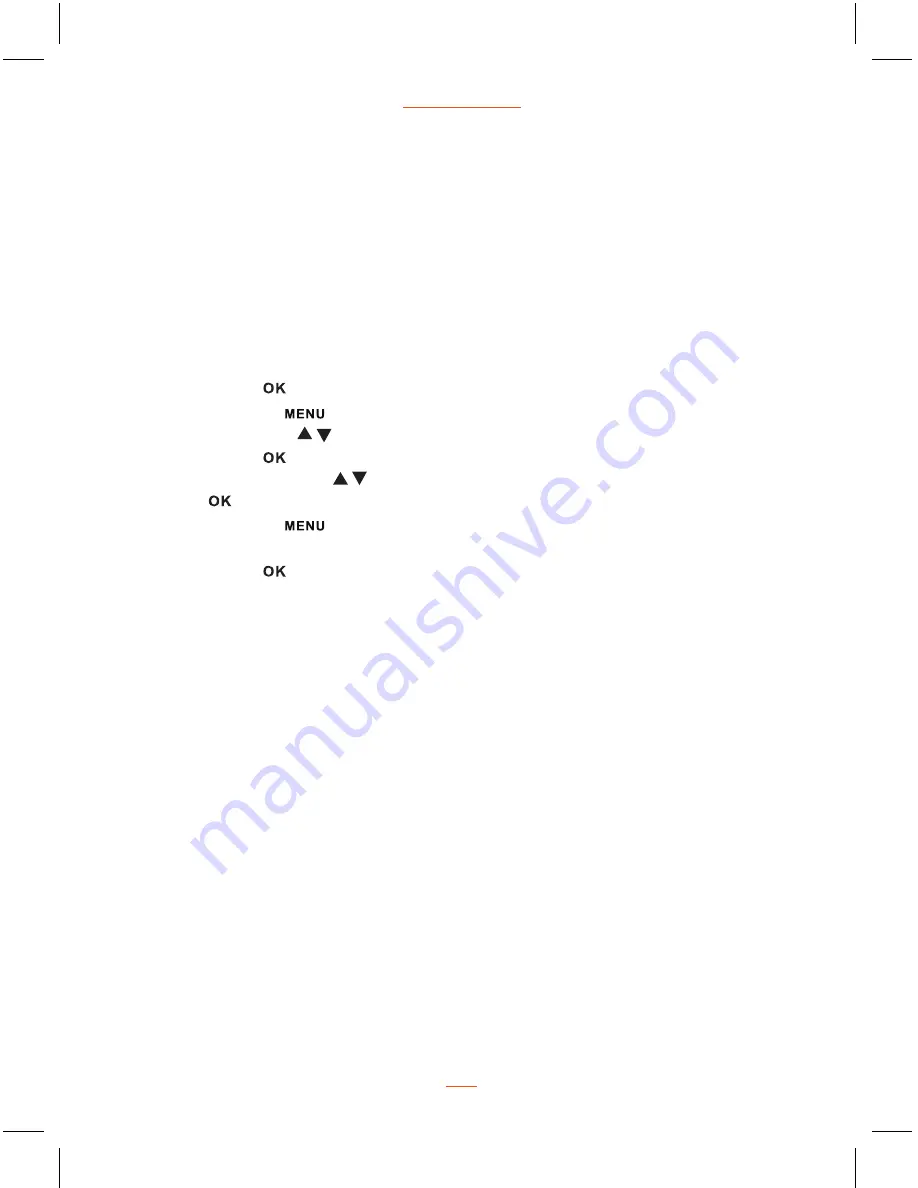
Press OK button to stop recording;
Press Menu button to enter menu settings;
Press the Up / Down buttons to select Clock Settings;
Press OK button to enter the Clock settings;
Press Up / Down buttons to change values, then when complete, press
OK button to return to the menu settings;
Press Menu button until the Dash Cam exits the menu function and
returns to the Home screen;
Press OK button to resume recording.
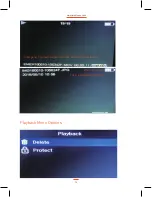
The defualt setting is Video Mode. Press MODE button one time to switch to
Still Capture Mode, twice to Playback Mode. In Playback Mode, press UP and
DOWN buttons to switch to VIDEO (normal video), EVENT ( any lock video during
recording), PHOTO (pictures). Press LOCK button to switch to Rear camera
Playback Mode.
Before starting to record, please ensure that the Micro SD card (included) is
inserted. If you are using the Dash Cam for the first time, it will be pre installed
in the slot. Please format your SD card in Dash Cam before using. Please adjust
the Time Zone according to your location and seasons at MENU settings. Press
OK button to start recording, the video recording icon flashes on the screen.
The recorded files are saved to the Micro SD card. To stop recording, press OK
button again. With the car charger connected the Dash Cam will automatically
turn on and start recording when the car engine starts. When the engine stops,
the Dash Cam will automatically save the last file and turn off.
•


