© Copyright Qvis® All documentation rights reserved.
80
4.9.7 Auto Scan Setup
In
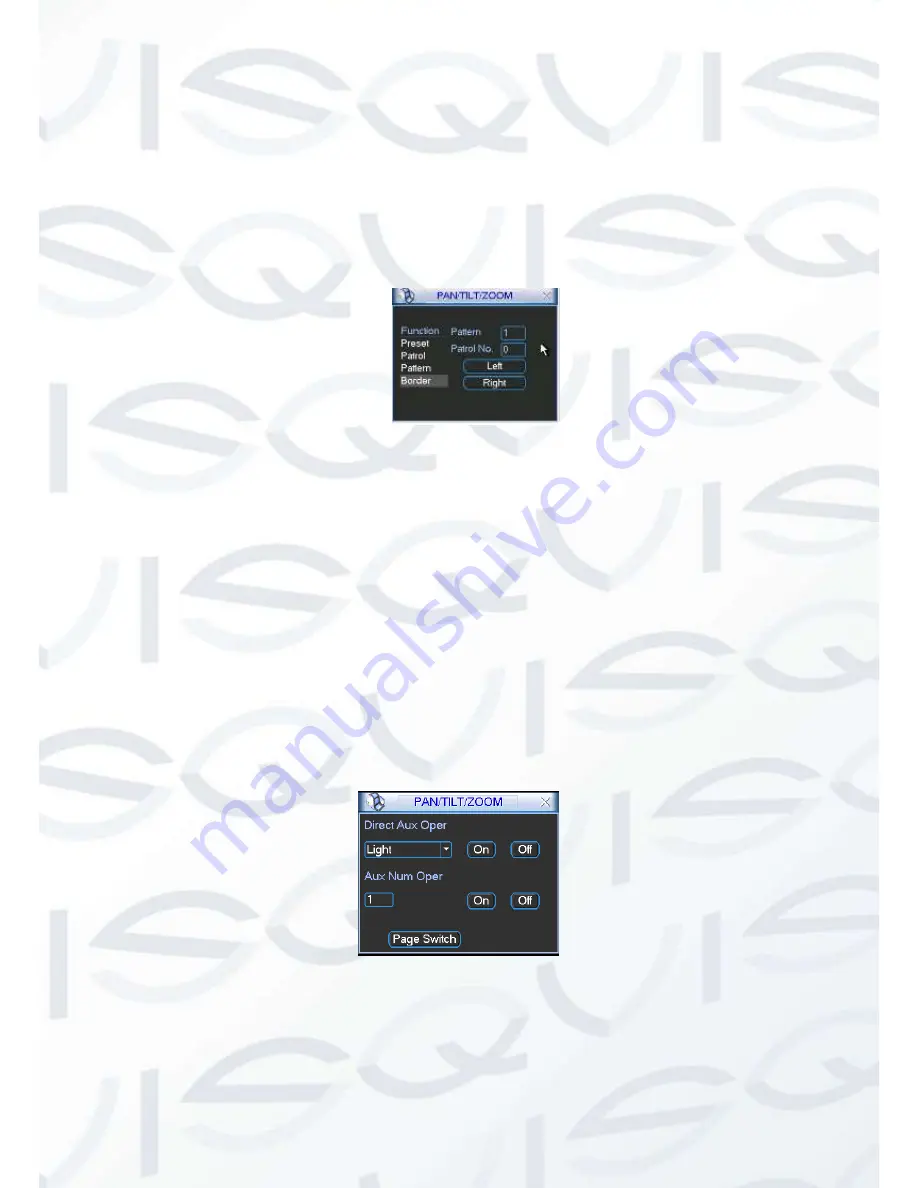
Figure 4-38, click the border button. The interface is shown as in
X348H348H348H
Figure 4-43. Please go
to
X349H349H349H
X349H349H349H
Figure 4-35, use direction arrows to select camera left limit
Then go to Figure 4-43
X
and click left limit button
Repeat the above procedures to set right limit.
Figure 4-50
4.9.8 Activate Auto Scan
In Figure 4-46
, click “Auto Scan” button, the system begins auto scan. Correspondingly, the auto
scan button becomes Stop button. Click stop button to terminate scan operation.
4.11 Flip
In Figure 4-46, click page switch button, you can see an interface is shown as below. See Figure
4-51. Here you can set auxiliary function. The aux value has relation ship with the Aux button of
the decoder.
Click page switch button again, system goes back to Figure 4-42.
Figure 4-51
Содержание IAPOLLO HDRT HD
Страница 2: ...Copyright Qvis All documentation rights reserved i...
Страница 51: ...Copyright Qvis All documentation rights reserved 42 iApollo PRODC...
Страница 69: ...Copyright Qvis All documentation rights reserved 60 Figure 4 20...
Страница 75: ...Copyright Qvis All documentation rights reserved 66 Figure 4 26 Figure 4 27 Figure 4 28...
Страница 93: ...Copyright Qvis All documentation rights reserved 84 Figure 5 3 Figure 5 4 Figure 5 5 Figure 5 6...
Страница 101: ...Copyright Qvis All documentation rights reserved 92 Figure 5 16 Figure 5 17 Figure 5 18...
Страница 177: ...Copyright Qvis All documentation rights reserved 168 Figure 7 39 Figure 7 40 Figure 7 41...
Страница 184: ...Copyright Qvis All documentation rights reserved 175 Figure 7 51 Figure 7 52 Figure 7 53 Figure 7 54...
Страница 186: ...Copyright Qvis All documentation rights reserved 177 Figure 7 55 Figure 7 56 Figure 7 57...


