EN
.
57
Parameter no. 63
–
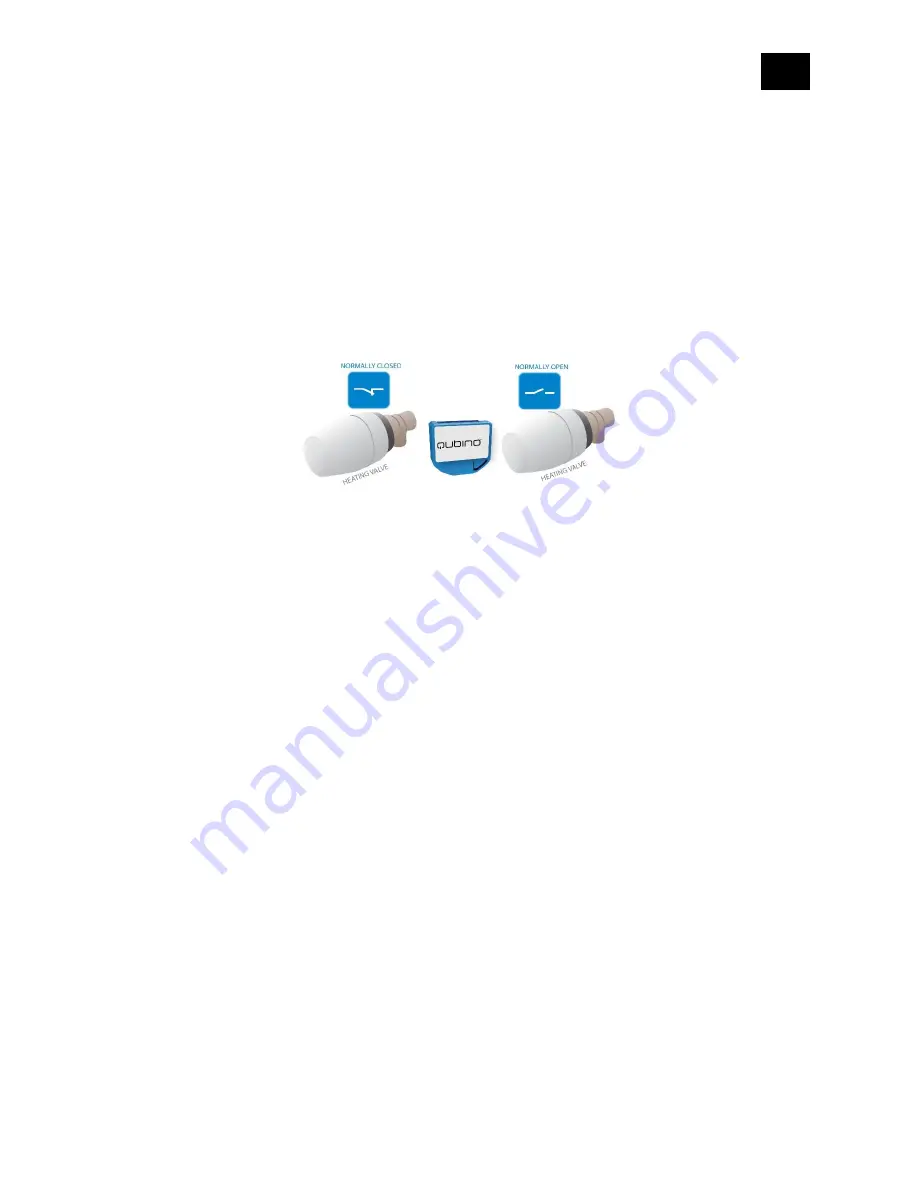
Choose Normally Closed or Normally Open for Q
⬆
Load
Set value determines the type of the device connected to the Q
⬆
output. The output type can
be normally open (NO) or normally closed (NC).
Values (size is 1 byte dec):
•
default value 0
•
0 - When switch/device is off the output is 0V (NC).
•
1 - When switch/device is off the output is 230V or 24VDC (NO).
Parameter no. 100
–
Enable / Disable Endpoint I2 or select the Notification Type and the
Notification Event
Choose whether the Endpoint I2 is disabled (and not shown on the UI) or enabled (and displayed
on the UI). By enabling this endpoint (setting it to be either a notification sensor or a binary
sensor), the user also selects a Notification Type and a Notification Event for which notification
reports will be sent (in case the endpoint is configured as a notification sensor).
Endpoint device type selection:
-notification sensor (1 - 6):
GENERIC_TYPE_SENSOR_NOTIFICATION,
SPECIFIC_TYPE_NOTIFICATION_SENSOR
Values (size is 1 byte dec):
•
default value 0
•
1 - Home Security; Motion Detection, unknown location
•
2 - CO; Carbon Monoxide detected, unknown location
•
3 - CO2; Carbon Dioxide detected, unknown location
•
4 - Water Alarm; Water Leak detected, unknown location
•
5 - Heat Alarm; Overheat detected, unknown location
Содержание ZMNHAD1
Страница 20: ...EN 20 4 Package Contents Flush 1 Relay Device Installation Manual...
Страница 27: ...EN 27 After Qubino installation Wiring with one switch...
Страница 28: ...EN 28 INSTALLATION WITH ON OFF SWITCH AND SCENE SWITCHES...
Страница 29: ...EN 29 INSTALLATION WITH 2 OR MORE SWITCHES CONTROLLING THE SAME LIGHT Before Qubino installation...
Страница 30: ...EN 30 2 WAY SWITCH...
Страница 31: ...EN 31 MULTI WAY SWITCHES...
Страница 32: ...EN 32 INSTALLATION WHERE THERE IS NO NEUTRAL LINE N IN SWITCH BOX Before Qubino installation...
Страница 33: ...EN 33 After Qubino installation...
Страница 35: ...EN 35 Step 3 Turn ON the fuse...
Страница 38: ...EN 38 7 2 Installing the device behind a socket Step 1 Turn OFF the fuse...
Страница 39: ...EN 39 Step 2 Install the device...
Страница 40: ...EN 40 Step 3 Turn ON the fuse Step 4 Add the device to your Z Wave network...
Страница 45: ...EN 45 Step 5 Turn the fuse on Step 6 Re include the device to your network...
Страница 46: ...EN 46 Step 7 Start using the temperature sensor in connection with your device...
Страница 67: ...EN 67 COMMAND_CLASS_METER Default values o Rate Type 1 Import Scale 0 kWh...


