First Use
Installation and Connections
21
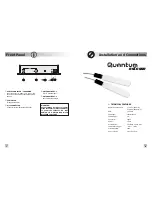
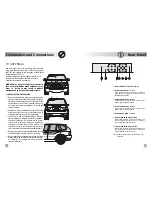
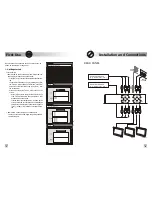
REAR PANEL
8
Be sure that every connection has been correctly set, as
shown on the diagram at page 20-21
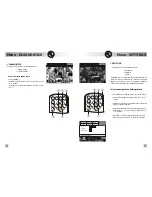
Turn the unit on
on the front panel is green after a few sec-
onds frame will be shown on the screen .
to start the automatic channel tun-
ing
It's possible to stop the
by pressing EXIT but-
ton. Frame will be shown on the screen. Press
button to confirm the
stop or the
but-
ton to resume it.
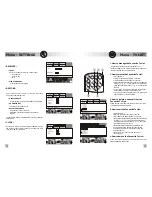
press
button to store the channels in the TV
LIST. The first channel in the up-to-date TV LIST
will be shown on the screen.
If at the end of the tuning frame is shown on the
screen, check the connections and the installation
parameters of the receiver, then press in sequence
buttons to restart the tun-
ing
on the front panel switched off:
check the connections and begin the getting started
operations again.
v
Getting started
• POWER LED
:
› press [OK] button
tuning
‚
[OK]
tuning
[EXIT]
At the end of the tuning frame
ƒ
will be shown on the
screen.
›
[OK]
„
[EXIT], [SCAN] e [OK]
• POWER LED
is
AUXILIARY SOURCE
(e.g. DVD player, etc.)
AUXILIARY SOURCE
(e.g. DVD player, etc.)
FRONT
REAR
REAR
AUDIO
STEREO
AUDIO
MONO
TUNING
[OK] to start search - [EXIT] to quit
TUNING
No services found - [EXIT] to quit
0%
TV
0
RADIO
0
50%
100%
TUNING
[OK] to stop - [EXIT] to continue
0%
TV
12
TV
TV
TV
TV
RADIO
RADIO
RADIO
2
50%
100%
TUNING
[OK] to save - [EXIT] to quit
0%
TV
44
TV 1
TV 2
TV 3
TV 4
RADIO 1
RADIO 2
RADIO 3
RADIO 4
RADIO
3
50%
100%
front
rear 1
rear 2
A/V IN 1
R
R
L
L
V
V
A/V IN 2
AUDIO OUT
R
L
M
VIDEO OUT


