1.
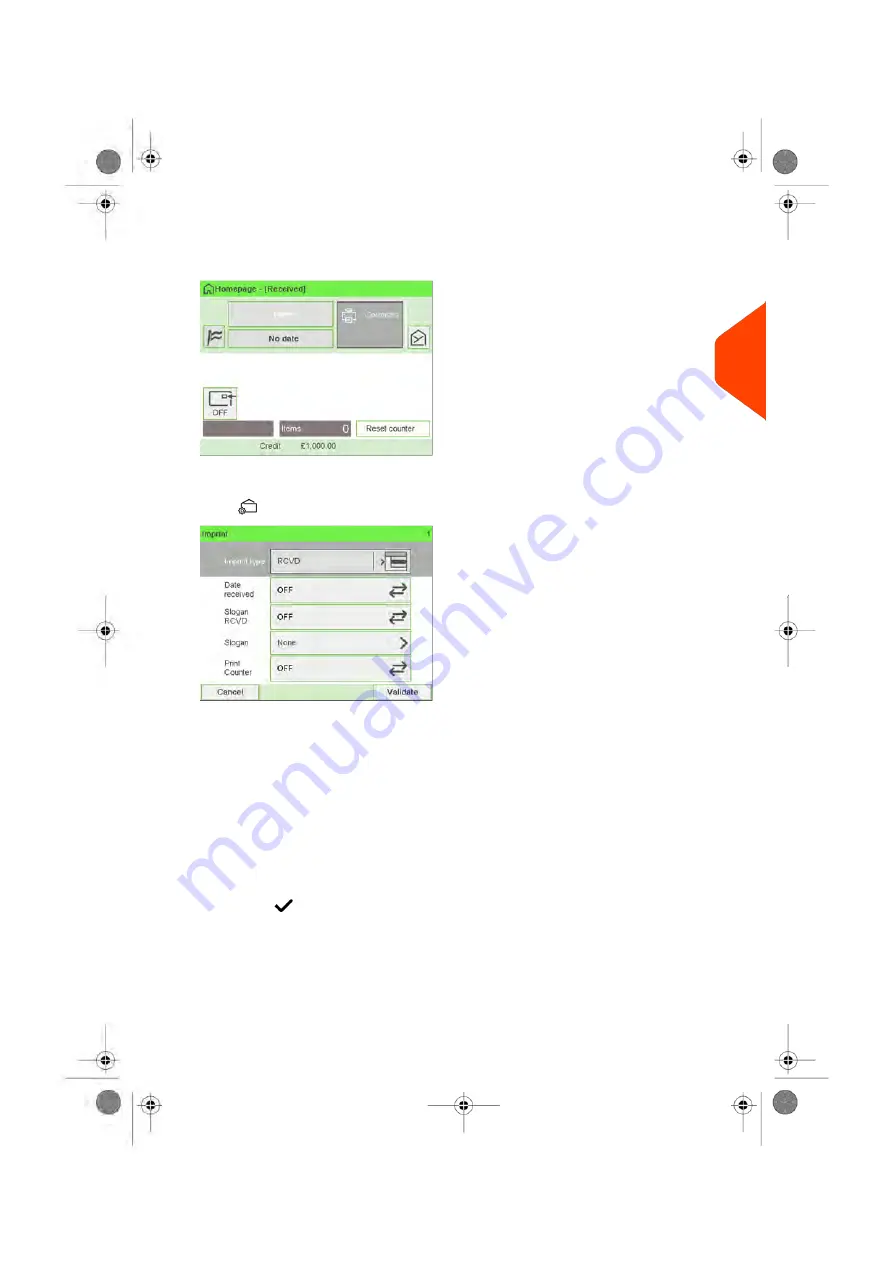
Make sure you are on the home screen of the [Received] type of imprint.
The type of imprint is indicated at the top of the home screen as illustrated.
2.
Check or change the type of imprint, if you are not in [Received] mode
.
Press
to access the Imprint screen:
To change the type of imprint
, select Imprint type and then select [
Received
] in
the Type of imprint screen. For more details, see
How to Change the Current 'Type
on page 39.
Additionally, you can:
- Activate or deactivate printing Date received.
- Activate or deactivate printing '
Received
'.
- Add slogan to print using Slogan element.
- Activate the Print Counter.
- Select the option to change. The buttons indicate the current status of the
options. The screen indicates the current status of the options.
- Press
to return to the home screen.
You can also apply this optional setting:
1.
Move the imprint away from the envelope edge
for thick envelopes: see
Move the Imprint (Print Offset)
on page 110.
On the [Received] home screen:
3
Processing
55
| Page 55 | Jun-22-2021 11:01 |
Содержание IX-7
Страница 1: ...User Guide iX 7 Franking Machine ...
Страница 5: ... Page 4 TOC Jun 22 2021 11 01 ...
Страница 7: ......
Страница 15: ......
Страница 17: ......
Страница 107: ......
Страница 109: ......
Страница 123: ......
Страница 125: ......
Страница 194: ...3 The current account number is displayed 6 Accounts and Access Control 189 Page 189 Jun 22 2021 11 01 ...
Страница 195: ......
Страница 197: ......
Страница 205: ......
Страница 221: ...Content 216 Page 216 Jun 22 2021 11 01 8 Reports ...
Страница 227: ......
Страница 229: ......
Страница 235: ...2 Call is complete 230 Page 230 Jun 22 2021 11 01 9 Online Services ...
Страница 240: ...3 After a successful connection the display shows Press OK 9 Online Services 235 Page 235 Jun 22 2021 11 01 ...
Страница 274: ...Geodesic map 10 Configuring your Mailing System 269 Page 269 Jun 22 2021 11 01 ...
Страница 275: ...Geodesic codes 270 Page 270 Jun 22 2021 11 01 10 Configuring your Mailing System ...
Страница 286: ...5 Press OK to confirm to delete the job memory 10 Configuring your Mailing System 281 Page 281 Jun 22 2021 11 01 ...
Страница 297: ......
Страница 299: ......
Страница 329: ......
Страница 348: ...3 Select Update registration 4 Press OK to begin the procedure 12 Maintaining 343 Page 343 Jun 22 2021 11 01 ...
Страница 355: ......
Страница 371: ......
Страница 380: ...A0139564 B 22 06 2021 ...


