32
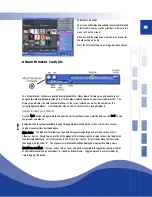
Album Viewer –
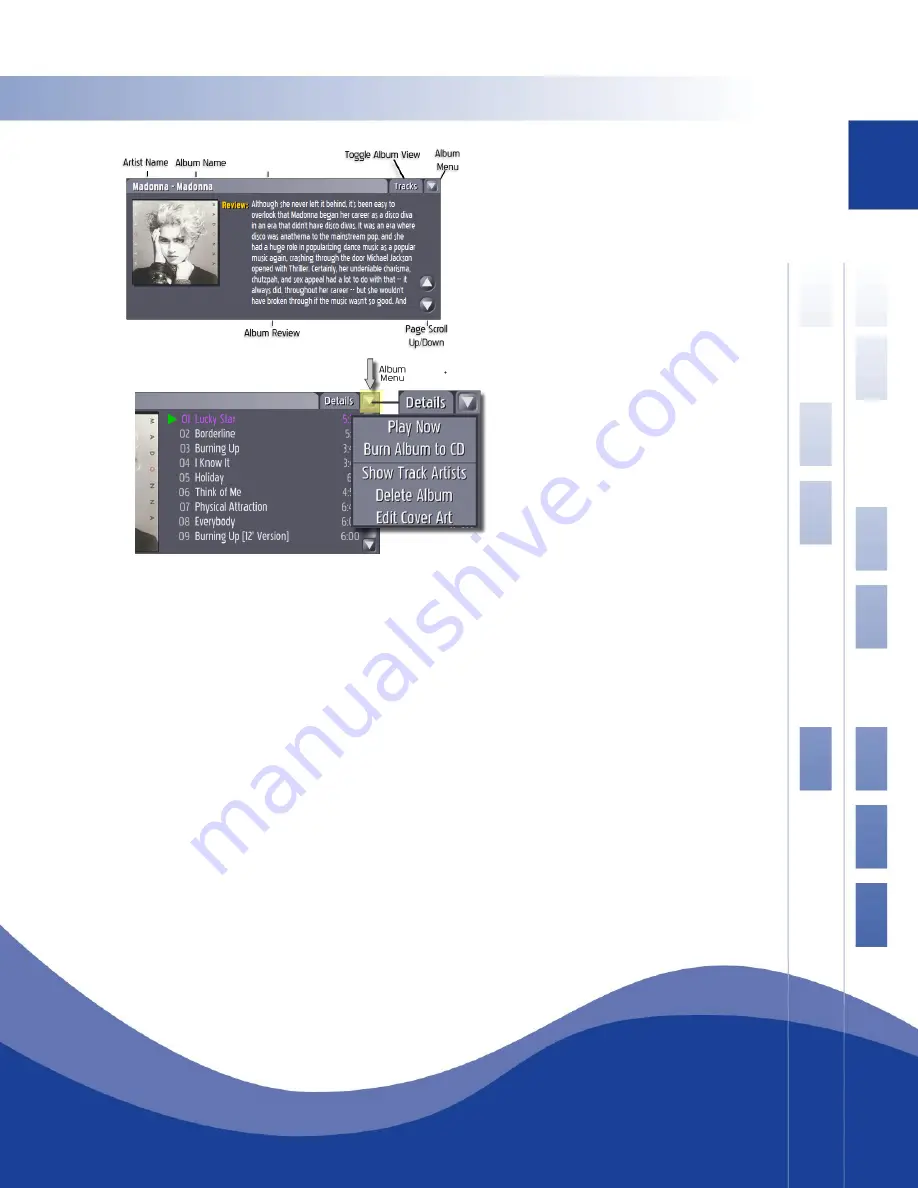
Review
View
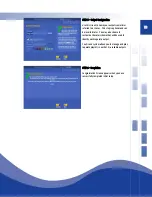
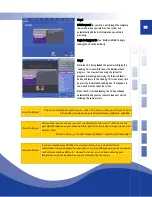
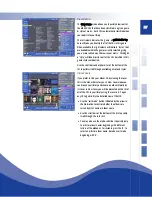
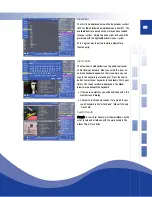
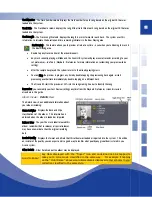
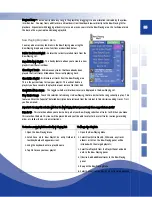
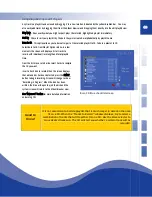
The Review View displays a recent album review for
the album. This action requires that your Qsonix
system has an active Internet connection the first
time that you retrieve the review after which time it
will be stored within your Qsonix music library.
Use the “Page Scroll” Up/Down buttons to page
through longer reviews.
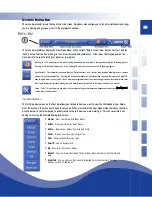
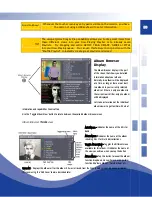
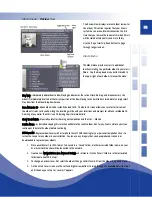
Album Menu
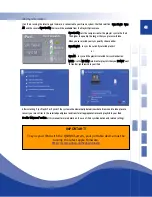
The Album Menu provides access to additional
functions relating to a particular album in your music
library. Tap the drop down menu button located in
the upper right of each album to reveal the menu.
Play Now—immediately adds album to Now Playing and becomes the current track. No drag-and-drop necessary; the
album is immediately inserted at the current position of the Now Playing list and will fade-in immediately. Simply select
Play Now from the Album drop-down menu.
Burn Album to CD—Allows album to be instantly burned to CD. The Burn CD screen allows you to select all or some of
the album’s tracks, tells you how long the recording will be with your selections and prompts for a blank, recordable CD.
Doesn’t get any easier than this! (see CD Burning topic for more details)
Show Track Artists—Especially useful for checking out compilation and “Best of…” Albums
Delete Album—As described: tapping this selection will delete the current album. Don’t worry, Qsonix will ask you if you
really want to delete the album before continuing.
Edit Cover Art—Replace album covers with art or photo files of YOUR choosing for your personal compilation CDs or to
customize covers for any album in your collection. You can use any imagery that you have produced, scanned, or
downloaded to represent your albums.
1.
Place any album art (in JPEG format) to be used in a “Covers” folder (or other associated folder name) on your
PC or external drive that will be connected to the network.
2.
Create a new Network Place (see Advanced Setup) and reference it to the “Covers” folder (or other associated
folder name created in Step 1.)
3.
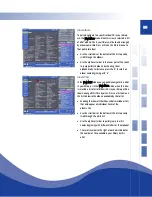
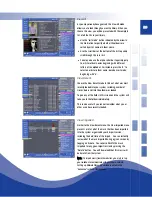
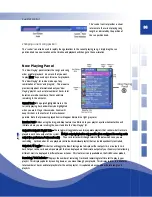
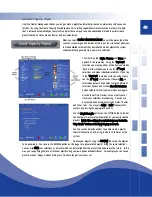
To change an album cover, first select the album, then go to Edit Cover Art from the Album drop-down menu.
4.
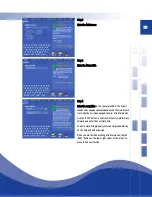
On the Select Cover screen, use the Left and Right arrow buttons to scroll through the available Network Places
until the one you set up for “cover art” appears.
Содержание QJB110
Страница 1: ...1...

