QHY16200A
01 Software Installation
1. Download and install
ASCOM platform
2. Download and install the
Camera Driver
Note that when you run its driver setup program, you will be prompted to install camera driver,
network card driver, and FTDI Serial port driver. Since IC16200A and QHY16200A use the same
system driver and there's no network card in the QHY16200A, the network driver is actually no
use.
3. Download and install the
ASCOM Capture Driver
4. Download and install the
ASCOM Filters Plug
for the built-in filter wheel.
5. QHY16200A camera uses EZCAP_QT as the default capture software. Please download and
install
EZCAP_QT
.
6. Connect QHY16200A to your PC with USB2.0 cable. Connect your QHY16200A to 12V power
supply (
Make sure 12V power supply is always connected when you use QHY16200A
). Note
that there are two power ports on QHY168200A, and these two ports are connected in parallel,
so you can either one of these two as power input port and use the other one as a power output
port for other devices that need 12V power supply. Turn the switch on. For the first time the
system will find a new device and search the driver. You can keep skipping the online searching
by clicking "Skip obtaining driver software from Windows Update" and the computer will find the
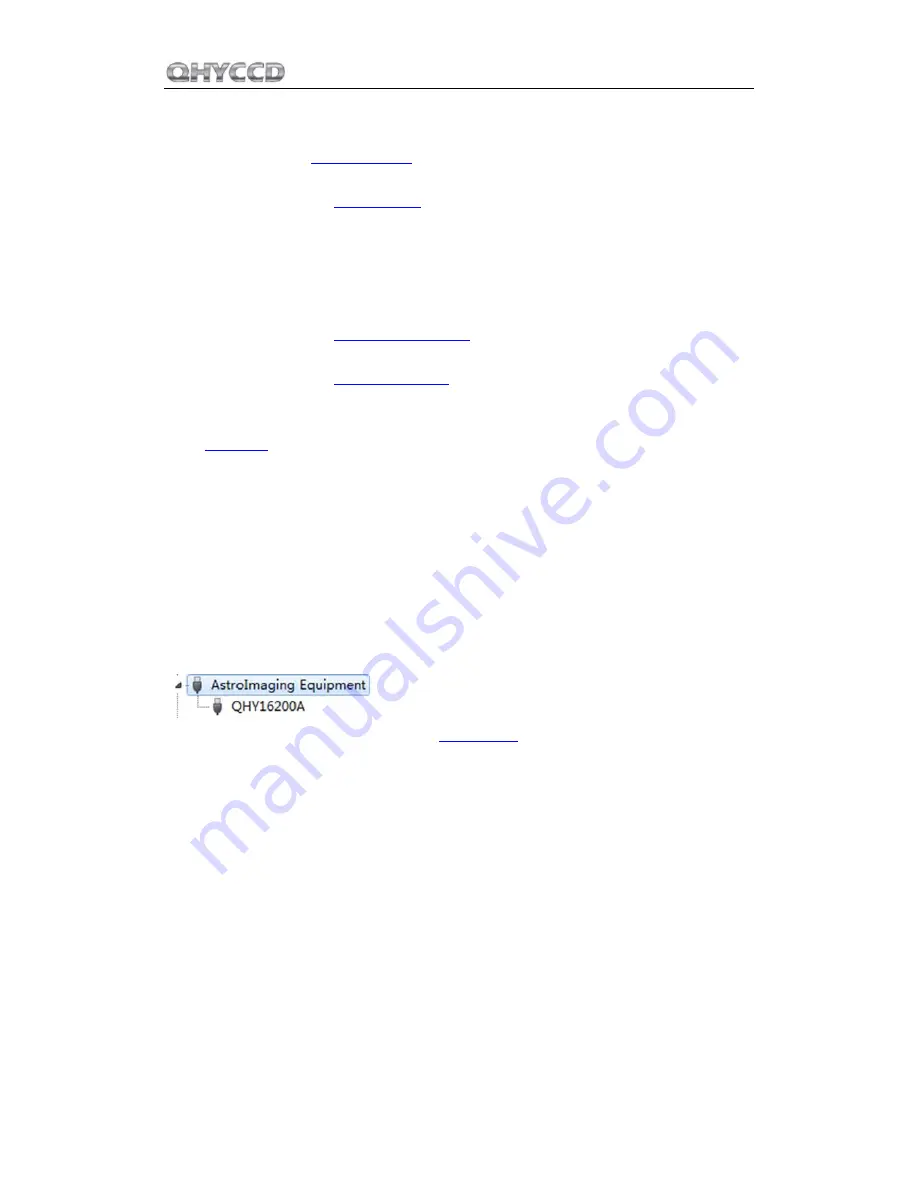
drivers. After installation is complete successfully, you can find the device in the device manager
as shown in the picture below.
7. QHYCCD has developed a software named
UpdateCheck
that can check if the drivers installed
on your computer are the latest versions as well as update the drivers if needed. If the status of
some driver is “Need Update”, you can directly download its update package in this software
freeing you from the inconvenience of looking for and downloading it from our website.
Take QHY183C for example, you can see the drivers we need are the latest versions and don’t
need to be updated as shown in the following picture.
Содержание QHY16200A
Страница 1: ...All in one COLDMOS Astronomy Camera QHY16200A User s Manual Rev 1 0...
Страница 11: ...QHY16200A...
Страница 14: ...QHY16200A In the window shown below you can set up your filter wheel...
Страница 15: ...QHY16200A Keep clicking OK to return to the Camera Control window Click Connect...
Страница 16: ...QHY16200A...
Страница 20: ...QHY16200A...
Страница 26: ...QHY16200A You need to prepare the tools by yourself to open the camera...
Страница 27: ...QHY16200A Remove all the screws on front of the camera case and remove the front case...
Страница 28: ...QHY16200A You will see two screws to fix the filter wheel case the middle layer of the camera Unscrew them...
Страница 29: ...QHY16200A You will see the power PCB board Remove the two screw of the power PCB board...
Страница 30: ...QHY16200A Remove the three cable carefully Please use a film to protect the CCD chamber optic window...
Страница 33: ...QHY16200A Now the CCD chamber is removed The CCD sensor can be clean here...
Страница 40: ...QHY16200A...
Страница 41: ...QHY16200A When connected with the OAG M The back focus is 33 5 34 13 46 5mm 47mm...
Страница 42: ...QHY16200A 11 Revision history Date of change Revision Content of change January 11 2017 1 0 First edition...


