Prima IP User Manual Rev 1.5 2007
- -
11
2.2
Setting up the Physical Connections
Step 1
. Power on the Prima IP.
Step 2
. If a local console is required, connect a keyboard, mouse and monitor to the Prima IP local console
ports
Step 3.
If you have no intention to daisy-chain your Prima IP KVM switch with either of the Prima KVM
switches (Prima 4/Prima 8/Prima 16), connect your computers to the PC ports using the USB KVM cable, or
PS/2 KVM cable, or the Combo-free USB PS/2 KVM cable that come with Prima IP packing box.
If you are using any PS/2 computer: Please make sure all of your PS/2 computers are powered off
before connecting to the KVM Switch. Otherwise, the non-PnP PS/2 interfaces might not recognize
the PS/2 keyboard and mouse later. USB computers do not have this limitation.
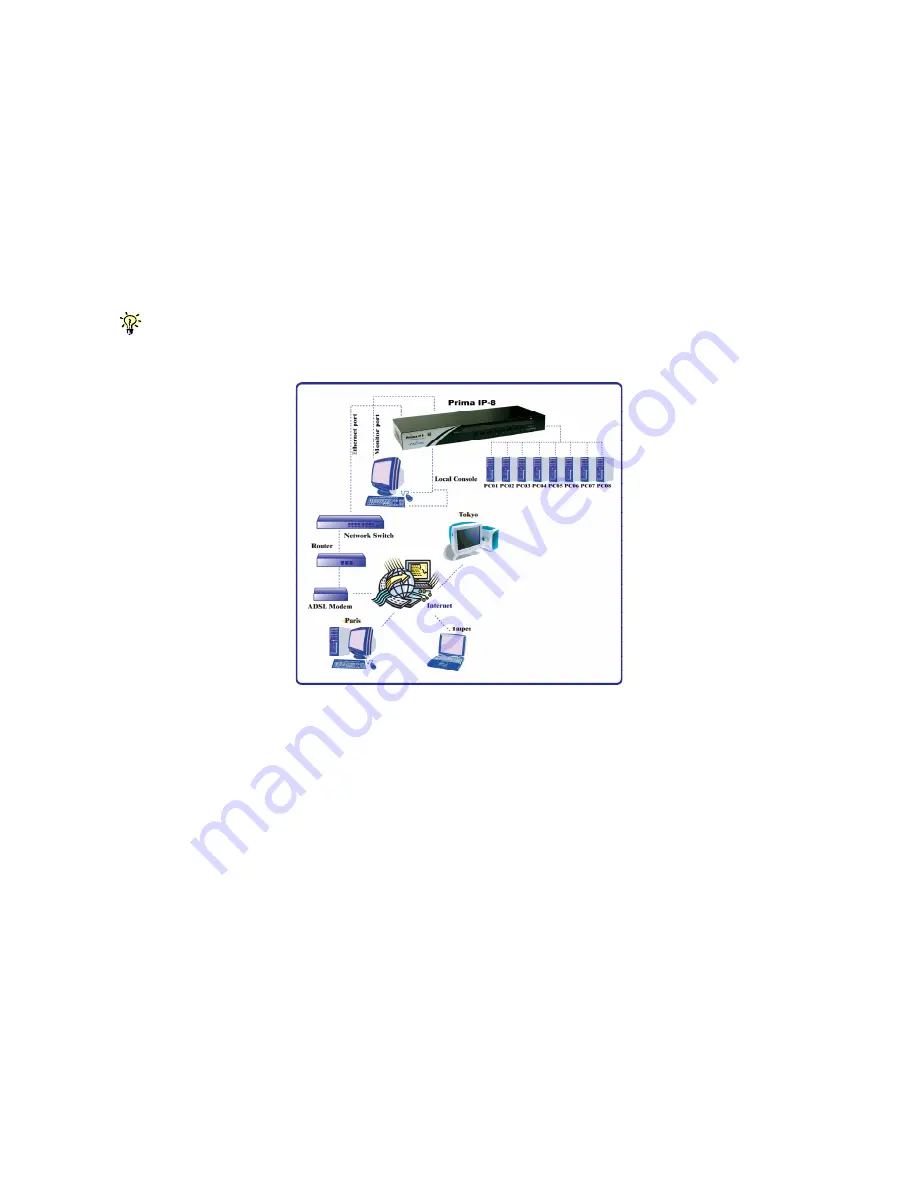
Figure 14: Prima IP configuration – Single server mode
Step 4.
Make sure (at least the PS/2) computers that are to be connected to the KVM switch are powered off.
If not, power them off before you proceed with the following steps. If you use only one single Prima IP
KVM switch in non-cascaded application, ignore steps 5 and jump directly to step 6.
Step 5.
Use the daisy-chain cable (M-HDB15-HDB15-F) to connect the Daisy Chain Port (HDB 15 female)
of the [master] Prima IP to the Daisy Chain IN Port (HDB 15 male) of the second Prima KVM switch. Then
power it on.
If you have other switches to be daisy-chained, repeat Step 5 to connect them. You can daisy-chain up to 8
units.
You must plug a Terminator onto the Daisy-chain Out Port of the last Prima KVM switch unit.


