Upgrading The Computer
6 - 10 Upgrading the System Memory
6
.
5.
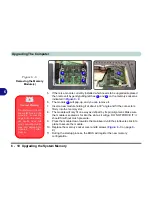
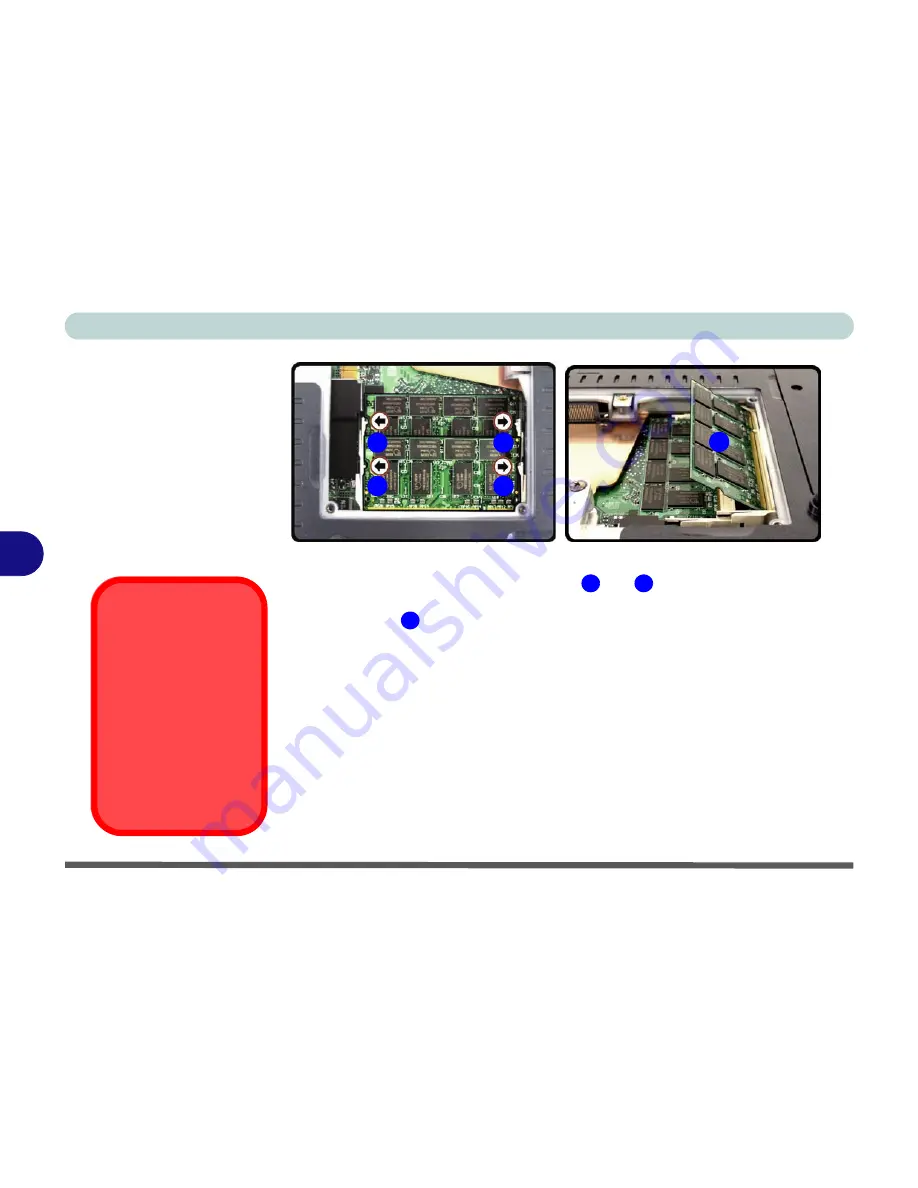
If there is a module currently installed which needs to be upgraded/replaced
then remove it by gently pulling latches
and
on the memory socket as
indicated in
Figure 6 - 6
.
6.
The module
will pop-up, and you can remove it.
7.
Insert a new module holding it at about a 30° angle and fit the connectors
firmly into the memory slot.
8.
The module will only fit one way as defined by its pin alignment. Make sure
the module is seated as far into the slot as it will go. DO NOT FORCE IT; it
should fit without much pressure.
9.
Press the module down towards the mainboard until the slot levers click into
place to secure the module.
10. Replace the memory socket cover and
8
screws (
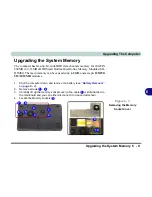
Figure 6 - 5
on page
6 -
9
).
11. During the startup process, the BIOS will register the new memory
configuration.
1
2
1
2
3
Figure 6 - 6
Removing the Memory
Module(s)
Contact Warning
Be careful not to touch
the metal pins on the
module’s connecting
edge Even the clean-
est hands have oils
which can attract parti-
cles, and degrade the
module’s perfor-
mance.
1
2
3
Содержание D87P
Страница 1: ......
Страница 2: ......
Страница 20: ...XVIII Preface ...
Страница 44: ...Introduction 1 24 1 ...
Страница 68: ...Using The Computer 2 24 2 ...
Страница 110: ...Drivers Utilities 4 16 4 ...
Страница 136: ...Upgrading The Computer 6 12 6 ...
Страница 143: ...Options The Wireless LAN Module 7 7 7 Figure 7 3 Wireless LAN Screens WinXP ...
Страница 146: ...Options 7 10 The Bluetooth Module 7 Figure 7 4 Bluetooth Control Panel My Bluetooth Places ...


