V1.0
TOOL SHARPENER
8680944
Visit www.princessauto.com for more information
15
GRINDING
1. Fill water reservoir (F) until the bottom of the grinding
wheel is submerged.
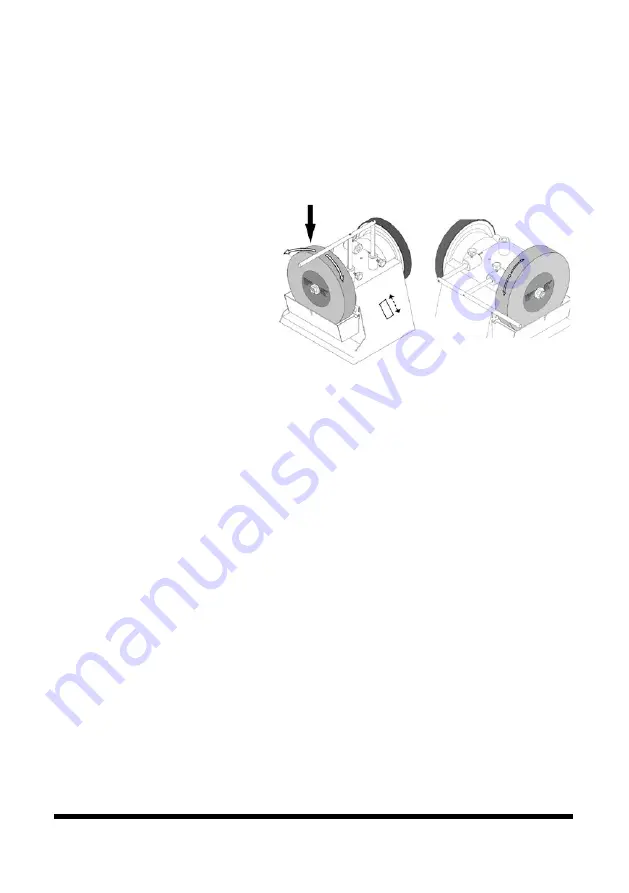
2. Install the universal support and tighten the set screws.
2.1 Install vertically
for grinding
against the wheel
rotation (Fig. 4)
2.2 Install horizontally
for grinding with
the wheel rotation
(Fig. 5).
3. Press the
bidirectional ON/OFF switch (I) in the selected direction.
4. Rest the workpiece on the support with the sharpened
edge pointing away from you.
5. Ease the workpiece into contact with the spinning grinding
wheel. Move the workpiece back and forth slowly with
gentle pressure to evenly grind the workpiece and prevent
the wheel from becoming unbalanced over time.
6. Ease the workpiece away from the grinding wheel, then
switch the tool OFF. Wait until the wheel stops before
moving away from the tool.
GRINDING JIG
The grinding jig provided with the tool sharpener secures a
variety of tools. Position it to grind either with or against the
grinding wheel’s rotation.
1. Mount the grinding jig (A) by sliding it onto the universal
support (D).
2. Insert the tool into the jig clamp, then use the angle guide
to set the grinding angle.
Fig. 4
Fig. 5


