V1.0
TOOL SHARPENER
8680944
Visit www.princessauto.com for more information
17
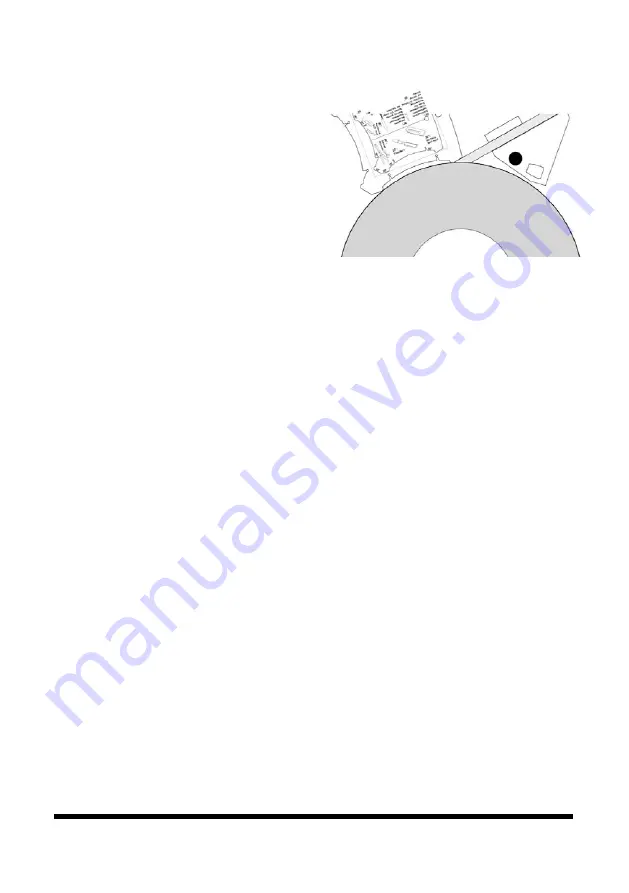
3. Each corner of the angle
guide has the matching
angle to the nearest notch.
Place the angle guide on
the wheel and check that
the tool fits into the corner
angle (Fig. 6).
3.1 If the angle is too steep
angle the grinding jig
upward and move the
tool edge forward until it touches the grinding wheel at
the correct angle.
3.2 If the angle is too shallow, withdraw the blade into the
grinding jig a short distance and move the grinding jig
downward until the tool’s edge touches the grinding
wheel at the correct angle.
3.3 Adjust the height of the universal support if possible to
improve the angle.
3.4 Check the angle with the gauge and repeat Steps 3.1,
3.2 and 3.3 until the angle is correct.
4. Tighten the grinding jig knobs to hold the blade in position
for grinding.
STROPPING A TOOL’S EDGE
WARNING! Never place a tool’s edge on the stropping wheel
against the direction of rotation. It will snag and can eject the
tool or damage the tool or machine.
IMPORTANT! The stropping wheel may wobble when rotating.
This is normal and will not affect the wheel’s effectiveness.
A razor sharp tool edge is created using the leather stropping
wheel and the included abrasive stropping paste. The stropping
wheel must be properly prepared before use.
1. Ensure the machine is turned OFF and unplugged.
Fig. 6


