2
Step
1
–
Box
3
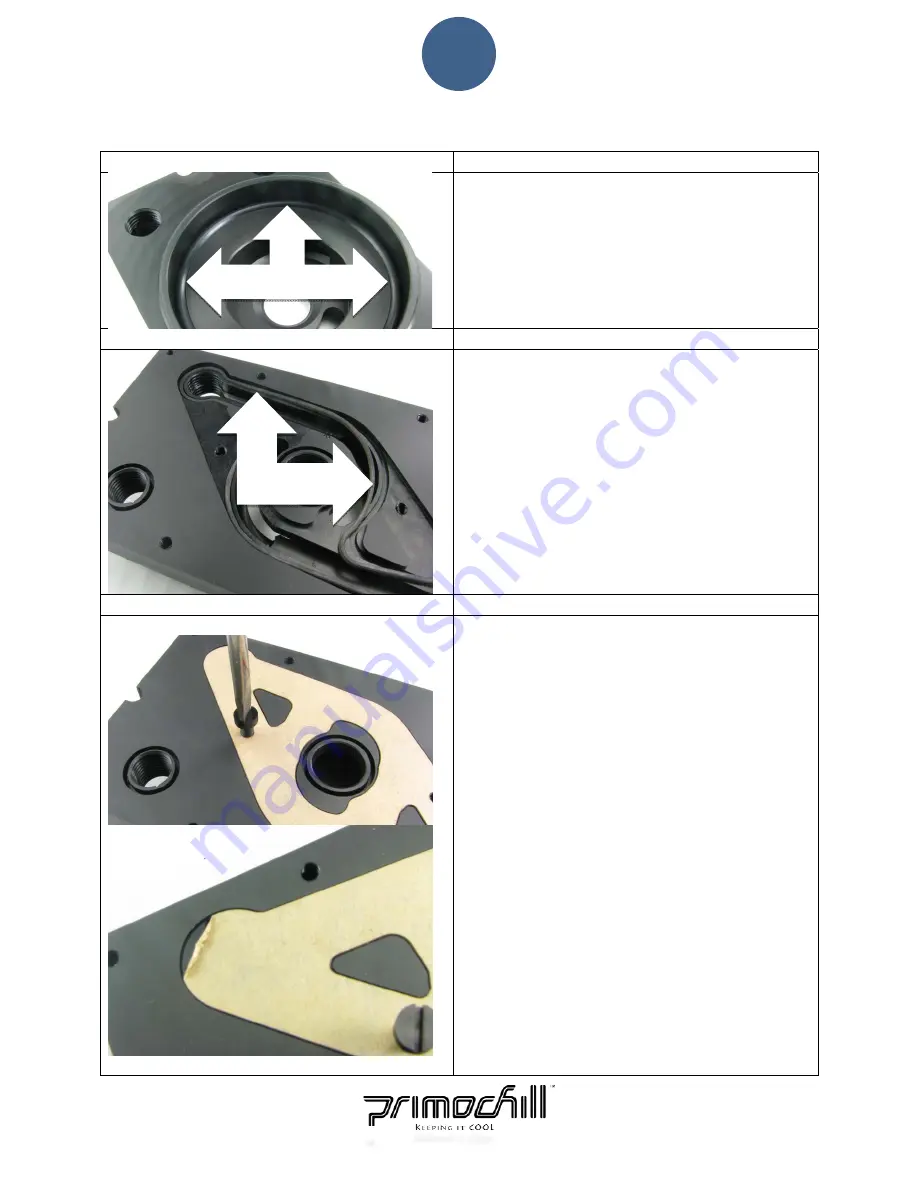
Install
Pump
O
‐
ring
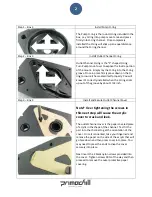
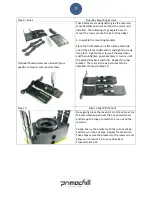
The
Pump
O
‐
ring
is
the
round
O
‐
ring
included
in
the
box.
Lay
O
‐
ring
into
pump
mount
area
and
press
firmly
into
O
‐
ring
channel.
Once
completely
installed
the
O
‐
ring
will
stick
up
an
equal
distance
around
the
O
‐
ring
channel.
Step
2
–
Box
3
Install
Outlet
Channel
O
‐
ring
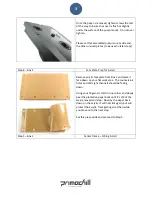
Outlet
Channel
O
‐
ring
is
the
“S”
shaped
O
‐
ring.
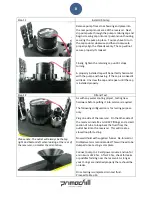
Turn
Pump
mount
over
to
expose
the
inside
portion
of
the
mount.
Simply
lay
the
O
‐
ring
into
the
O
‐
ring
groove.
Once
in
place
firmly
press
down
on
the
O
‐
ring
to
insure
it
has
seated
itself
properly.
You
will
know
it’s
correctly
installed
when
the
O
‐
ring
sticks
up
out
of
the
groove
by
about
1/32
inch.
Step
3
–
Box
3
Install
and
Secure
Outlet
Channel
Cover
Note*
Over
tightening
the
screws
in
this
next
step
will
cause
the
acrylic
cover
to
crack
and
leak.
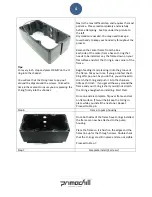
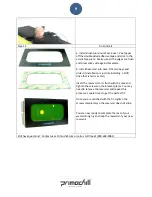
The
outlet
channel
cover
is
the
paper
covered
piece
of
acrylic
in
the
shape
of
the
channel.
Test
fit
the
part
into
the
channel
to
get
the
orientation
of
the
cover.
Once
it
is
oriented,
take
your
fingernail
and
remove
the
paper
on
the
side
of
the
acrylic
that
will
go
face
down
and
then
press
cover
into
place.
You
may
need
to
press
the
ends
to
snap
the
cover
securely
into
place.
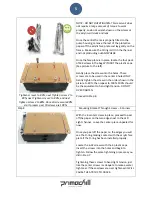
Next
insert
the
2
black
nylon
screws
provided
into
the
cover.
Tighten
screws
90%
of
the
way
and
then
proceed
to
remove
the
outer
protective
paper
covering.


