Table of Contents
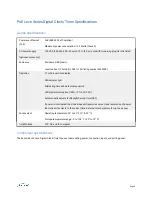
PoE Levo Series Digital Clock/Timer Specifications ............................................................................... 4
Device specifications ............................................................................................................... 4
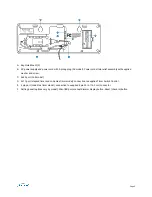
Component specifications ........................................................................................................ 4
Digital Clock/Timer PoE power, weight, and dimension specifications ................................................ 6
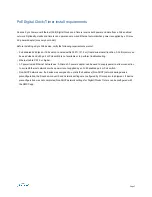
PoE Digital Clock/Timer install requirements ........................................................................................ 7
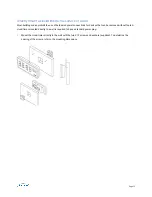
Install Digital Clock/Timer: Wall mount with tilt bracket ........................................................................... 8
Tilt bracket mounting dimensions .............................................................................................. 8
Assemble and mount to tilt bracket ............................................................................................ 9
Remove digital clock/timer from tilt bracket ............................................................................... 10
Install Digital Clock/Timer: Wall mount with keyhole ............................................................................ 11
Mounting dimensions ............................................................................................................ 11
Directly mount a clock/timer to the surface of a wall .................................................................... 12
Install Digital Clock/timer: Dual-sided bracket kit ................................................................................. 13
Supplied components ............................................................................................................ 13
Mounting dimensions ............................................................................................................ 13
Assemble and mount a dual-sided digital clock/timer ................................................................... 14
Remove from dual mount bracket ............................................................................................ 15
Install Digital Clock/Timer: Flush mount ............................................................................................ 16
Supplied components ............................................................................................................ 16
Dimension specifications ....................................................................................................... 16
Install flush mount clock/timer ................................................................................................ 17
Install Timer Control Switch ............................................................................................................ 19
Step 1 (code blue timer only): Wire timer to code blue system ........................................................ 19
Step 2: Attach timer to Timer Control Switch .............................................................................. 19
Step 3: Mount Timer Control Switch to junction box ..................................................................... 20
Operate Elapsed Timer .................................................................................................................. 21
Timer Control Switch overview ................................................................................................ 21
Manage count events ............................................................................................................ 22
Set count event to begin at a specific time increment ................................................................... 23
Operate a Code Blue Timer ............................................................................................................. 25
Code Blue Timer operation overview ......................................................................................... 25
IMPORTANT SAFETY INSTRUCTIONS ............................................................................................... 27
REGULATORY APPROVALS ............................................................................................................. 28
ONE YEAR LIMITED WARRANTY ...................................................................................................... 29
Technical Support ......................................................................................................................... 30
Support through Primex Certified Sales and Service Partners ......................................................... 30
Primex Technical Support ...................................................................................................... 30
Page 3


