40 Maintenance and Troubleshooting
8. To Adjust the Top Margin, Left Margin and Right Margin - Select the Alignment Menu - Choose
the Color you want to Align - Select each area on the menu. A value will be displayed. Press the
right or the left arrow to adjust the value positively or negatively. Press the check button to set
the value. Some calculated values from the worksheet may not have changed. If this is the case
there is no need to enter this area and set the value again.
9. The skew must be adjusted by physically turning a wheel above the color cartridge you are
currently aligning. The skew wheel has a plastic cover over it that must be removed in order to
adjust it. If you have trouble removing the cover use a flat screwdriver. You do not need to
adjust this if A and B values are /- 1 of each other.
10. Turn the wheel the number of clicks specified in the worksheet in the direction specified in the
worksheet.
11. Reprint the Quick Test to verify the values entered have affected the printer alignment.
12. When you are finished, restart the printer and set the default source back to MP Feeder. Press
Menu - Select Paper Menu - Select Default Source - Select MP Feeder.
9.4 Cut Alignment / Stretch Factor
If printed output is longer or stretched so that the size does not match the size of the file on screen,
cuts can be offset. The cut offset may only be noticeable with longer page lengths and cuts that have
a very small bleed tolerance. The fuser pulls the paper during printing. This causes the image to
stretch which affects the height or width of the label depending on the orientation. The stretch can
be eliminated by doing a one time calibration. Follow these instructions:
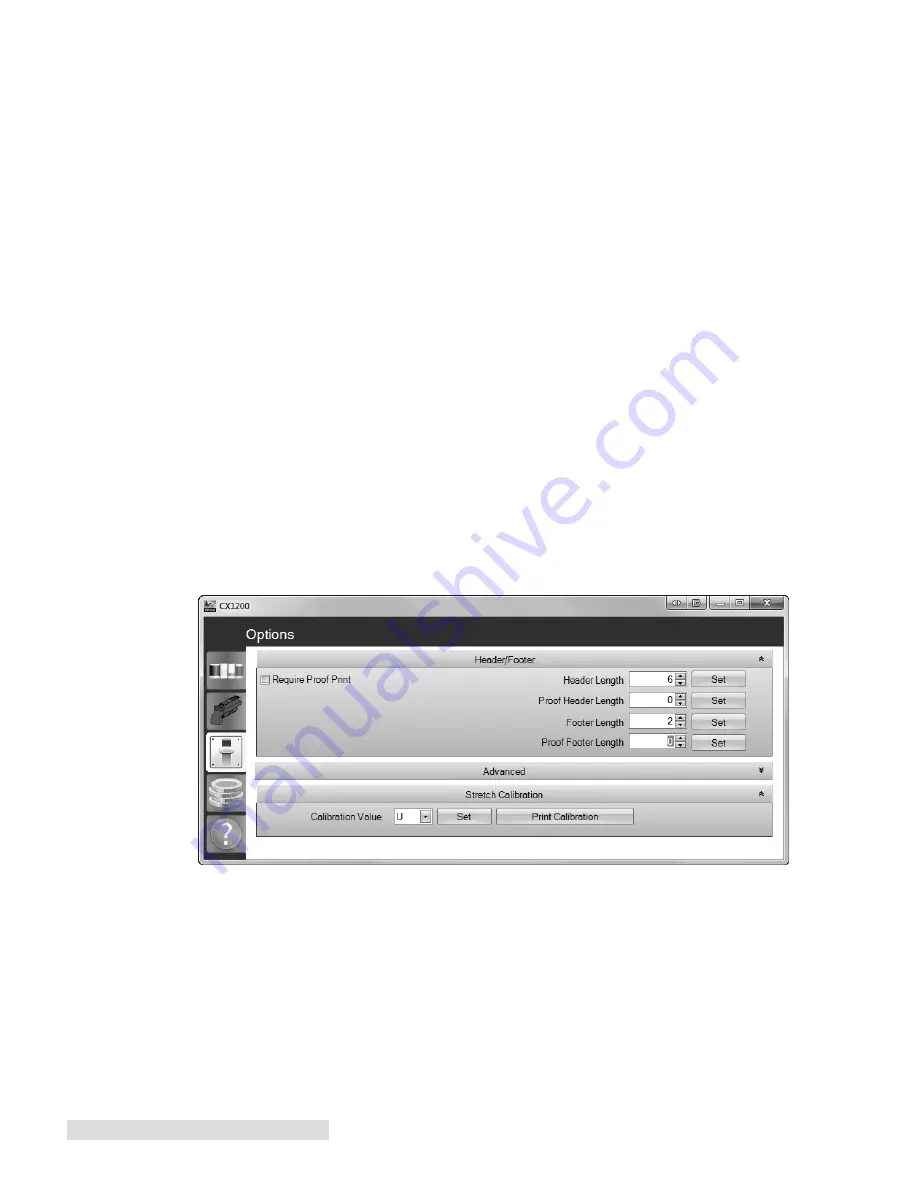
1. Open the Status Monitor - Start - All Programs - PTPrint - Status Monitor.
2. Select the Options tab.
3. Click the Print Calibration button under the Stretch Calibration section. Click the arrow on the
upper right section of the Advanced section to reveal the Stretch Calibration if it is hidden.
(Continuous paper should be loaded before clicking Print)
Содержание CX1000
Страница 4: ...iv CX1000 Color Label Printer ...
Страница 54: ...P N 511301 010314 ...


