GETTING STARTED
13
|
PreSonus 2009
2.2.4 Configuring Audio I/O
Now that you’ve configured your MIDI devices, let’s create a new Song and set up your default Audio I/O.
1)
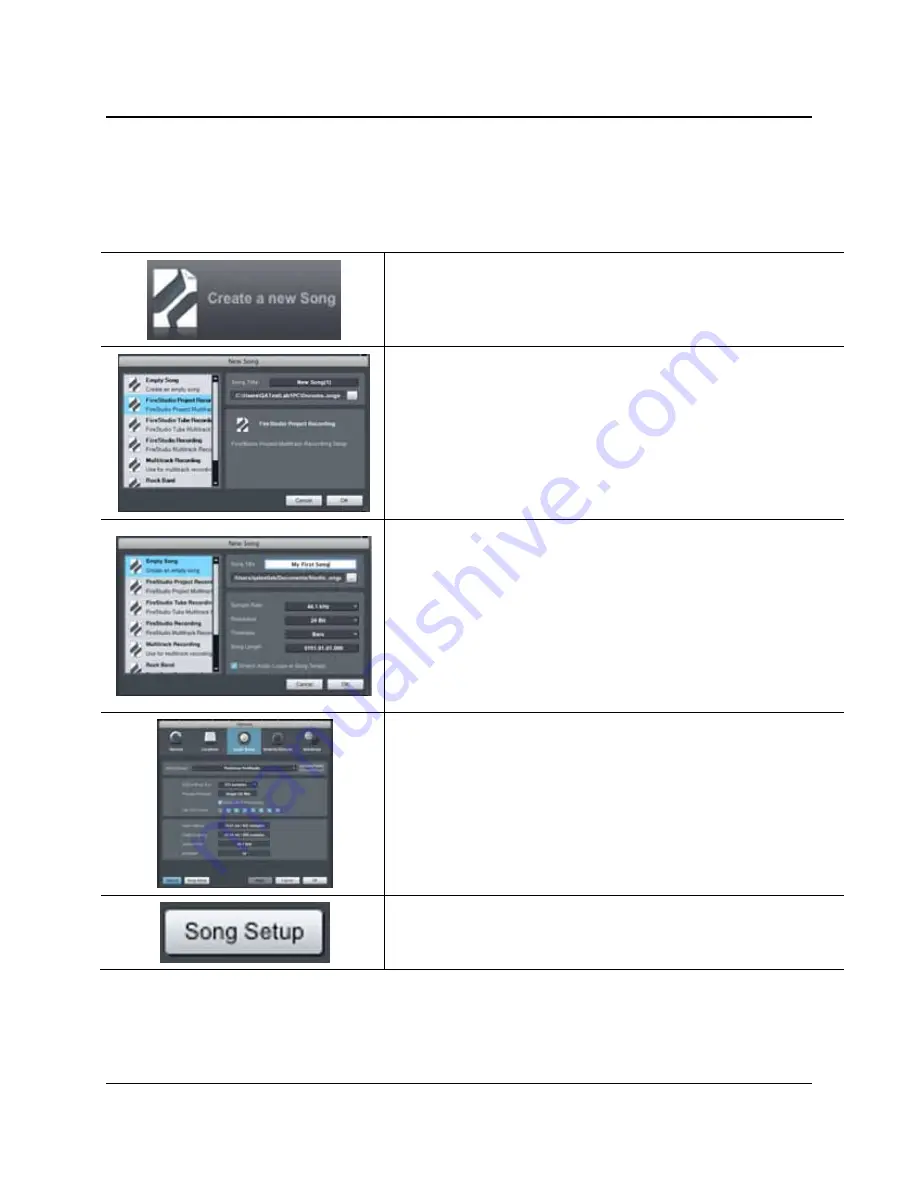
From the Start page, select “Create a new Song.”
2)
In the browser window, name your Song and choose the directory in
which you’d like it saved. You’ll notice a list of templates on the left.
The FireStudio Project template will create a Song with a track for
each of the available inputs. Every track is armed for recording, and no
further setup is required. Simply select this template and click “OK.”
The rest of this section will guide you through creating a Song from an
empty session.
3)
To begin a new Song, select “Empty Song” from the Templates list. At
this point, you should give your Song a name and select your preferred
sample rate and bit depth. You can also determine the length of your
Song and the type of time format you would like to use (Notation Bars,
Seconds, Samples, or Frames). Click the OK button when you are
finished.
If you plan on importing loops into your Song, you may want to select
“Stretch Audio Loops to Song Tempo” so that any loop of a known
BPM (like those in the included content library) will import at the
correct tempo.
4)
When the Song window launches, launch the Audio Setup window by
going to File|Options… (PC) or Studio One|Preferences (Mac), and
click on the Audio Setup button.
5)
Click on the Song Setup button to open the Song Setup window, then
click on the on the Audio I/O Setup icon.
Содержание Firestudio Project
Страница 5: ......


