Double Flaring Tool Kit
6
For technical questions call: 1-800-665-8685
2990245
V 2.0
4. Create a chamfer (45° angle) along the outside edge of the cut tube with a file or grinding wheel.
5. The tube is ready for the flaring press.
SINGLE FEMALE FLARE
1. Loosen the two wing nuts on the tubing vise.
2. Place the metal tubing through the correct size hole in the tubing vise, making sure that the cut end of the
tube protrudes slightly above the top of the countersink on the vise.
3. Tighten the wing nuts to secure the tubing. Tighten the wing nut closest to the tubing first, then the other
wing nut.
4. Place the flaring press over the tubing vise. Turn the T-bar of the flaring press counter clockwise to provide
enough space to allow the yoke to slip over the tubing vise. The bottom of the tubing vise should fit in the
bottom of the yoke.
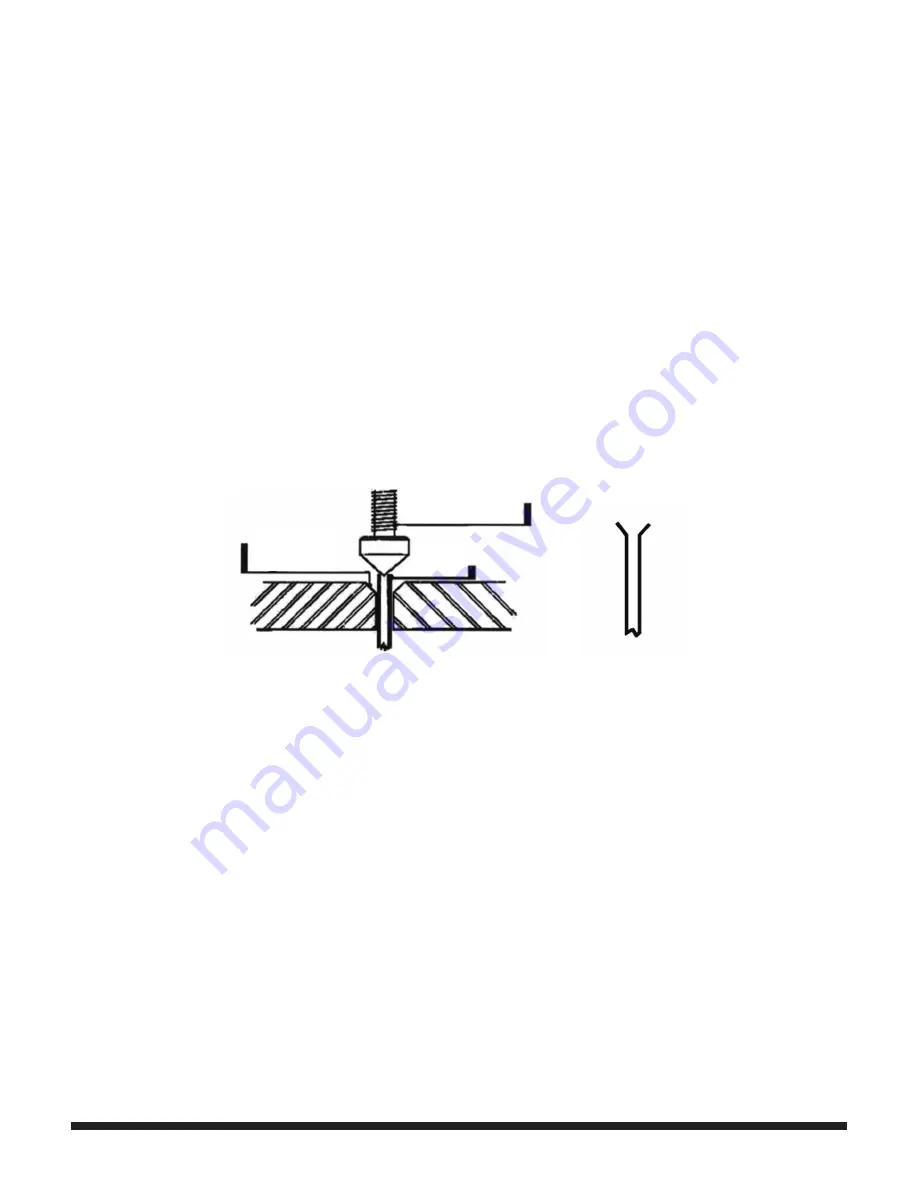
5. Position the head cone into the end of the tubing (Fig. 1). Holding it in place with a thumb and forefinger,
tighten the flaring press by turning the T-bar clockwise.
NOTE:
Put a drop of oil on the flaring cone before inserting it into the tubing. This will make it easier to form
the flare.
6. Continue to tighten the flaring press until the end of the tube is flared correctly (Fig. 2).
Female Flare
Swivel head on
the flaring press
Countersink
edge
Tubing
Fig. 1
Fig. 2


