background image

12


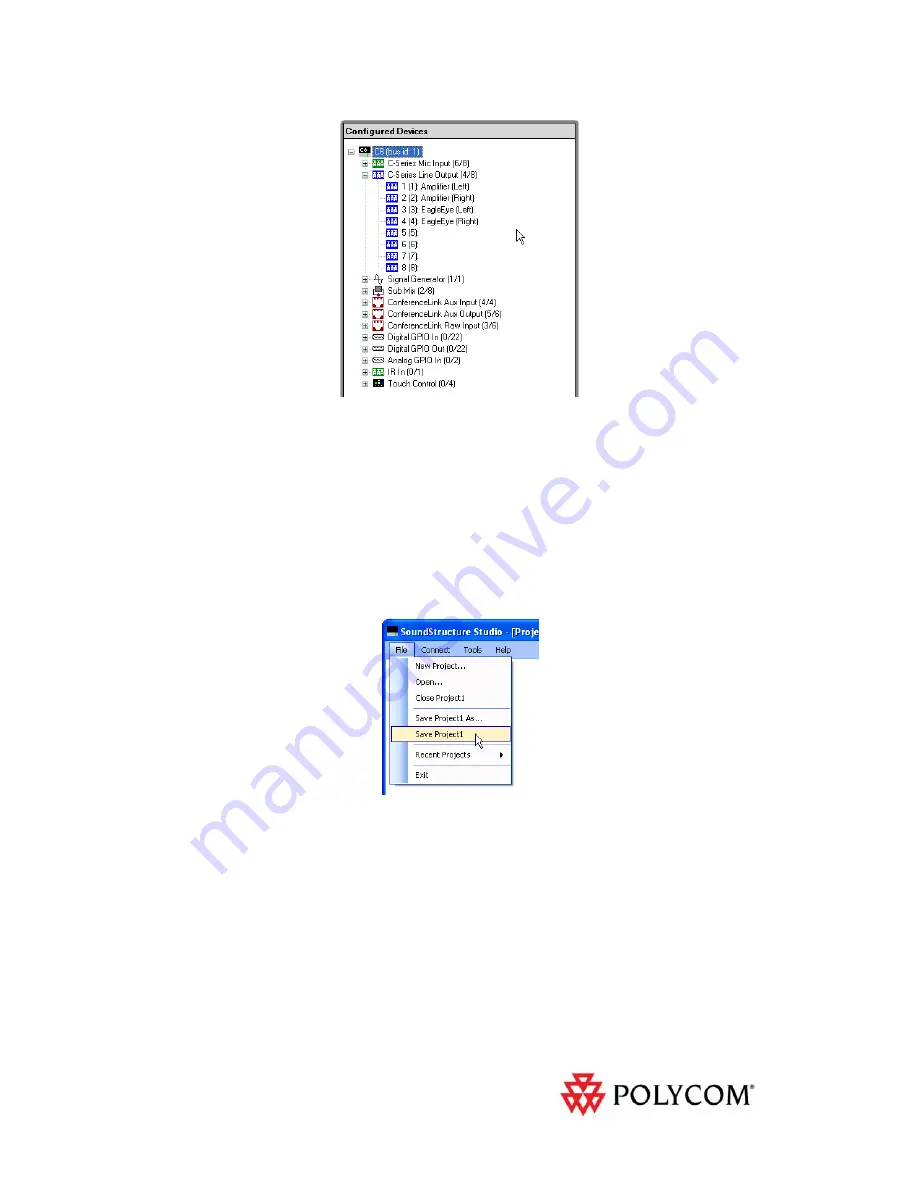
Figure 19 - The wiring page for the designed system with the outputs expanded. 

If


this


wiring


does


not


match


how


you


would


like


to


connect


the


system,


you


can


click


and


drag


audio


channels


on


the


wiring


page


to


move


to


different


outputs


to


match


your


desired


wiring.


In


this


example,


the


wiring


matches


our


desired


system


and


therefore


no


further


changes


are


required


on


the


wiring


page.


Saving the SoundStructure System Project 

Once


the


configuration


changes


have


been


made,


it


is


important


to


save


the


project


to


disk


to


ensure


the


changes


are


saved


to


the


file


that


will


ultimately


be


uploaded


to


the


SoundStructure


system.


To


save


the


file,


navigate


to


the


File


menu


and


select


Save


Project1


as


shown


in


Figure


20.


Figure 20 - Navigating to the File Save menu. 

Next


enter


the


filename


of


the


project


and


click


Save


as


shown


in


Figure


21

.


Содержание EagleEye Director

Страница 1: ...required SoundStructure solutions offer the ultimate in audio quality and flexibility for any size room Combining these components together is a natural extension of the HDX codec and improves the ov...

Страница 2: ...1 and 2 to the Amplifier and two more outputs outputs 3 and 4 to the EagleEye Director as shown in Figure 2 Figure 2 Integrating SoundStructure with an EagleEye Director uses four balanced audio cabl...

Страница 3: ...DX Microphones on Polycom com for detailed information pin outs and connection diagrams SoundStructure Studio Configuration File The SoundStructure configuration file can be easily customized to suppo...

Страница 4: ...ts To create the outputs follow these steps 1 Click Next to select the outputs and select a stereo amplifier called Amplifier and click Add as summarized in Figure 5 Figure 5 Add a stereo amplifier ch...

Страница 5: ...as summarized in Figure 6 Figure 6 Add an amplifier channel and rename EagleEye in step 2 of creating a SoundStructure Project by following the numbered steps The resulting channels shown in the Chan...

Страница 6: ...4 Finish the Project Click Finish to create the offline project as shown in Figure 9 Figure 9 Select Work offline in the final step of the project to make it easier to make the remaining project chang...

Страница 7: ...project routes the echo cancelled microphones to the HDX codec and the HDX codec audio is routed to the amplifier and to the EagleEye Director In preparation for adjusting how volume is controlled cli...

Страница 8: ...oom group as shown in Figure 12 Figure 12 Use Ctrl left click to select multiple audio channels and then press Add Channel After pressing Add Channel the resulting Edit Groups page appears as shown in...

Страница 9: ...min and max values are set to allow the audio to be adjusted by the HDX codec over a range of 0 and 51 and have that volume range map directly into the Amplifier fader values of 31 to 20dB This means...

Страница 10: ...he audio level sent to Amplifier On the events page shown in Figure 16 there is a default event called _Polycom HDX to SST Volume that maps the volume from the HDX codec using the clink_volume paramet...

Страница 11: ...ack that change and because ToLocalRoom is a group changes will adjust the group members Amplifier and EagleEye This will automatically make it louder or quieter to both the audio amplifier channel an...

Страница 12: ...tem and therefore no further changes are required on the wiring page Saving the SoundStructure System Project Once the configuration changes have been made it is important to save the project to disk...

Страница 13: ...overwrite the power on preset so our changes are always loaded when the device powers up select Overwrite preset as shown in Figure 22 and click OK to continue Figure 22 Select Overwrite preset Power...

Отзывы: