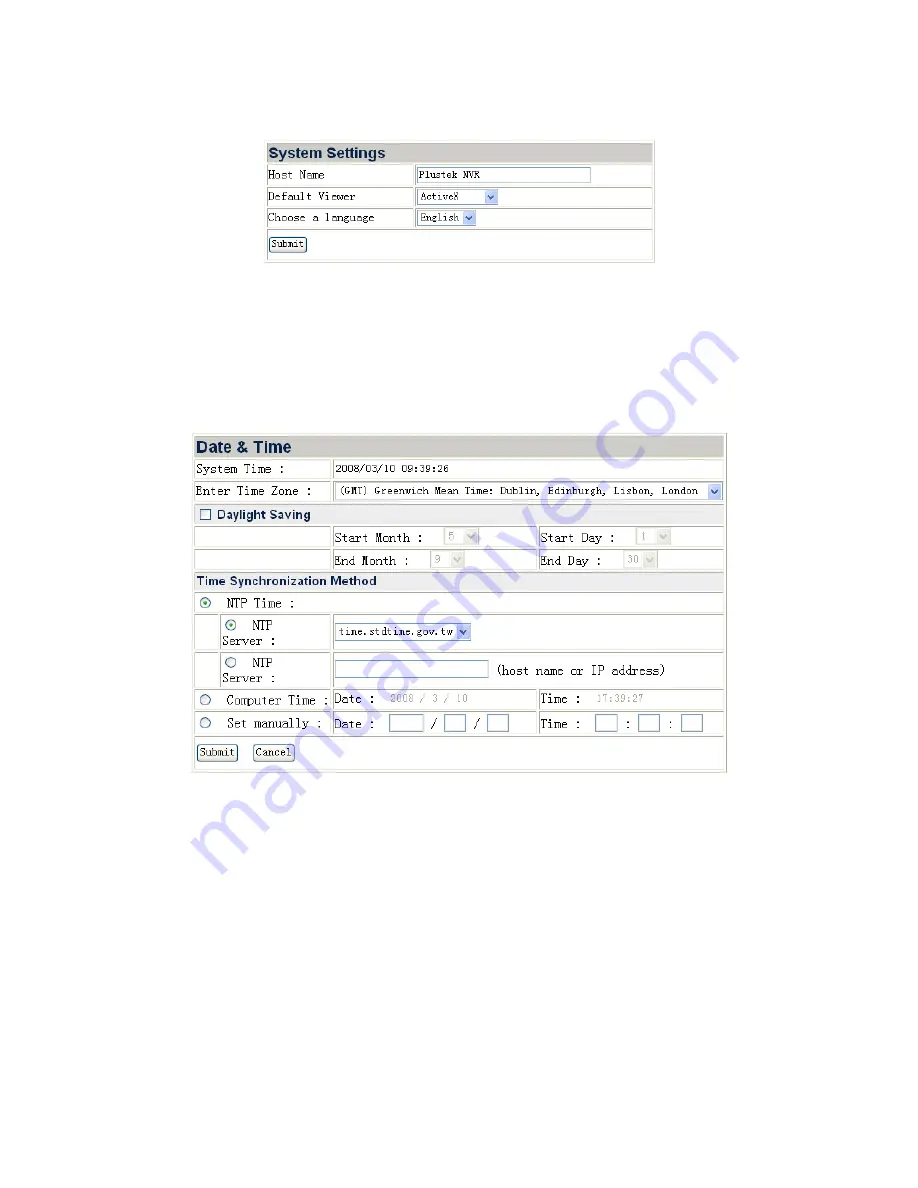
System Settings
Go to the “Advanced” page then click the menu “System”
Æ
“System Settings” to
display the page of System Settings. You may choose the system language from the
drop-down list.
You may define the “Host Name” for the NVR you use.
Click “Submit” to save the settings.
Date & Time
Go to the “Advanced” page then click the menu “System”
Æ
“Date & Time” to display
the page of Date & Time. You may set the date and time of the NVR. When the time
is set, the connected network cameras will automatically synchronize the time with
the NVR and will show in four channels interface and record videos.
To set NVR Date & Time:
1. Select Time Zone from the dropdown list.
2. Check the “Daylight Saving” option if needed, and define the daylight saving
period by selecting the start date and end date from dropdown lists.
3. You may set the NVR date and time by any the following three ways:
a. Synchronize the NVR date and time with NTP (Network Time Protocol)
time. Select the NTP Server you want to use.
b. Synchronize the NVR with the computer time.
c. Manually set the Date and Time by entering the Date and Time in the
blanks.
4. Click the “Submit” button to save the setting.
26
Содержание NVR 4000
Страница 1: ... Setup Configuration Technical Guides ...
Страница 47: ...cause undesired operation 43 ...


