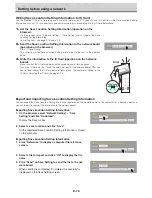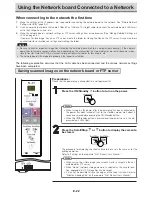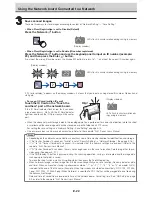
E-21
Creating and Registering Headers and Footers
The header/footer function allows you to superimpose your company name, logo, etc., at the top or bottom of scanned images for
printing or display. The date and time are printed at the top right of the header.
Creating header and footer images
Use your image software to create a JPEG file.
Create the image with the resolutions below.
Max. size for header images: 1248 × 110 dots *
Image format: JPEG
Max. size for footer images: 1248 × 40 dots
Image format: JPEG
* This is sometimes expressed as “pixels”.
Note
• Even for image data whose resolution is within the allowable limits, it may happen that the top and bottom of the image are
not displayed.
Image display position
Images are displayed at roughly the center in the horizontal direction. In the vertical direction they are positioned next to the
scanned image area. Consider this when creating images with less than the maximum size.
Suggestions on creating images
Scan the logo data with an image scanner, save this on the computer as image data, then crop or reduce its size to fit within the
specified resolution and save this new data.
Use Windows Paint, etc., to paste images, input characters, etc., to create the image.
When saving, save in JPEG format with a size within the maximum size.
Registering created images on the network
board
Example: Here we explain how to register a header image.
Use the same procedure to register footer images.
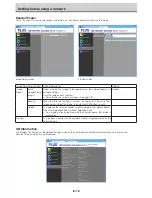
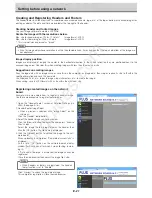
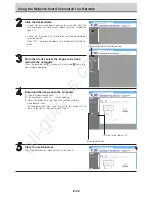
1. Open the “Header/Footer” screen at Detailed Settings (via
LAN). (See page E-18.)
2. Header/Footer Image Select
• When a preview is selected, click “Image Select” on the
submenu.
Click the “Header” radio button.
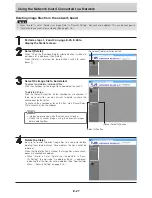
3. Select the header image you have created.
Click the [Browse] button to display the computer’s “Browse
Files” screen.
Select the image file to be registered as the header, then
click the [OK] button. The file name is displayed.
4. Click the [Upload] button to upload the image to the net-
work board.
When uploading is completed, “Completed successfully” is
displayed.
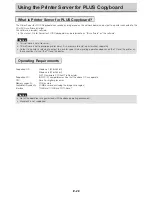
At this time, “HF” flashes on the network board’s display
window (for 5 seconds, after which it stops flashing, remain-
ing lit).
If “Data size is too large” is displayed, the image cannot be
registered.
Close the web browser, then adjust the image file’s size.
Note
• When headers or footers are registered, the header/
footer function is set to “Enable”.
Click “Preview” to check the registered image.
This completes registration. Close the web browser.
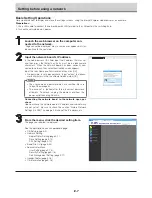
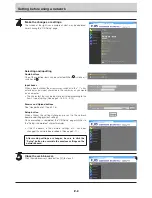
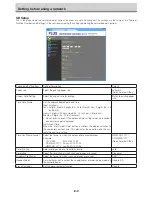
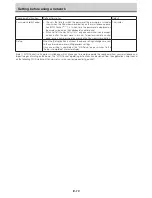
Setting before using a network
All manuals and user guides at all-guides.com
all-guides.com

