E-38
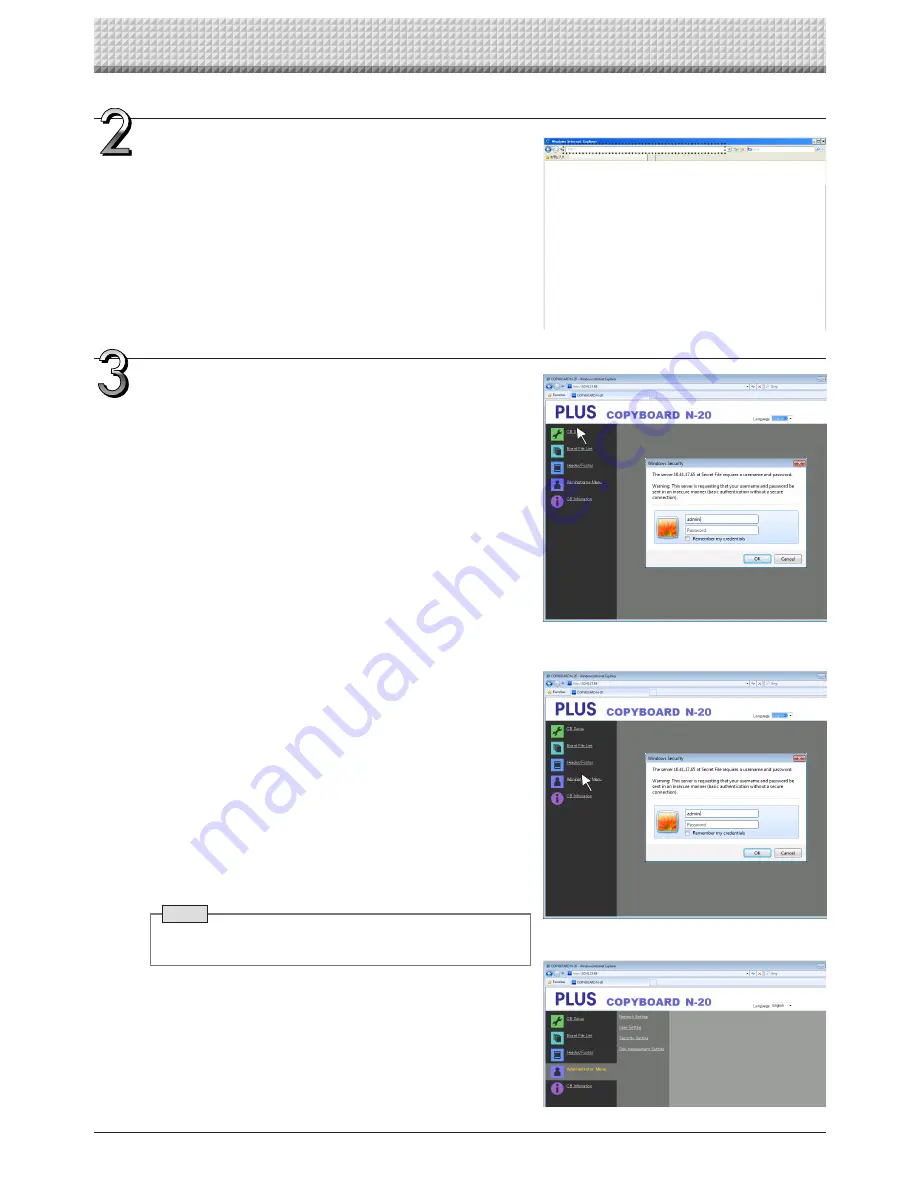
Input the copyboard’s IP address.
In the web browser’s URL field, input “http://” followed by the copy-
board’s IP address, then press the [Enter] key.
When the copyboard is connected, the top screen appears.
Connecting the copyboard to the network upon purchase
Upon purchase, the copyboard’s IP address and subnet mask are
not yet set. Be sure to check the section “Simple Network Settings
(via USB)” (see page E-35) and set the IP address, etc.
From the menu, click the desired setting item.
When setting items for which verification are required are clicked,
the user verification screen is displayed.
Input the user name and password, then click the [OK] button.
• No password is set upon purchase.
For the user name, input “admin”, then click the [OK] button.
• At the user verification screen, the administrator’s user name and
administrator’s password can also be used for verification.
Once verification is validated, the desired page is displayed.
See the respective pages in this manual for explanations.
CB Setup (page E-40)
Board File List (page E-27)
Header/Footer (page E-41)
Administrator Menu
CB Information (page E-45)
Click “Administrator Menu” to change the settings below.
The menu can be accessed with administrator authority.
Network Setting (page E-42)
User Setting (page E-43)
Security Setting (page E-44)
Disk management Setting (page E-45)
1. Click “Administrator Menu”.
The administrator verification screen appears.
2. Input the administrator’s user name and administrator’s pass-
word, then click the [OK] button.
• No password is set upon purchase.
For the user name, input “admin”, then click the [OK] button.
Once verification is validated, the administrator authority menu is
displayed.
Click the desired menu item to display the settings page.
Note
• The user name and password are case sensitive. Be sure to
input them properly.
CB Setup and Network Setting Procedure
Содержание N-204
Страница 54: ...26 4606 11C...


