E-8
Basic Setting Operations
Here we explain how to display and close the settings screens, using the Internet Explorer web browser as an example.
Preparations:
1. Use a LAN cable to connect the main unit’s LAN terminal to the LAN port on the switching hub.
2. Turn on the main unit’s power.
Launch the web browser on the computer con-
nected to the network.
“Page cannot be displayed” may in some cases appear, but sim
-
ply continue to the next step.
Using the main unit connected to a network
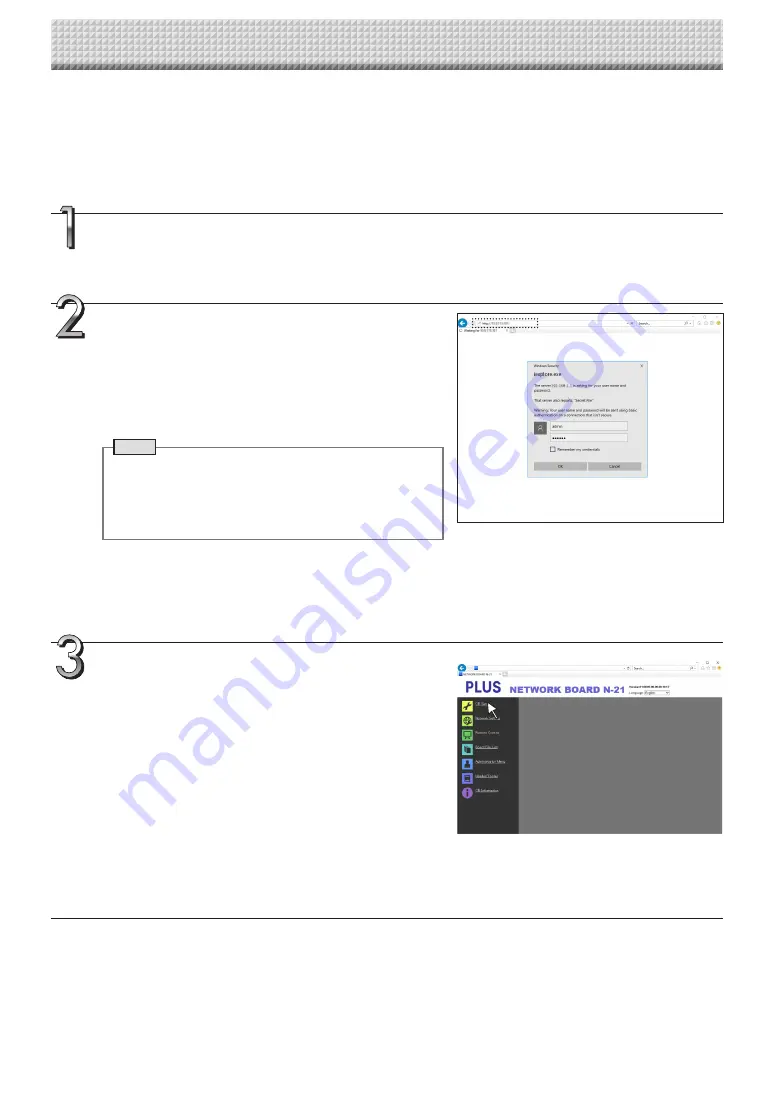
Input the main unit’s IP address.
In the web browser’s URL field, input the IP address that was set,
and then press the [Enter] key. Entry must be in alphanumeric
characters. When the main unit has been correctly connected to
network, the user authentication screen appears.
Input the User Name and Password, and then click [OK].
• No password is set upon purchase. Input “admin” in alphanu
-
meric characters in the User Name field and click [OK].
Note
• The user name and password are case sensitive. Be sure
to input them properly.
• The account is locked after three incorrect password
attempts. To unlock, unplug the power cord from the
power outlet then plug it back in.
Connecting the main unit to the network upon purchase
Upon purchase, the main unit’s IP address and subnet mask are
not yet set. Be sure to check the section “Simple Network Set
-
tings (via USB)” (see page E-4) and set the IP address, etc.
From the menu, click the desired setting item.
The page you required is displayed.
See the description on each appropriate page.
• CB Setup (page E-10)
• Network Setting
Board/Printer Setting (page E-12)
Save Setting (page E-14)
• Remote Control (page E-26)
• Board File List (page E-23)
• Administrator Menu
User Setting (page E-15)
Security Setting (page E-16)
Disk Management Setting (page E-17)
• Header/Footer (page E-18)
• CB Information (page E-18)


