8
PASSIVE NETWORK TESTS –
TEST RESULTS IN 10 STEPS
1. Set language
Tap the
Settings
icon to configure the NetXpert XG2.
Tap
Language
icon and select the desired language for the user interface. When
changing the language, the keypad will be changed accordingly.
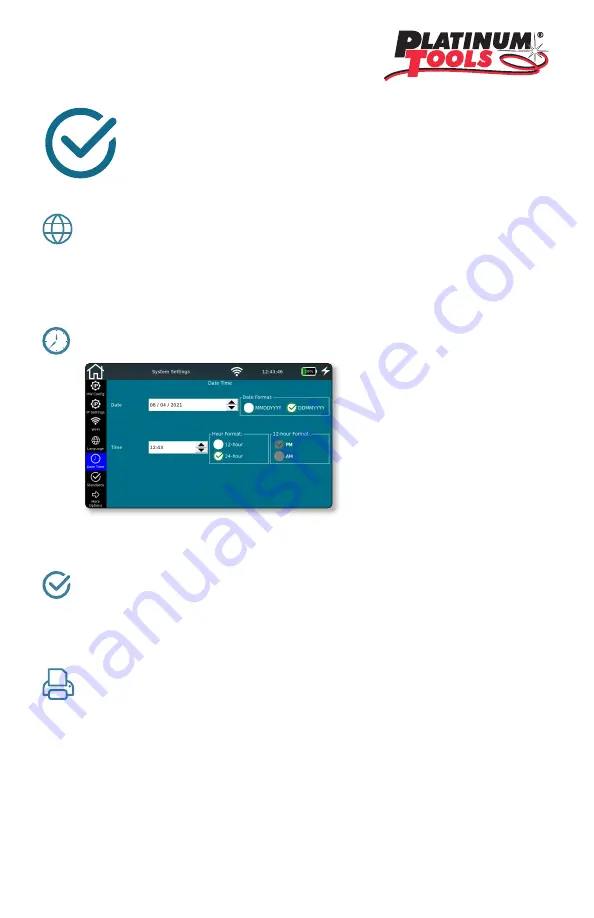
2. Set date and time
Set the current time and date. These have to be entered in the defined format.
You can choose the time format displayed – a 12-hour or 24-hour format.
3. Set standards
Choose between Meters and Feet for the display of the length.
The NetXpert XG2 supports various wiring standards. Choose TIA568A/B.
This affects primarily the display of the wiremap.
4. Personalize your reports
Must select
More Options
to access
Reports
screen. If you want to personalize your
reports, you can enter the name of your company, of the technician doing the job,
and a company logo.
To include a company logo, tap
Import logo
. Connect a USB flash drive containing
your company logo to the NetXpert XG2. A file browser will open, and you can
navigate to your logo file on the USB flash drive and select the logo.
Содержание NETXPERT XG2
Страница 1: ...QUICK START GUIDE...
Страница 15: ...14...


