9
5. Cable Test Settings
From the home screen, tap
Cable Test
to display the cable test menu. Further project
specific settings can be made here. Moreover, a new test can be started from here.
At
Cable Test
there are several menu options. The last selection is displayed auto-
matically (example below: menu option “Cable Test”).
A qualification test can directly be started by tapping the
Test
button.
6. Set project options
Tap the
Pr Reports
icon to make general settings for your test project.
7. Select cable type
Tap the
Cable Type
icon on the left to select or configure different cable types.
Important: Before running a test, it is necessary to select the correct type of cable,
otherwise the result could be affected.
8. Cable labeling
Tap the
Cable Labeling
icon to define the labeling of the individual measurements.
This will help to retrieve and allocate the measurements more easily later on.
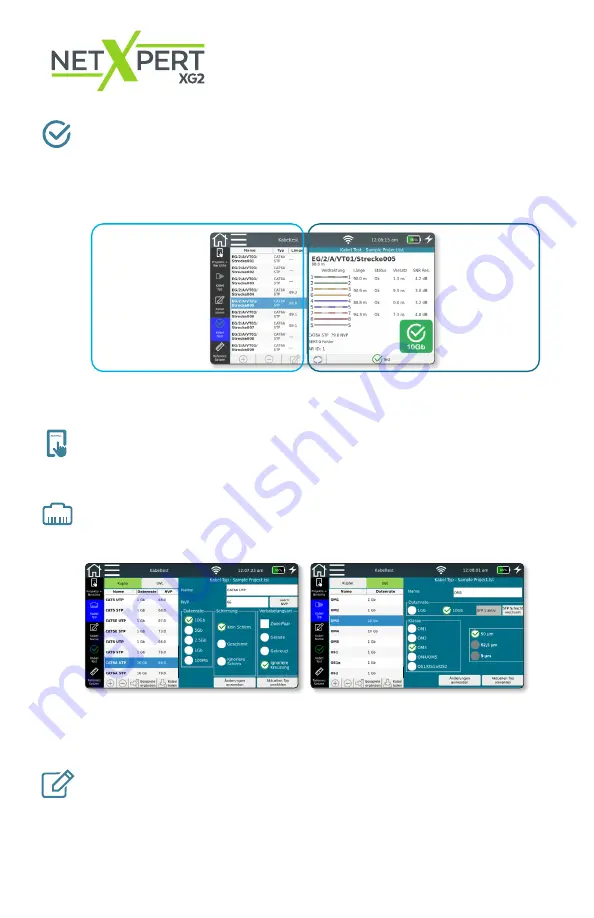
On the right-
hand side, the
test result of the
cable selected
on the left is
displayed.
On the left-hand
side, the various
menus are listed
and, if already
created, the list of
the tested cables.
Содержание NETXPERT XG2
Страница 1: ...QUICK START GUIDE...
Страница 15: ...14...


