2
18
Mini-101U
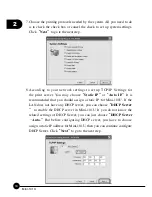
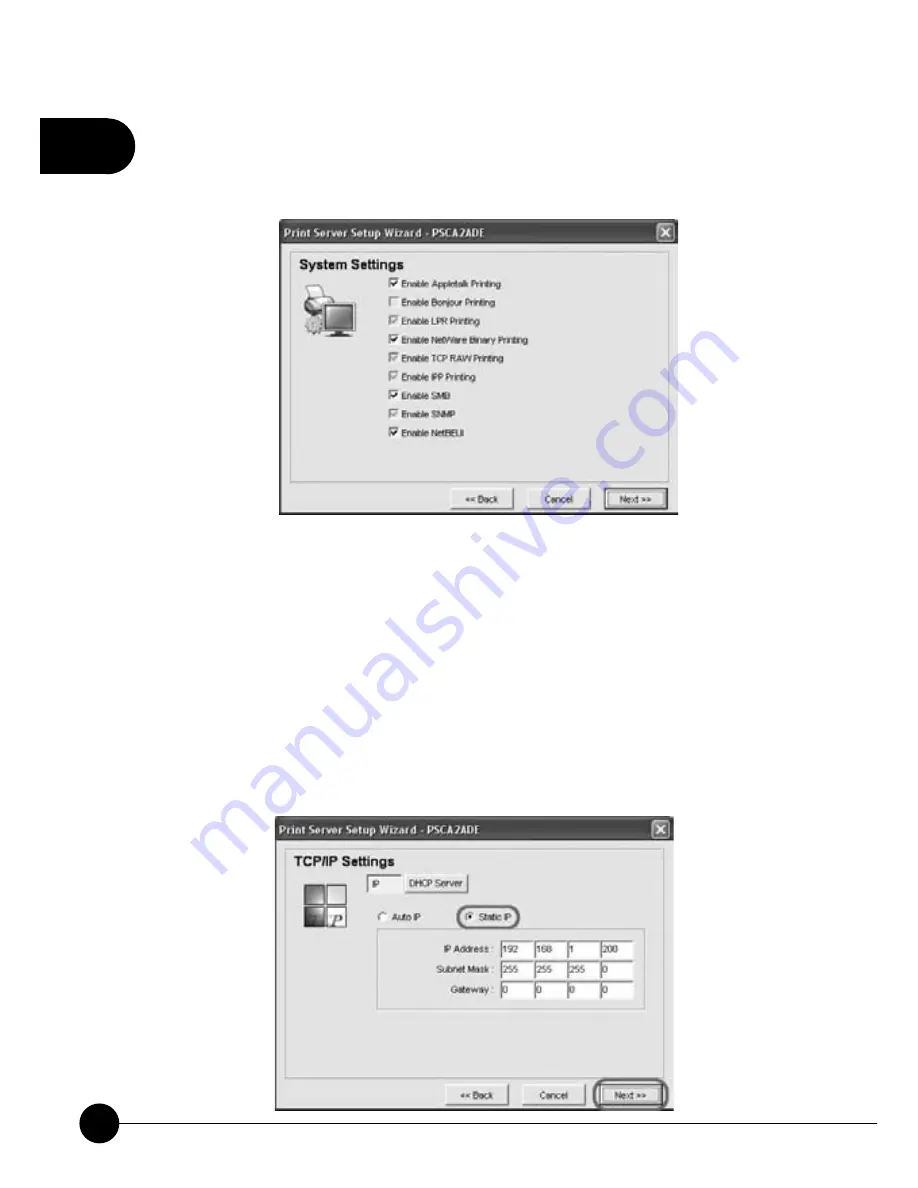
7.Choose the printing protocols needed by the system. All you need to do
is to check the check box or cancel the check to set up system settings.
Click
ņ
Next
Ň
to go to the next step.
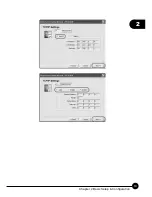
8.According to your network settings to set up TCP/IP Settings for
the print server. You may choose
ņ
Static IP
Ň
or
ņ
Auto IP.
Ň
It is
recommended that you should assign a static IP for Mini-101U. If the
LAN does not have any DHCP server, you can choose
ņ
DHCP Server
Ň
to enable the DHCP server in Mini-101U. If you do not know the
related settings of DHCP Server, you can just choose
ņ
DHCP Server
ę
Auto.
Ň
But before configuring DHCP server, you have to choose
assign a static IP address for Mini-101U, then you can continue configure
DHCP Server. Click
ņ
Next
Ň
to go to the next step.
Содержание Mini-101U
Страница 1: ......
Страница 2: ...Mini 101U 10M 100Mbps USB2 0 Print Server Mini 101U ...
Страница 25: ...2 19 Chapter 2 Basic Setup Configuration ...
Страница 97: ......


