


3-12
Pitney Bowes DA500/DA550 Operator Guide
3 • DA500/DA550 Basics
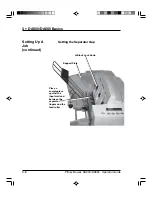
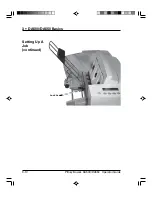
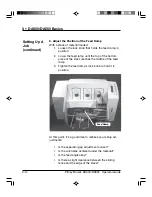
4. Position the Sliding Fence
Setting Up A
Job
(continued)
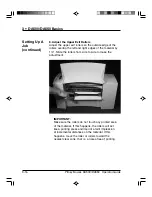
Your printer comes with two sliding fences—a long one
and a short one. Use the long fence for number 10 enve-
lopes and larger materials. Use the short fence for materi-
als smaller than a number 10 envelope.
To position the fence:
1. Place a sample piece or trial stack of material in
the input area.
2. Slide the fence until it almost touches the stack of
material.
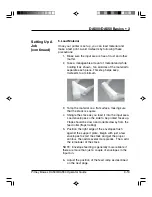
3. Check that there's about 1/16" clearance (the
thickness of adime) between the fence and the
stack.
NOTE: Proper clearance is important. If you push the
fence tight up against the stack, it could retard feeding
and cause jams. If the clearance is too great, pieces
could skew as they feed into the printer.
Sliding Fence
Содержание ADDRESSRIGHT DA500
Страница 1: ...AddressRightTM Printer DA500 DA550 Operator Guide US English Version ...
Страница 6: ...Table of Contents Pitney Bowes DA500 DA550 Operator Guide iv ...
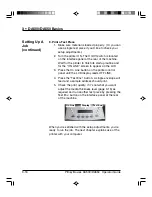
Страница 38: ...3 10 Pitney Bowes DA500 DA550 Operator Guide 3 DA500 DA550 Basics Setting Up A Job continued Lock Lever ...
Страница 72: ...5 Printer Maintenance 5 10 Pitney Bowes DA500 DA550 Operator Guide This page is intentionally blank ...
Страница 128: ...Appendix B Specifications B 12 Pitney Bowes DA500 DA550 Operator Guide This page is intentionally blank ...
Страница 129: ...Index ...


