230
Integrator Mode
Display 1
Display 2
Display 3
Display 4
No.1 No.2
No.3
No.4
No.1 No.2
No.3
No.4
No.1 No.2
No.3
No.4
No.1 No.2
No.3
No.4
COMBINATION
IN
COMBINATION
OUT
COMBINATION
OUT
COMBINATION
IN
COMBINATION
IN
COMBINATION
OUT
COMBINATION
OUT
COMBINATION
IN
7
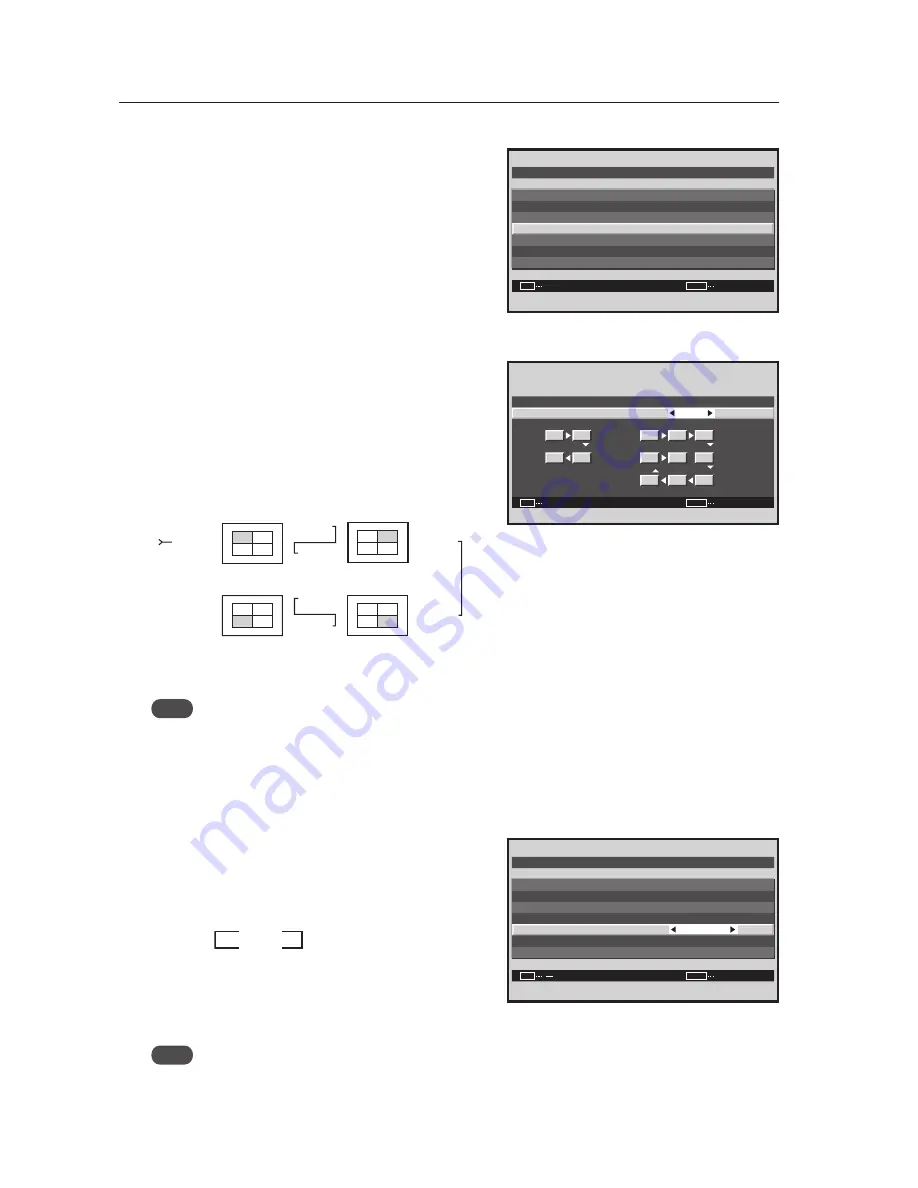
Setting AUTO ID
When ‘ON‘ is set, the ID for each of the multiple displays
linked by the remote control cable is set automatically.
9
Place the cursor on ‘AUTO ID’ then press the [SET] button.
0
Press the [
2
/
3
] buttons to change the settings.
-
Press the [SET] button.
[Setting the AUTO ID]
ON ....... The AUTO ID function operates
In the case of the four screen configuration, shown below,
Display1 = ID1 and Display 4 = ID4.
Auto ID is only available for four screen/nine screen Video
Walls.
OFF ..... The AUTO ID function does not operate.
Note
To execute AUTO ID, be sure to set ID NO. SET in OPTION to a setting other than ALL.
7
Setting the POWER ON DELAY
This option sets the power ON timing for the panels that
make up a video wall to avoid a power surge.
=
Place the cursor on ‘P.ON DELAY’ and press the [
2
/
3
]
buttons to change the settings.
[Setting the POWER ON DELAY]
(When one, four, and nine screen Video Walls)
ON ........... Turns on the power approximately every
second.
OFF ......... When the power is turned on, the power of all
the displays turns on at the same time.
Note
• This function is effective when the AUTO ID setting is ‘ON’. Set the AUTO ID in advance.
• After setting this function, turning on the power to the first display causes the other units to turn on in succession.
• From the second display, it is not possible to turn on the power using the remote control or control panel. To
forcibly turn a panel on, press and hold the remote control’s STANDBY/ON button for three or more seconds.
Screen
9
V I D E O WA L L
N O R M A L
2 5
:
:
O F F
:
SET
EXIT
ENTER
MENU
D I V I D E R
P O S I T I ON
T Y P E
A U T O I D
P . O N D E L AY
R E T U R N
O F F
:
A B L L I N K
Screen
0
,
-
O N
:
SET
EXIT
SET
MENU
A U T O I D
1
1
2
3
8
9
4
7
6
5
2
3
4
A U T O I D
3
ON
OFF
2
Screen
=
V I D E O WA L L
N O R M A L
O F F
O F F
:
:
:
O F F
:
SET
EXIT
MENU
D I V I D E R
T Y P E
A U T O I D
P . O N D E L AY
A B L L I N K
R E T U R N
P O S I T I ON
Содержание PDK-5005
Страница 75: ...75 427CMX Special installation ...
Страница 103: ...103 Table Top Stand PDK TS07 507CMX 427CMX ...
Страница 129: ...129 507CMX 427CMX Mobile Cart PDK 5014 ...
Страница 135: ...135 PDP Bracket PDK 5005 507CMX ...


