Using the GUIDE Plus+® electronic program guide
05
39
En
Chapter 5
Using the GUIDE Plus+
®
electronic
program guide
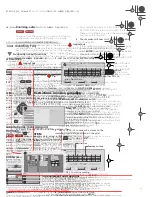
The GUIDE Plus+ system
The GUIDE Plus+
®
system* is a free, interactive on-
screen television programming guide.
1
The system offers
program listings for all major channels, one-touch
recording, search by genre, recommendations according
to your profile and more. The GUIDE Plus+ system is a
convenient way to find out what's on right now or during
the coming week, by channel or by genre. The GUIDE
Plus+ system also allows you to automatically set your
viewing and recording selections quickly and easily.
In order to receive the correct TV listings information for
your country or region you need to set up the GUIDE
Plus+ system and ‘download’ the TV listings information.
If you haven’t already done this, please turn to
on page 28 before
proceeding.
Note that all the recording features of the Guide Plus+
system apply only to DVD and HDD recording. It is not
possible to set the system to record to VHS.
Legal Notice
GEMSTAR-TV GUIDE INTERNATIONAL, INC. AND/OR ITS
RELATED AFFILIATES ARE NOT IN ANY WAY LIABLE FOR THE
ACCURACY OF THE PROGRAM SCHEDULE INFORMATION
PROVIDED BY THE GUIDE PLUS+ SYSTEM. IN NO EVENT SHALL
GEMSTAR-TV GUIDE INTERNATIONAL, INC. AND/OR ITS
RELATED AFFILIATES BE LIABLE FOR ANY AMOUNTS
REPRESENTING LOSS OF PROFITS, LOSS OF BUSINESS, OR
INDIRECT, SPECIAL, OR CONSEQUENTIAL DAMAGES IN
CONNECTION WITH THE PROVISION OR USE OF ANY
INFORMATION, EQUIPMENT, OR SERVICES RELATING TO THE
GUIDE PLUS+ SYSTEM.
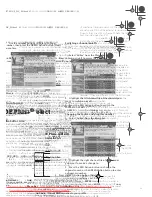
Using the GUIDE Plus+ system
All the various features and areas are color-coded for
ease of navigation. All screens (with the exception of
some setup screens) have the following common
elements:
•
Grid
– Displays TV listings information for the next
seven days by channel and time.
•
Menu bar
– Gives access to the various areas of the
GUIDE Plus+ system.
•
Information box
– Shows short program
descriptions or help menus.
•
Action bar
– Color-coded Action buttons change
function depending on the area.
•
Video window
– Allows you to continue watching
the current program while using the GUIDE Plus+
system.
•
Information panels
– Display program promotions
or instructions on the GUIDE Plus+ system.
Note
1 The GUIDE Plus+ system can’t be used when the Input Line System is set to
525 System
(see also
on page 109).
DVRRT601HS_WV_EN.book 39 ページ 2005年8月3日 水曜日 午後3時31分
Downloaded From DvDPlayer-Manual.com Pioneer Manuals
41
En
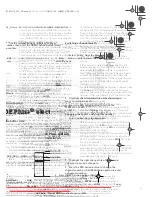
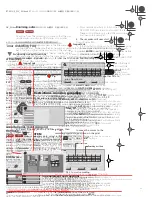
Lock / Unlock video window
When you enter the GUIDE Plus+ system, the channel
you were watching remains visible in the video window.
The date stamp above the window lets you know the
channel, date and time.
The default setting for this window is ‘locked’, as
indicated by a closed padlock icon above the video
window. When locked, the video window always shows
the channel you were previously watching as you move
up and down through the listings grid.
If you prefer, you can unlock the video window so that as
you highlight different channels in the listings grid, the
current program showing on that channel is shown in
the video window.
1
Use the
///
buttons to highlight a
channel logo.
Channel logos are displayed to the left of program titles.
2
Press the RED Action button (Unlock).
The padlock icon above the video window becomes
unlocked. It remains unlocked for the remainder of your
current TV viewing session.
If you want to lock the video window again, follow the
same procedure. The
RED
Action button will now act as
Lock.
Channel mosaic screen
You can switch the display style of channels in Grid Area,
Schedule Area or My TV Area from a list to a mosaic of
channel icons by pressing the
YELLOW
Action button.
Select the channel icon you want using the cursor
buttons, then press
ENTER
to return to the previous
screen on that channel.
Areas
The GUIDE Plus+
®
system consists of seven
. All
Areas can be accessed from the Menu bar.
•
Grid
– The GUIDE Plus+ system Home Area.
Displays TV listings information for the next seven
days by time and channel.
•
Search
– Search for TV programs by category (eg.,
Sport), subcategory (eg., Football) or keyword.
•
My TV
– Set up a profile and receive
recommendations according to your preferences.
•
Schedule
– Shows all scheduled recordings.
•
Info
– Area for additional information, such as
weather (not available in all regions).
•
Editor
– Change channel settings.
•
Setup
– Setup the GUIDE Plus+
®
system.
The Grid Area
The Grid screen is the main TV listings screen of the
GUIDE Plus+ system and is the first screen that you see
when you press
GUIDE
. You can see TV listings for the
next seven days, starting with the current day.
When you highlight a program in the Grid, you can see
information about it in the Information Box, including
title, synopsis, channel, source, time and length. If there
is an
i
symbol in the Information Box, it means that there
is an extended synopsis available. Press the
INFO
button
to see it.
In some countries, you can also see a rating for a
particular program (mostly movies). These ratings are
provided by local partners, such as TV magazines.
From the Grid Area you can:
• View and scroll through program listings
• Read program synopsis
• Tune to a program that’s currently showing
1
• Set a program to record
• Lock or unlock the video window.
• Access Information panels.
Note
1 If you’re using an external tuner (satellite tuner, for example), there will be a short delay of a couple of seconds before it tunes to the channel
after selecting it. This is normal.
DVRRT601HS_WV_EN.book 41 ページ 2005年8月3日 水曜日 午後3時31分
Downloaded From DvDPlayer-Manual.com Pioneer Manuals
43
En
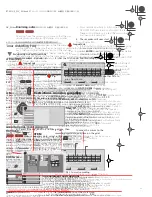
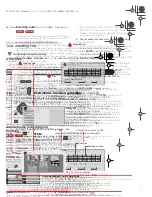
My TV Area
The My TV Area allows you to set up a personal profile.
You can define a profile by channels, themes and/or
keywords. As soon as a personal profile has been set, the
GUIDE Plus+ system continuously scans the TV listings
for the next seven days. Whenever you access the My TV
Area, a list of programs matching your profile appears.
From the My TV Area you can:
• Set up a profile by channel, theme and/or keyword.
• Edit and delete profiles.
• Read program synopsis
• Tune to a program that’s currently showing
• Set a program to record
• Access Information panels.
Setting up a profile
You can set up a profile with any combination of up to 16
channels, four categories and 16 keywords.
1
Select ‘My TV’ from the Menu bar.
2
Press the YELLOW Action button to set a profile.
Channels
is now highlighted.
3
To add a channel to your profile, press the
YELLOW Action button.
Select a channel from the mosaic of channel icons and
press
ENTER
. Repeat this step to add up to 16 channels.
4
To add a theme to your profile, highlight
‘Themes’ and press the YELLOW Action button.
Select a theme from the Search Area categories and
press
ENTER
. Repeat this step to add up to four
categories.
5
To add a keyword to your profile, highlight
‘Keywords’ and press the YELLOW Action button.
Use the
///
buttons followed by
ENTER
to select
characters from the on-screen keyboard. When you’re
finished, press the
GREEN
Action button to exit and
continue.
6
Press
ENTER
to activate your profile.
• You can add up to 16 keywords by repeating step
5
.
• You can edit or delete your profile using the
RED
and
GREEN
Action buttons.
DVRRT601HS_WV_EN.book 43 ページ 2005年8月3日 水曜日 午後3時31分
Downloaded From DvDPlayer-Manual.com Pioneer Manuals
45
En
7
Press the GREEN Action button (Frequency) to
change the recording frequency.
Select from the various options for one-time, daily and
weekly recordings.
8
Press YELLOW Action button (Destination) to
select the recording destination.
Select from
DVD
,
HDD
or
HDDr
(Auto Replace
Recording)
1
.
• Auto Replace Recording is only available as an
option with regular daily or weekly recordings.
9
Press
(cursor right) to access the extended
recording options:
• If you want to record to a particular HDD genre, use
the
YELLOW
Action button (
Genre
) to select one.
• Use the
GREEN
Action button (
Timing
) to add extra
time to the end of the recording (
+0
,
+10
,
+20
,
+30
or
VPS/PDC
2
(
V–P
)).
• Press
(cursor left) to display the standard
recording options again.
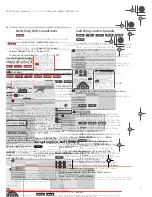
Deleting a scheduled recording
1
Highlight the left tile of a scheduled recording.
2
Press the RED Action button (Delete).
The scheduled event is deleted.
Note
1 • For a DVD timer recording, if
Optimized Rec
(see
on page 113) is set to
On
(and VPS/PDC is off), the recorder will adjust the
recording quality to try and fit the recording on the disc. If the recording will not fit onto the disc even on MN1 recording quality then the Re-
covery Recording feature will automatically make the recording to the HDD instead.
• If there is very little free space left on the HDD, an Auto Replace Recording may not complete successfully.
• If the HDD is being used for playback or high-speed copying when an Auto Replace Recording is due to start, the new timer recording will
not replace the old one. However, the next time the timer recording starts, both of the older two programs will be erased.
2 • If you set the timer recording to use VPS/PDC, you must switch the recorder into standby before the timer recording is due to start for it to
work correctly. For non-VPS/PDC timer recordings there is no need to switch the recorder into standby.
• Optimized Recording will not work if VPS/PDC is on.
• Up to 8 timer recordings can be set with VPS/PDC.
• VPS/PDC cannot be set for recordings made from an external input, or when the recording mode is set to
AUTO
.
DVRRT601HS_WV_EN.book 45 ページ 2005年8月3日 水曜日 午後3時31分
Downloaded From DvDPlayer-Manual.com Pioneer Manuals
47
En
6
Use the number buttons to enter a channel
number, then press the GREEN Action button (Next)
to confirm.
Alternatively, you can press the
YELLOW
Action button
(
Mosaic
) and use the
///
buttons to select a
channel from the mosaic, followed by
ENTER
.
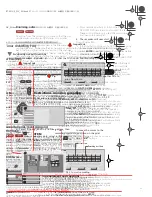
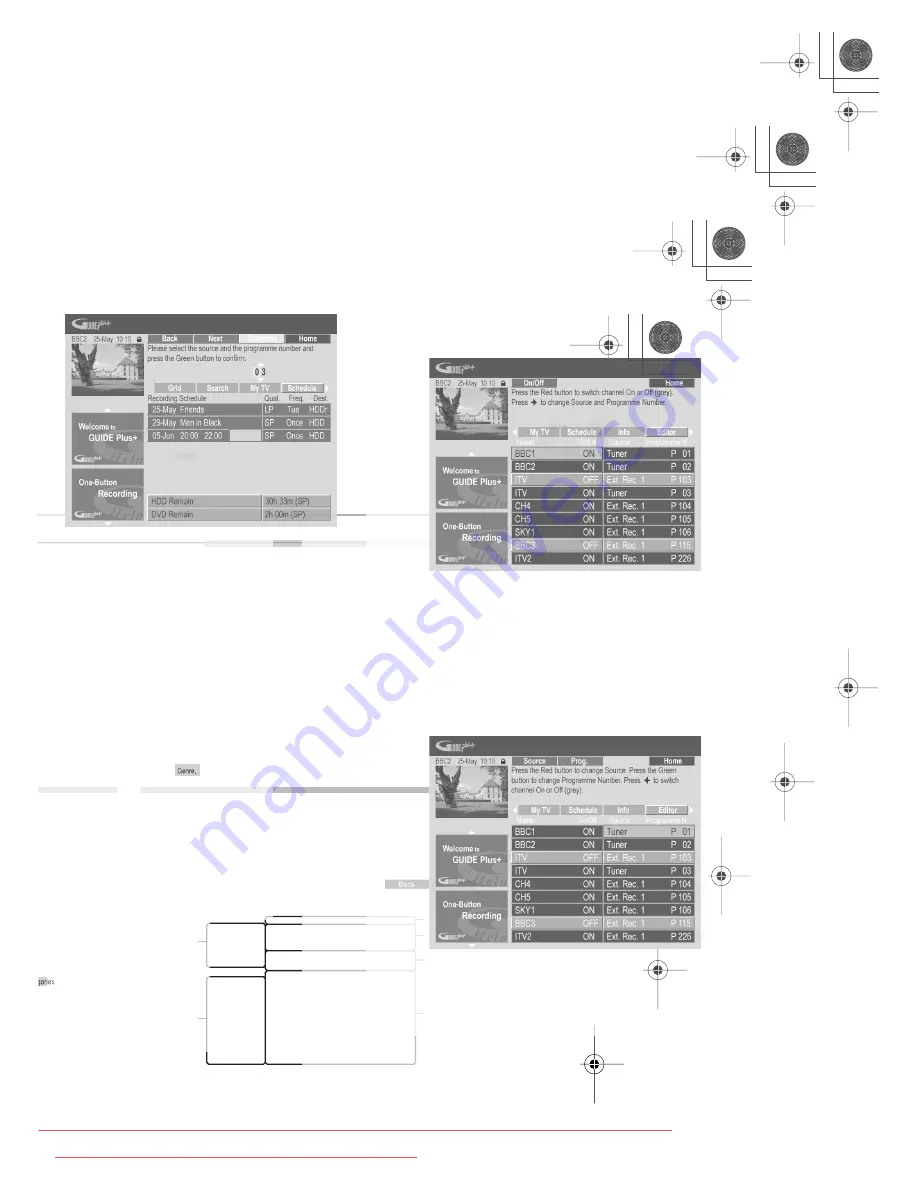
The Info Area
This area is reserved for additional information such as
news, weather reports, stock quotes, and so on, and
varies by region. (Note that this feature is not available in
all countries/regions.)
The Editor Area
The Editor Area is the central location for you to manage
your channels. Any changes you make here will affect
what is displayed in the Grid Area. The Editor Area is
mainly used when setting up the GUIDE Plus+ system to
make any manual changes as necessary.
You can also use the Editor Area if new channels become
available in your area, or if you change from cable to
satellite, say, or move house.
From the Editor Area you can:
• Display/hide channels in the grid (switch the channel
on/off).
• Select a channel source (
Tuner
,
Ext. Rec 1
,
Ext. Rec.
2
, etc.).
• Enter a channel program number.
Switching a channel on/off
You can choose whether or not to display a channel in the
Grid Area by switching the channel on or off in the Editor
Area.
1
Select ‘Editor’ from the Menu bar.
2
Highlight the left channel tile of the channel you
want to switch on or off.
3
Press the RED Action button to switch the
channel on or off.
Changing the source and program number
1
Select ‘Editor’ from the Menu bar.
2
Highlight the right channel tile of the channel
you want to make a change to.
3
Press the RED Action button to change the
channel source, or the GREEN Action button to enter
a program number.
Each press of the
RED
Action button changes the
channel source (
Tuner
,
Ext. Rec 1
, etc.). To set a
program number, use the number buttons to enter a
program number then press
ENTER
. (When set to
Tuner
,
make sure that the program number matches the preset
number of this recorder for what you want to record).
DVRRT601HS_WV_EN.book 47 ページ 2005年8月3日 水曜日 午後3時31分
Downloaded From DvDPlayer-Manual.com Pioneer Manuals
49
En
With the number of channels increasing, the number
of digits has increased as well. While older boxes use
only 2 digits, newer boxes require up to 4. It is
possible that you selected an older code for your
brand during set-up. Please access the Setup Area,
select External Receiver and repeat the setup for your
brand. (Note: Every time you see the on-screen
question about whether the receiver has changed to
a certain channel, the GUIDE Plus+ system has sent
a different code). Try all the different codes until your
GUIDE Plus+ system can control your external
receiver correctly. If you have no success, try to
receive new codes overnight.
You can try to receive your host channel through your
new reception method. If you have problems to
receive data we recommend that you keep your
analog terrestrial or cable connection only to receive
data this way. It is important that you identify your
host channel correctly in the Editor Area.
You can change the line-up in the editor according to
your preferences. Access the Editor Area. Select the
channels that you would like to change. Change the
source and preset number according to your
preferences.
There are several possibilities:
– Connections are wrong. See
on
page 13 to double check everything.
– The initial setup was completed incorrectly. Try
setting it up again (see
on page 28).
– Your cabling and setup is OK, but the recorder has
not been connected for enough time to receive the TV
listings data. Leave the recorder in standby overnight.
– For external receiver users only: The connections
and setup are OK, but the external receiver was not
tuned to the correct host channel. Check the list of
host channels (see step 5 of
on page 28) and leave the recorder
in standby and the external receiver on overnight
tuned to the correct host channel.
– You live in a country/region where the GUIDE Plus+
system is not yet available. Check the list of countries
to see if you are in a region that is supported.
If the channel to be recorded is received via the
external receiver first make sure that the external
receiver was left switched on. Next, in the Editor
Area, make sure that the channel to be recorded is
correctly set: Access the Editor Area. Check the
source and program number of the channel that you
wanted to record. Change the source and preset
numbers if incorrect.
If you are recording from the recorder’s internal tuner
(the
Tuner
setting), make sure that the program
number is the same as the preset number set on this
recorder. If they are different, go to the Editor Area
and change the program number to match the
recorder’s preset number.
The latest TV listings information is automatically
downloaded by the recorder overnight. This only
happens if the recorder is in standby; if the recorder
is left on, it will not download. When not using the
recorder, please switch it into standby.
Data downloads can take several hours. The front
panel display shows
EPG
when downloading. If you
switch the recorder on while
EPG
is displayed, the
download will be canceled.
EPG
If the GUIDE Plus+ system is not supported in your
area, please do not set the postal code in the GUIDE
Plus+ setup (see
on page 28). When the service starts in your
area, please set the postal code again.
DVRRT601HS_WV_EN.book 49 ページ 2005年8月3日 水曜日 午後3時31分
Downloaded From DvDPlayer-Manual.com Pioneer Manuals
Содержание DVR-RT604H-S
Страница 6: ......
Страница 8: ......
Страница 10: ......
Страница 12: ......
Страница 14: ......
Страница 16: ......
Страница 18: ......
Страница 20: ......
Страница 22: ......
Страница 24: ......
Страница 26: ......
Страница 28: ......
Страница 30: ......
Страница 32: ......
Страница 34: ......
Страница 36: ......
Страница 38: ......
Страница 40: ......
Страница 42: ......
Страница 44: ......
Страница 48: ......
Страница 50: ......
Страница 52: ......
Страница 54: ......
Страница 56: ......
Страница 58: ......
Страница 60: ......
Страница 62: ......
Страница 64: ......
Страница 66: ......
Страница 68: ......
Страница 70: ......
Страница 72: ......
Страница 74: ......
Страница 76: ......
Страница 78: ......
Страница 80: ......
Страница 82: ......
Страница 84: ......
Страница 86: ......
Страница 88: ......
Страница 90: ......
Страница 92: ......
Страница 94: ......
Страница 96: ......
Страница 98: ......
Страница 100: ......
Страница 102: ......
Страница 104: ......
Страница 106: ......
Страница 108: ......
Страница 110: ......
Страница 112: ......
Страница 114: ......
Страница 116: ......
Страница 118: ......
Страница 120: ......
Страница 122: ......
Страница 124: ......
Страница 126: ......
Страница 128: ......
Страница 130: ......
Страница 132: ......

