Startup and function
107065_en_01
PHOENIX CONTACT
23
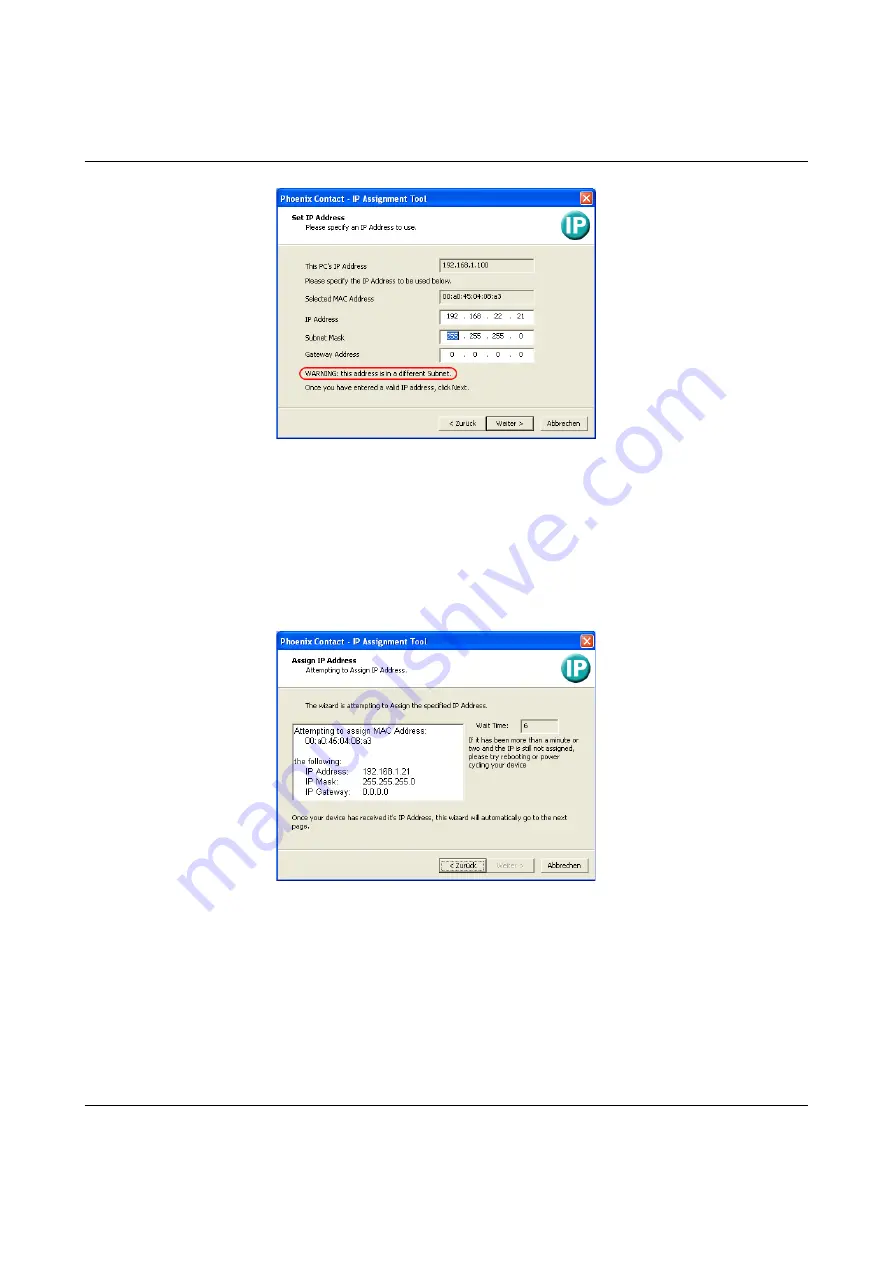
Figure 3-5
“Set IP Address” window with incorrect settings
•
Adjust the IP parameters according to your requirements.
If inconsistencies are no longer detected, a message appears indicating that a valid IP ad-
dress has been set.
•
Click on the “Next” button.
Step 5: “Assign IP Address”
The program attempts to transmit the set IP parameters to the device.
Figure 3-6
“Assign IP Address” window
Following successful transmission, the next window opens.
Step 6: completing IP address assignment
The window that opens informs you that IP address assignment has been successfully com-
pleted. It gives an overview of the IP parameters that have been transmitted to the device
with the MAC address shown.
To assign IP parameters for additional devices:
•
Click on the “Back” button.
Содержание FL SWITCH 2005
Страница 1: ...User manual FL SWITCH 2000 Order No...
Страница 62: ...FL SWITCH 2000 62 PHOENIX CONTACT 107065_en_01...
Страница 68: ...FL SWITCH 2000 68 PHOENIX CONTACT 107065_en_01...
Страница 87: ...Technical data and ordering data 107065_en_01 PHOENIX CONTACT 87 49 5281 9 462888...
Страница 88: ...FL SWITCH 2000 88 PHOENIX CONTACT 107065_en_01...
Страница 92: ...FL SWITCH 2000 92 PHOENIX CONTACT 107065_en_01...
Страница 94: ...FL SWITCH 2000 94 PHOENIX CONTACT 107065_en_01...
Страница 98: ...FL SWITCH 2000 98 PHOENIX CONTACT 107065_en_01...


